123
6
10
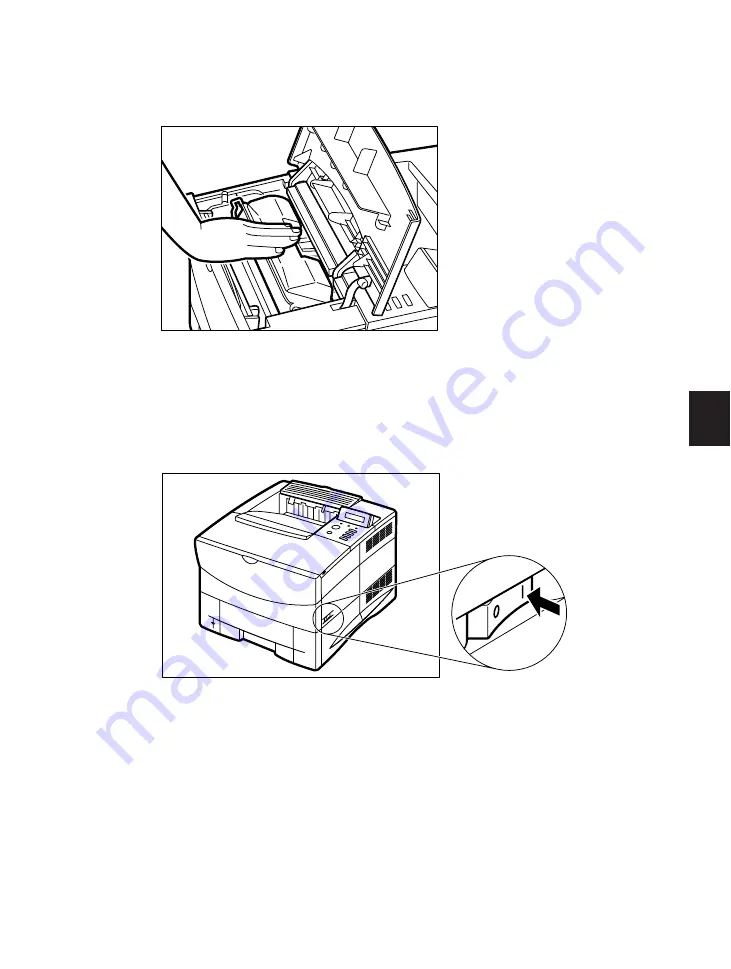
Let the cartridge fall back into position, making sure it is locked into place. Close the
top cover.
If the top cover does not close properly, do not force it. Open the cover, return to the
previous step and ensure the toner cartridge is properly positioned inside the printer.
Every time you replace a toner cartridge, we recommend you also clean the transfer
guide area with a soft clean cloth (see pages 125 to 126).
11
Turn the printer on using the power switch.
ON position
12
Wait a few moments for the printer to warm up. When you see the READY display,
toner cartridge installation is complete.
If any other message appears, refer to the Messages Table (see page 134).
Replacing a Toner Cartridge
Summary of Contents for LBP-1760
Page 24: ...MEMO 16...
Page 62: ...54 MEMO...
Page 103: ...95 4 Printing a Test Print Test print sample q e r y t u i 1 0 2 o w...
Page 107: ...99 4 Printing the Font Lists PCL font list sample q w e r t y u i o 0 1...
Page 110: ...102 MEMO...
Page 118: ...110 More About Using PostScript Demo print start page t r e w q...
Page 120: ...112 More About Using PostScript PS font list...
Page 122: ...114 MEMO...
Page 171: ...163 Reference Appendix 1 Typeface Samples Resident scalable font samples MicroType samples...
Page 173: ...165 PostScript option font samples Appendix 1 Typeface Samples...
Page 174: ...166 Appendix 1 Typeface Samples...
Page 188: ...180 Appendix 2 Symbol Sets Supported Fig A 21 PiFont Fig A 22 Legal...
Page 192: ...184 Appendix 2 Symbol Sets Supported Fig A 29 PC 8 Greek Fig A 30 OCR A PC 8GR PC 8L...
Page 193: ...185 Appendix 2 Symbol Sets Supported Fig A 31 OCR B Fig A 32 3 of 9 Barcode...
Page 194: ...186 Appendix 2 Symbol Sets Supported Fig A 33 UPC EAN Barcode Fig A 34 Code 128 Barcode...
Page 195: ...187 Appendix 2 Symbol Sets Supported Fig A 35 Interleaved 2 of 5 Barcode...
Page 232: ...Menu Operation Flow...
Page 234: ...PUB R IE 485AA CANON INC 1998 PRINTED IN JAPAN...


