Chapter 3
3-13
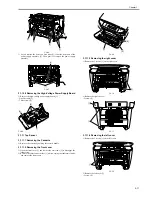
F-3-79
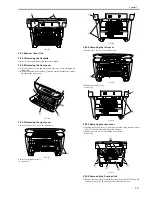
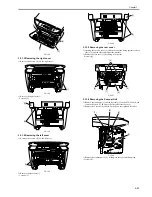
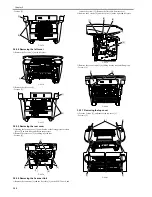
3.1.11.10 Removing the Left Frame
0012-1542
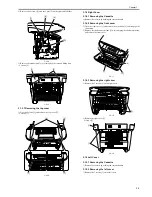
1) Remove the left frame [1].
- Remove the cable [2] from the guide.
- 3 screws [3]
F-3-80
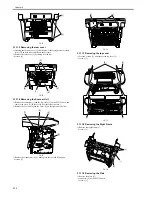
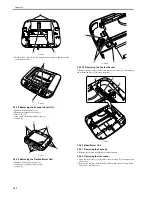
3.1.11.11 Removing the Power Supply Shield Plate
0012-1543
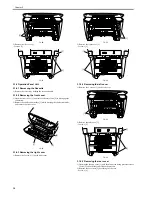
1) Remove the cable from the cable guide.
- 1 connector [1]
F-3-81
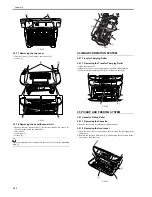
2) Remove the power supply shield plate [1].
- 9 screws [2]
F-3-82
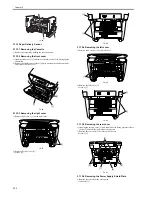
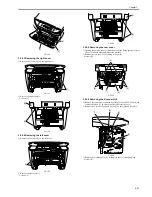
3.1.11.12 Removing the Power Supply Assembly
0012-1544
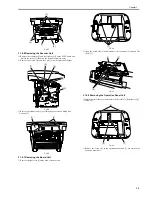
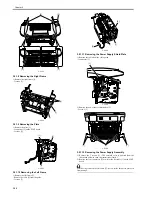
1) Remove the 3 screws [1]. (The external cover is omitted from the
illustration below to show the instructions clearly.)
2) Remove the four connectors [2] as well as the flat cable [3] on the ECNT
board.
After having removed the flat cable [3], store it inside the unit to protect it
from damage.
F-3-83
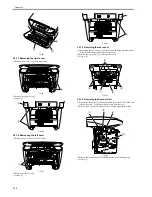
3) As you remove the bosses on both sides [1], lower the front part of the
power supply assembly [2]. Then pull it to remove the power supply
assembly.
F-3-84
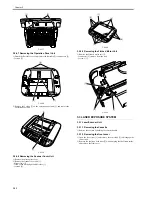
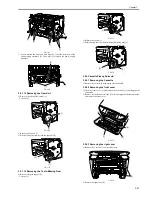
3.1.11.13 Removing the top sensor
0012-1546
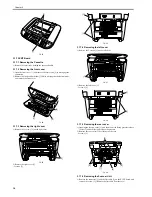
1) Place the main unit down on its front face (so that the interior of the main
unit is easily visible).
2) Remove the top sensor [1].
- 1 connector [2]
- 1 screw [3]
[3]
[1]
[2]
[1]
[3]
[2]
[3]
[1]
[1]
[1]
[1]
[1]
[2]
[2]
[3]
[1]
[1]
[2]
Summary of Contents for LaserBase MF3220 Series
Page 1: ...Mar 31 2006 Service Manual MF3220 Series LaserBase MF3220 ...
Page 2: ......
Page 6: ......
Page 14: ...Contents ...
Page 15: ...Chapter 1 PRODUCT DESCRIPTION ...
Page 16: ......
Page 18: ......
Page 24: ......
Page 25: ...Chapter 2 TECHNICAL REFERENCE ...
Page 26: ......
Page 28: ......
Page 36: ......
Page 37: ...Chapter 3 DISASSEMBLY AND ASSEMBLY ...
Page 38: ......
Page 44: ......
Page 90: ......
Page 91: ...Chapter 4 MAINTENANCE AND INSPECTION ...
Page 92: ......
Page 94: ......
Page 105: ...Chapter 5 TROUBLESHOOTING ...
Page 106: ......
Page 108: ......
Page 117: ...Chapter 6 APPENDIX ...
Page 118: ......
Page 120: ......
Page 123: ...Mar 31 2006 ...
Page 124: ......


