167
Other Settings
2
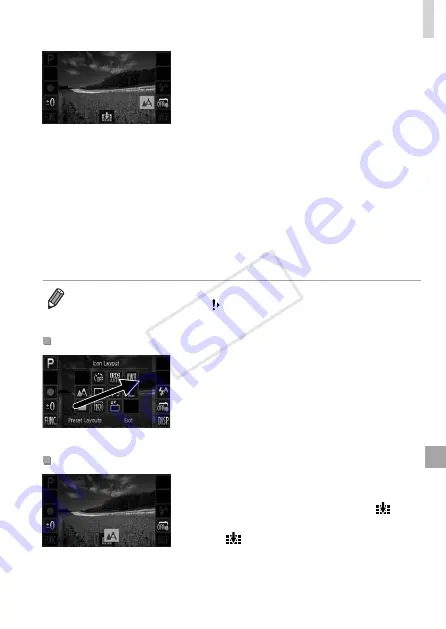
Add an icon.
z
z
Drag an icon from the center of the
screen in step 1 to the desired position
for display.
z
z
An orange frame is displayed when you
drag the icon near an available position.
To add the icon there, lift your finger from
the screen. If another icon is already
there, it will be replaced by the icon you
dragged.
z
z
Icons cannot be added to positions with
grayed‑out icons.
3
Finish the setup process.
z
z
Touch [Exit].
•
If you have added an icon to the upper right of the screen and then touch
and hold that icon in step 1, [
] is displayed and the setting screen will not
be displayed. Choose a different icon instead.
Rearranging Icons
z
z
On the setting screen in step 1 on
166, drag an icon to the desired
position to rearrange the layout.
X
X
If another icon is already in that position,
it will be replaced by the icon you
dragged.
Removing Icons
z
z
Drag the unwanted icon from the setting
screen in step 1 on
166 to the center
of the screen and then over the [
] icon
that will be displayed.
z
z
If [
] is not displayed when you drag an
icon, the icon cannot be removed.
COP
Y
Summary of Contents for IXUS 245 HS
Page 16: ...16 COPY ...
Page 40: ...40 COPY ...
Page 89: ...89 Smart Auto Mode Convenient mode for easy shots with greater control over shooting 2 COPY ...
Page 208: ...208 COPY ...
Page 209: ...209 Setting Menu Customize or adjust basic camera functions for greater convenience 6 COPY ...
Page 248: ...248 COPY ...
Page 249: ...249 Appendix Helpful information when using the camera 8 COPY ...
Page 282: ...282 MEMO COPY ...
Page 284: ...CDD E496 010 CANON INC 2012 COPY ...


