5
Press the
OK
button.
•
If a print job was received
The printer now starts printing the print job.
•
If no print job was received
A menu for selection of the type of paper is automatically shown on the Display Screen.
Press
▲
or
▼
to select the type of paper, and then press the
OK
button.
The printer now starts feeding the paper.
Note
•
Refer to
Paper Reference Guide
for details on type of paper to select.
(See "Displaying the Paper Refer-
ence Guide.")
➔
P.313
Printing From a Desired Starting Point
Printing From a Desired Starting Point
When printing inside boundaries or in other situations when you want to specify a particular position to start printing
from, set
Width Detection
to
Off
in the printer menu for the type of paper used.
Set
Width Detection
to
Off
1
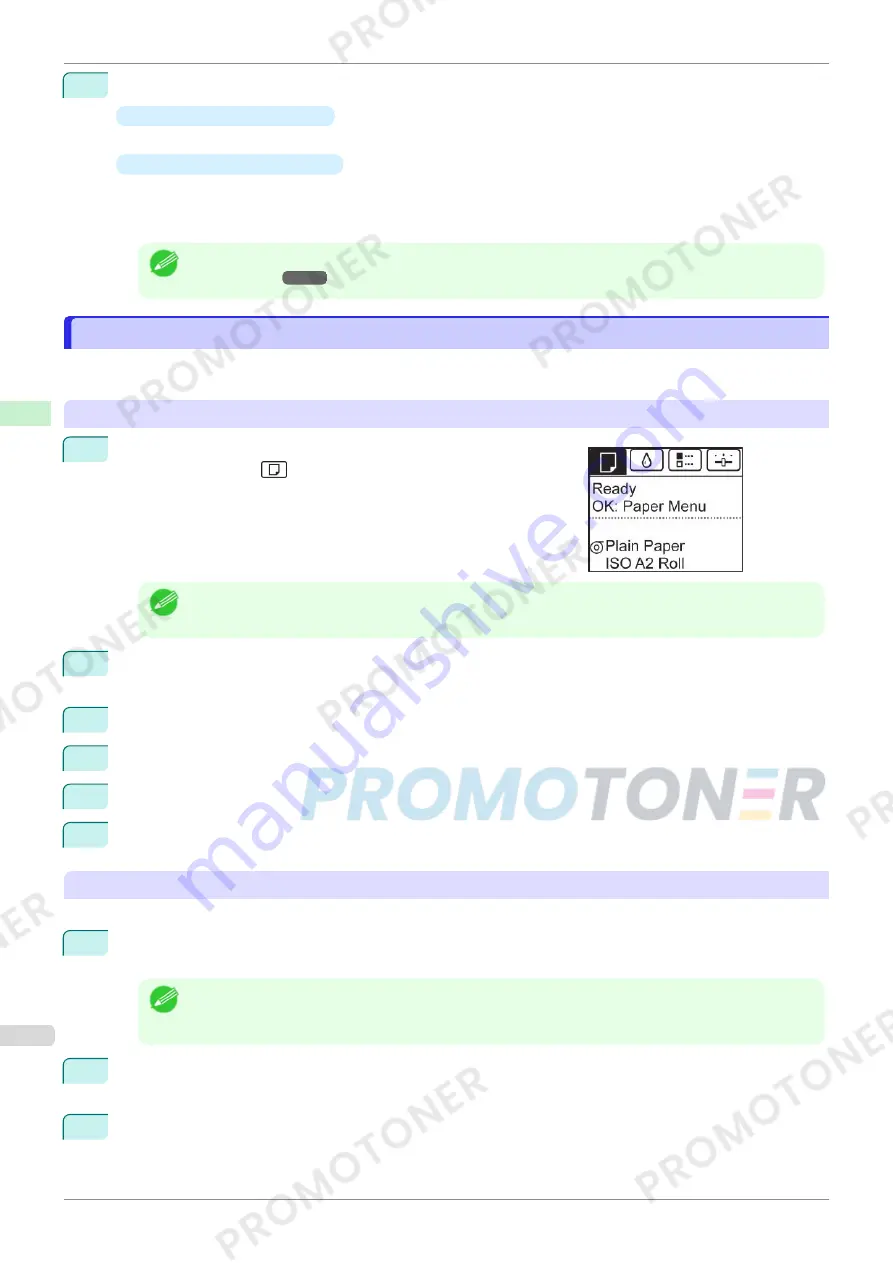
On the
Tab Selection screen
of the Control Panel, press
◀
or
▶
to
select the Paper tab (
).
Note
•
If the
Tab Selection screen
is not displayed, press the
Menu
button.
2
Press the
OK
button.
The
Paper Menu
is displayed.
3
Press
▲
or
▼
to select
Paper Details
, and then press the
OK
button.
4
Press
▲
or
▼
to select the type of paper, and then press the
OK
button.
5
Press
▲
or
▼
to select
Width Detection
, and then press the
OK
button.
6
Press
▲
or
▼
to select
Off
, and then press the
OK
button.
Load paper in the desired position to start printing from
Follow these instructions to load paper at the desired starting position for printing when
Width Detection
is
Off
.
1
If you did not send a print job in advance, a menu for selection of the type of paper is displayed.
Press
▲
or
▼
to select the type of paper, and then press the
OK
button.
Note
•
If a print job was received before paper was advanced, the media type and size specified by the job are
shown on the Display Screen.
Thus, this screen is not displayed. Go to step 2.
2
"
Width Detection OFF. OK to continue?
" is now shown on the Display Screen. Press
▲
or
▼
to select
"
Leave OFF
", and then press the
OK
button.
3
After a menu for selection of the paper size is displayed, press
▲
or
▼
to select the paper size, and then
press the
OK
button.
Printing From a Desired Starting Point
iPF770
User's Guide
Handling and Use of Paper
Handling sheets
342
Summary of Contents for imagePROGRAF iPF771
Page 26: ...iPF770 User s Guide 26 ...
Page 440: ...iPF770 User s Guide 440 ...
Page 460: ...iPF770 User s Guide 460 ...
Page 478: ...iPF770 User s Guide 478 ...
Page 494: ...iPF770 User s Guide 494 ...
Page 592: ...iPF770 User s Guide 592 ...


