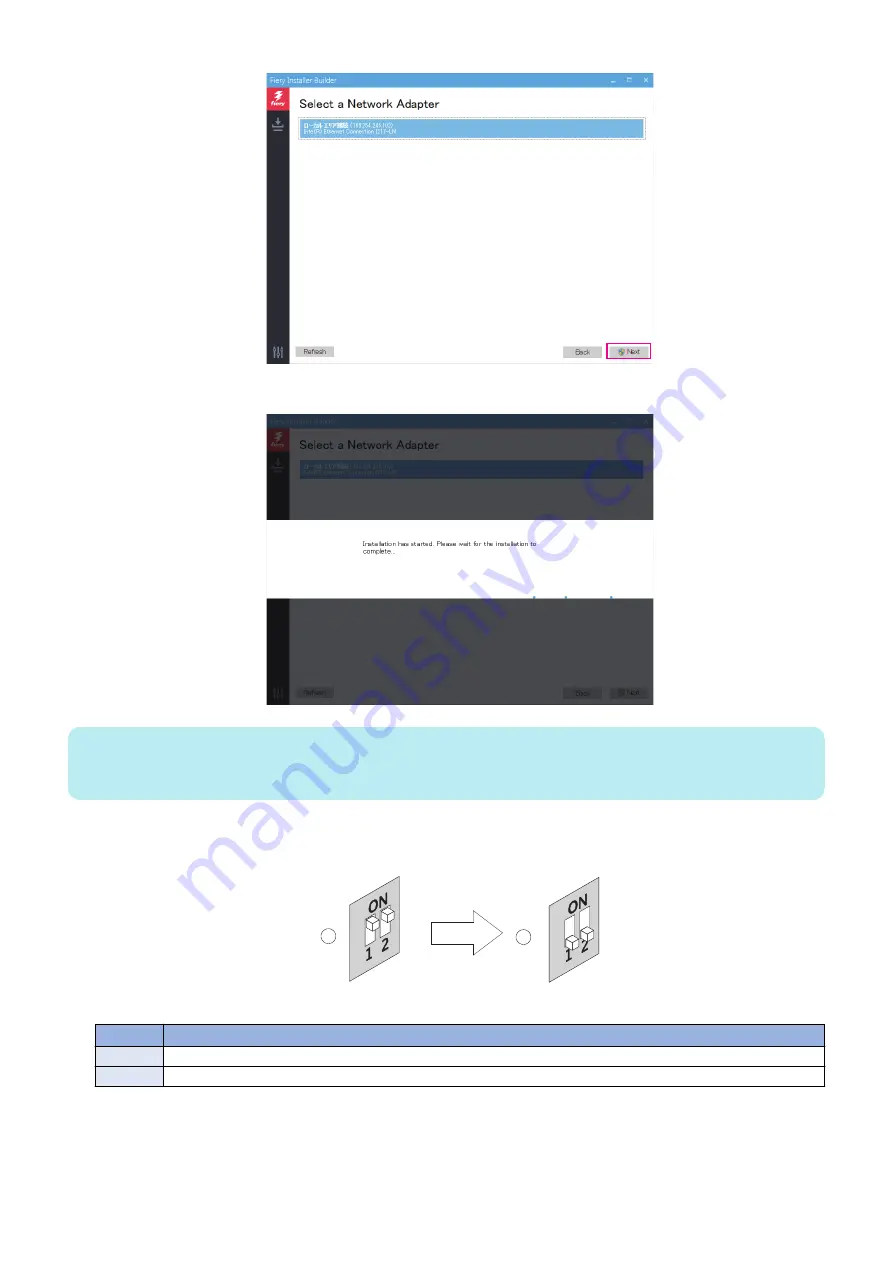
A message appears that indicates that the installation has started.
NOTE:
After confirming the LED activity starts and the LED display shows the cyclic codes (C1 > C2 > C3 > C1...), turn off the printer
using the main power switch on the front.
Once the installation is complete, the
imagePASS
will shut down automatically.
13. Flip both of the
imagePASS
service switches to the Normal (OFF) position.
2
1
Figure 32: Flipping the
imagePASS
service switches
No.
Name
1
Flip the service switches from Service (ON) position...
2
...to Normal mode (OFF) position.
14. Disconnect the Ethernet cable from the
imagePASS
network port and the Windows computer.
15. Reconnect all the cables that were connected to the
imagePASS
.
4. INSTALLING SYSTEM SOFTWARE
66
Summary of Contents for imagePASS-R1
Page 6: ...Introduction 1 Introduction 2 Specifications 7 ...
Page 15: ...Using the imagePASS 2 Using the imagePASS 11 ...
Page 19: ...REPLACING PARTS 3 Replacing Parts 15 ...
Page 51: ...INSTALLING SYSTEM SOFTWARE 4 Installing System Software 47 ...


