8-12
Receiving Faxes
Chapter 8
13
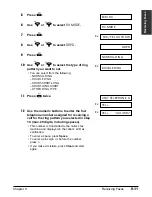
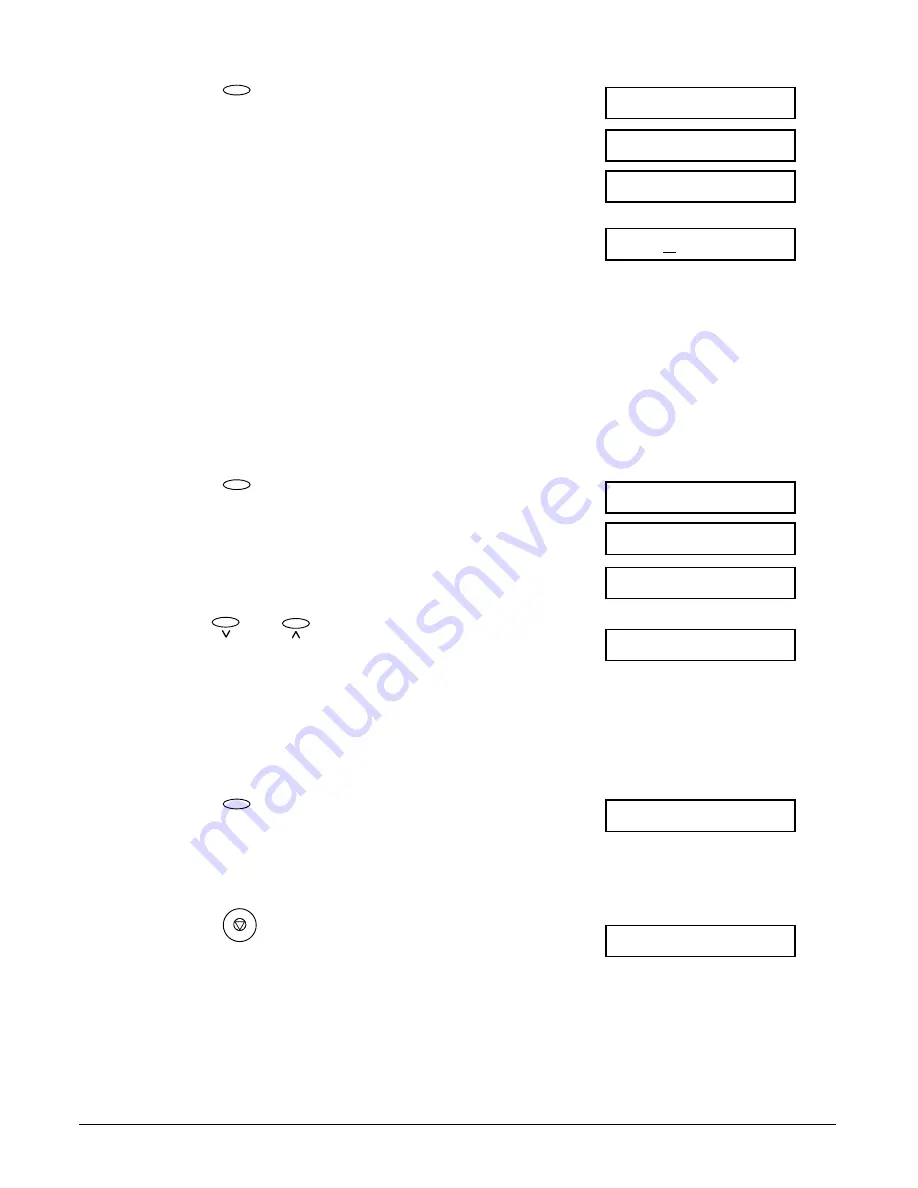
Press twice.
Ex:
14
Use the numeric buttons to enter your name
Ex:
or company name for the ring pattern you
selected in step 10 (max. 24 characters,
including spaces).
• This name is transmitted to the caller’s fax
machine and displayed in the caller’s LCD as
verification.
• If you are unsure how to enter characters,
see p. 3-2.
• If you make a mistake, press Clear and start
again.
15
Press twice.
Ex:
16
Use
or
to select the type of call to
Ex:
be received for the ring pattern you selected
in step 10.
• You can select from the following:
–
TEL
–
FAX
–
FAX/TEL AUTO SW
17
Press .
Ex:
18
To continue registering other ring patterns,
repeat the procedure from step 10.
-or-
Press
to return to standby mode.
Ex:
n
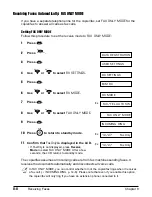
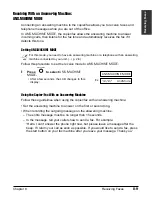
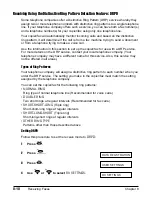
If the
RX MODE
setting is set to
DRPD
, only
DRPD
will be displayed in the LCD when
Receive Mode is pressed.
12/27 DRPD
Stop
SHORT-SHORT-LONG
Set
FAX/TEL AUTO SW
02
08
FAX
RX MODE
DATA ENTRY OK
Set
CANON
:A
_
:A
UNIT NAME
DATA ENTRY OK
Set
Summary of Contents for FAXPHONE B740
Page 51: ...4 6 Document Handling Chapter 4 ...
Page 55: ...5 4 Paper Handling Chapter 5 ...
Page 87: ...7 18 Sending Faxes Chapter 7 ...
Page 103: ...8 16 Receiving Faxes Chapter 8 ...
Page 117: ...11 6 Reports and Lists Chapter 11 ...
Page 135: ...12 18 Maintenance Chapter 12 ...
Page 165: ...14 8 Summary of Settings Chapter 14 ...
Page 187: ...I 8 Index ...


