4.
[Clean the corona wires]
If stripes appear on printed output or random parts of the printed image are missing, clean
the corona assembly wires inside the main unit.. The procedure takes approximately 35
seconds to finish.
5.
[Clean the rollers of the ADF]
If your originals have black stripes or appear dirty after transporting them through the feeder,
clean the rollers of the feeder. The procedure takes approximately 20 seconds to finish.
6.
Clean the scanner sensors
Procedure for cleaning the sensors of the scanner/reader.
7.
Refresh the fixing belt
When paper with a longer width is used after copying or printing 100 or more sheets of paper
with a shorter width (for example, when you use A3 paper after A4R paper), gloss lines may
appear on both edges in the feeding direction. In addition, patches of uneven gloss may
appear in the high density areas of the printed heavy paper or coated paper. In this case, the
lines and patches of uneven gloss may be reduced by refreshing the fixing roller and cleaning
its surface.
System service and engine service mode
To enter service mode via the maintenance screen:
1. Select the
[Go to the service mode]
button.
2. Enter the PIN (675756).
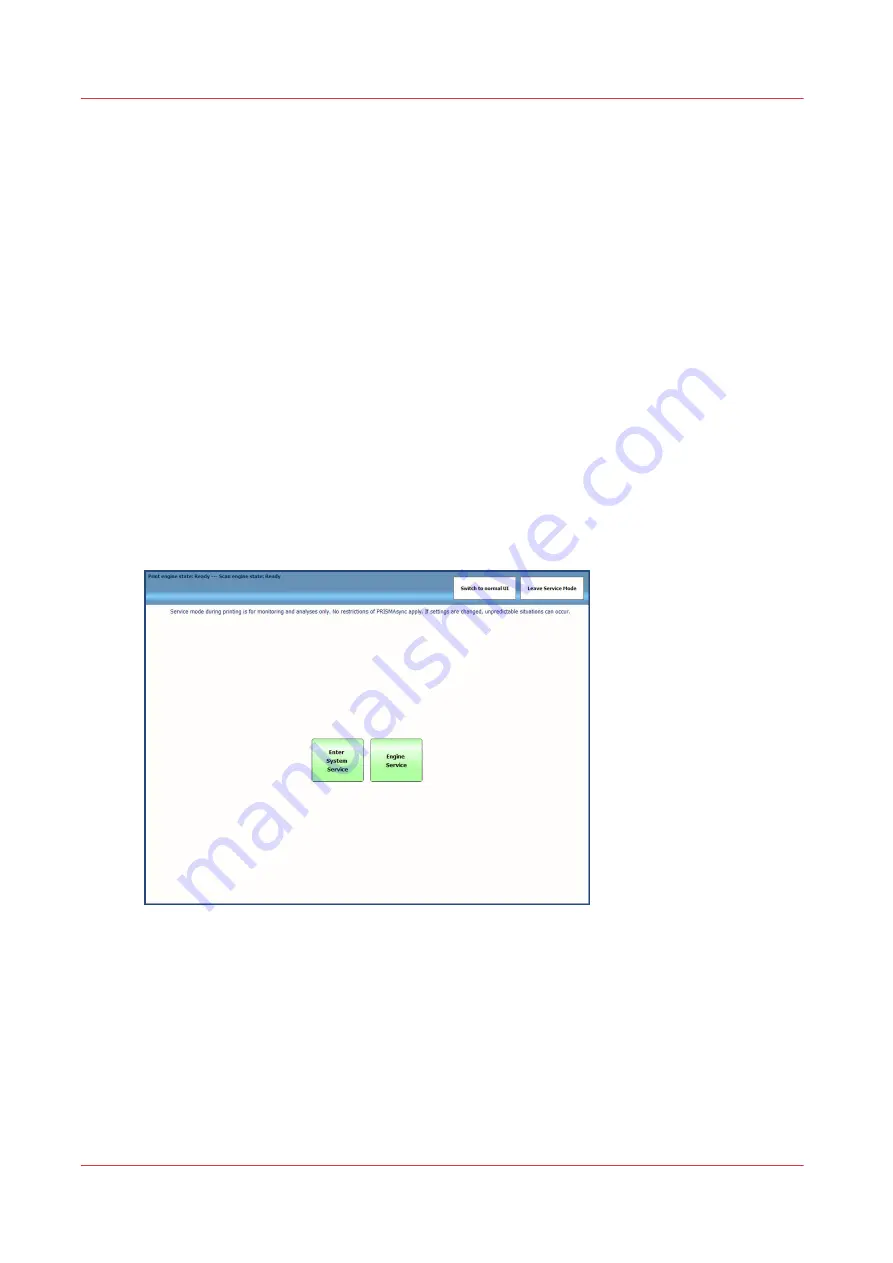
3. The following screen is displayed:
• Select
[Enter System Service]
to access the PRISMAsync service mode.
For a detailed description see:
System service mode (PRISMAsync service mode) on page 35
• Select
[Engine Service]
to access the print engine service mode during printing. This mode is
used for monitoring and analyses during printing.
For a detailed description see:
Engine service mode (during printing) on page 38
Service mode and the engine state
Below you will find an overview of how to enter service mode and the corresponding engine
state.
Maintenance and Service
32
Chapter 4 - Using the PRISMAsync
PRISMAsync V3.2
Summary of Contents for Digital Video Software v.32
Page 2: ...Edition 2014 12 GB ...
Page 6: ...Contents 6 PRISMAsync V3 2 ...
Page 7: ...Chapter 1 Preface ...
Page 10: ...Preface 10 Chapter 1 Preface PRISMAsync V3 2 ...
Page 11: ...Chapter 2 Introduction ...
Page 13: ...Chapter 3 Installation ...
Page 25: ...Chapter 4 Using the PRISMAsync ...
Page 48: ...Operator maintenance 48 Chapter 4 Using the PRISMAsync PRISMAsync V3 2 ...
Page 49: ...Chapter 5 Start shutdown and restart the system ...
Page 57: ...Chapter 6 The Settings Editor ...
Page 60: ...The Settings editor 60 Chapter 6 The Settings Editor PRISMAsync V3 2 ...
Page 61: ...Chapter 7 Service procedures ...
Page 81: ...Chapter 8 Firmware upgrades via PRISMAsync ...
Page 95: ...Chapter 9 System software ...
Page 109: ...Chapter 10 Troubleshooting ...
Page 128: ...Beep codes PRISMAsync 128 Chapter 10 Troubleshooting PRISMAsync V3 2 ...
Page 129: ...Chapter 11 Appendix ...
Page 157: ... 34 Picture 2 Engine reports Chapter 11 Appendix 157 PRISMAsync V3 2 ...
Page 163: ......


