


5
Printer Maintenance
83
7
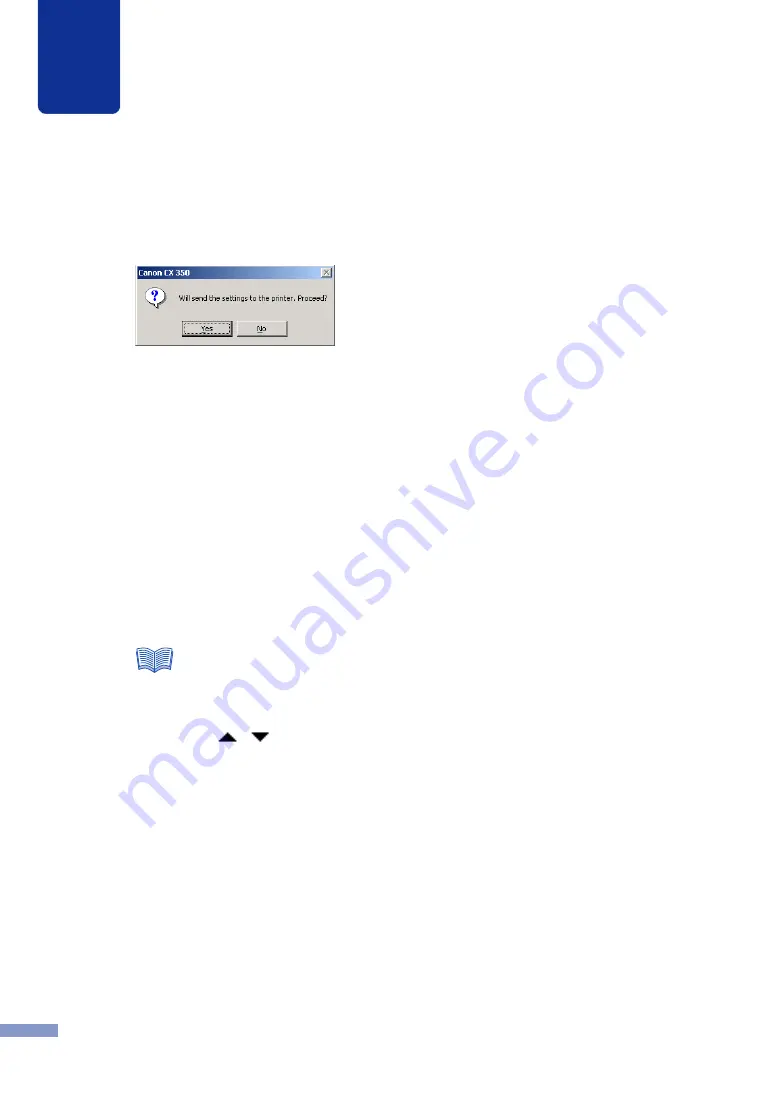
Click the Send button.
A message dialog box appears and asks you to confirm that you want to send the
settings.
8
Click the Yes button.
The position of the printhead is adjusted.
9
Click the Print button again to print the patterns and confirm that the printhead is
adjusted correctly.
Look at the printouts. If each color line of the patterns is aligned with 0, the adjustment
is finished. If the patterns are broken or separated, repeat Steps 5 to 9 to correct the
adjustment.
10
Click the Close button.
A confirmation message appears.
11
Click the Yes button.
●
Even if you open the Printhead Position Adjustment dialog box, you cannot adjust
the printhead correctly unless you print the Printhead Position Adjustment Patterns.
●
The settings are adjusted –16 to +16 in the vertical range and –12 to +12 in the
horizontal range. Depending on the status of the current settings you may not be
able to select some settings in the range. Set it in the range between the arrows
,
displayed on the slider scale.
●
The position of black ink printhead nozzle is a benchmark for adjusting A to J, so it
cannot be adjusted. Usually 0 (a reference value) is displayed and you cannot enter
any value.
Note


