Now that Canon Photo Paper Pro has been registered, you can
simply select this custom paper size in the Page Setup dialog box
for future use.
9. Click
. The printer driver setup screen will open.
10. Load a sheet of Canon Photo Paper Pro into the paper tray. Click
.
When using Canon Photo Paper Pro 4 x 6, insert the sheets in the direction
shown and print on the glossier side. When finished, remove perforated
edges. The results look just like a photograph.
Remember, when handling specialty media
papers, always follow the instructions
included with the media for the best printing
results. See page 3 for a list of other fun-to-
use Canon Specialty Papers.
M
Me
errg
giin
ng
g P
Ph
ho
otto
os
s tto
o C
Crre
ea
atte
e a
a P
Pa
an
no
orra
am
miicc V
Viie
ew
w
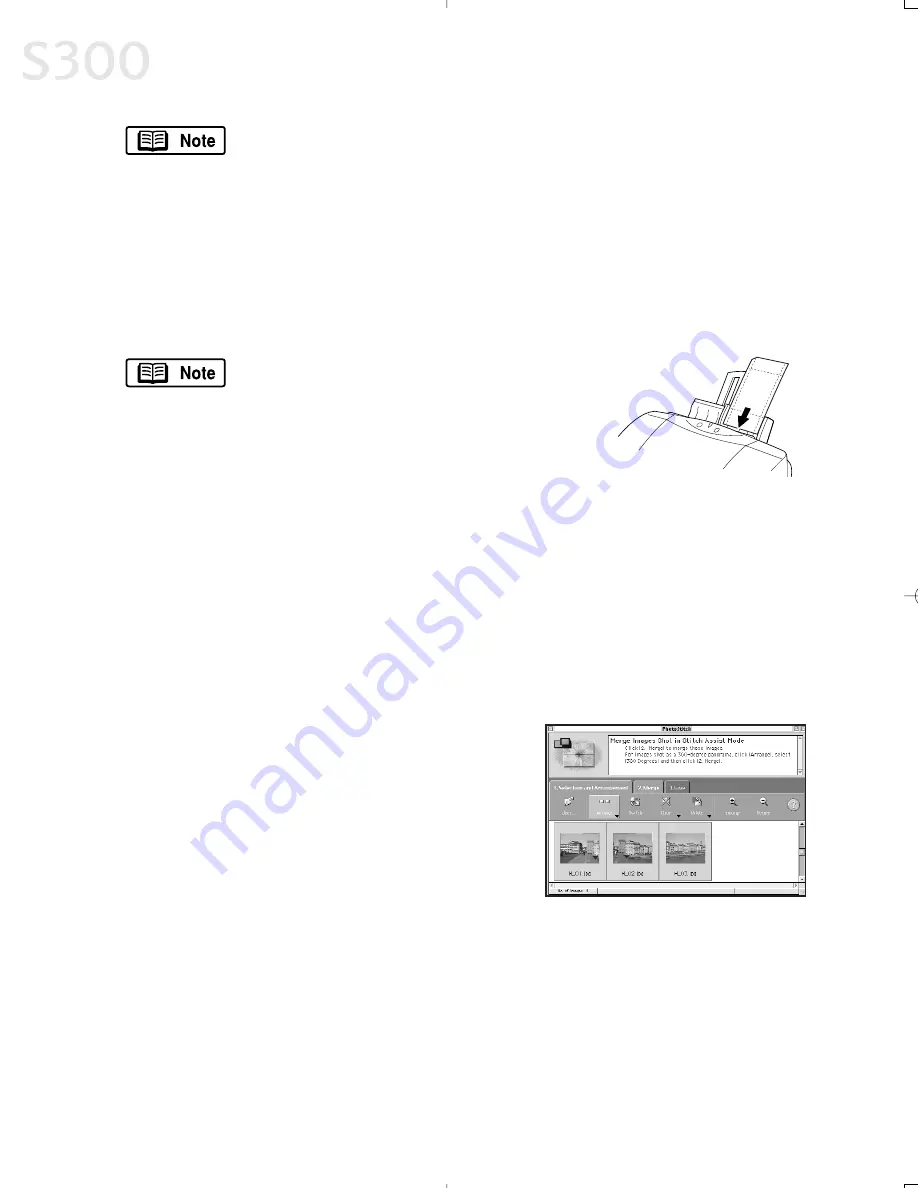
You can merge a series of overlapping images into a seamless panoramic view.
TTo
o ccrre
ea
atte
e a
a p
pa
an
no
orra
am
miicc vviie
ew
w::
1. Select the images in the Browser window, then click
Select All
. The images
will highlight. In the
Edit
menu, select
PhotoStitch
. The PhotoStitch
program will start.
2. Follow the on-screen instructions to arrange,
stitch, rotate, enlarge, or reduce your image.
M
Ma
acciin
ntto
os
sh
h U
Us
se
errs
s:: U
Un
niin
ns
stta
alllliin
ng
g tth
he
e B
BJJ S
So
ollu
uttiio
on
n S
So
offttw
wa
arre
e
TTo
o u
un
niin
ns
stta
allll tth
he
e B
BJJ S
So
ollu
uttiio
on
n S
So
offttw
wa
arre
e iin
n M
Ma
acciin
ntto
os
sh
h::
• Drag its folders to the
Trash
icon located on your desktop.
Chapter 5
4
42
2
S300_Chapter 5.QXD 5/12/01 1:40 PM Page 42
Summary of Contents for BJC-S300
Page 1: ......
Page 2: ......
Page 3: ...S300 Color Bubble Jet Printer Quick Start Guide ...
Page 60: ...Appendix 5 54 4 ...
Page 63: ......
Page 64: ......


