Adding Printers in NetWare
34
AXIS 1650 User’s Manual
5. Select
Container (e.g. Axis) and the printer (e.g. CanonMF).
6. Wait for the printer to be installed.
7. Finally, print a test page.
Setup using NetWare 6.0
Setting up iPrint in a NetWare 6.0 environment is rather similar to
performing the same task in the 6.5 version.
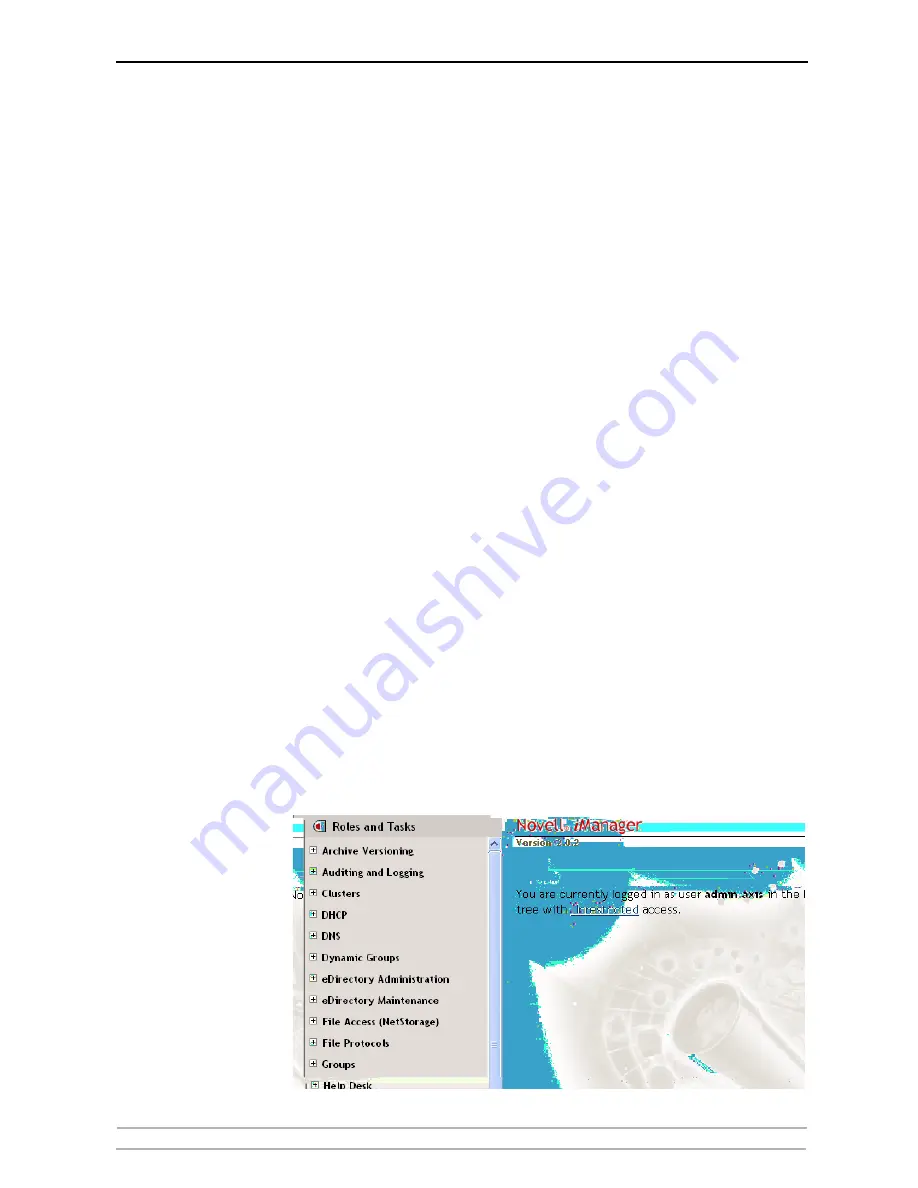
Launch the iManager
From a workstation, launch your browser and enter the following URL:
https://<server_ip_address:port_number>/eMFrame/iManager.html. Note
that this URL is case sensitive. The server IP address can also be a DNS
name. Example: https://171.15.115.109:2200/eMFrame/iManager.html
To have full access to all iManager features, you must log in as Admin of
the tree.
Check Print Service
Manager and Broker
Make sure that NDPS is installed and that the Print Service Manager and
the Broker both are loaded on your NetWare file server.
Create a Printer
In the left frame, expand iPrint Management to make all commands
available and click Create Printer.
In the Create Printer dialogue, enter the information needed.
Examples:
Printer name: CanonMF
Container name: axis
Manager name: SIXPACK_MANAGER.axis
Gateway type: Novell LPR gateway (LPR or IP)
Click Next.


