28
LaserLight2 Technical Manual
4.0
Options
Options available for the
LaserLight2
display include:
•
Fiber-optic interface
•
Radio interface
•
Pole mount kit
•
Visor kit
4.1
Fiber-Optic Interface
The fiber optic interface (PN 77788) allows for an optically-isolated connection between two devices. It eliminates
electrical disturbance transferred on the communication line between devices. It also resolves potential differences
due to a difference in grounding between the devices. The fiber optic cable can be run up to 300'.
Refer to PN 175664 for installation instructions of the fiber optic interface.
4.2
Radio Interface
A ConnexLink Wireless Radio (PN 175052) system is available for the 4" and 6"
LaserLight2
remote displays and
allows for communication between the remote display and an indicator with the matching radio installed. Refer to
the ConnexLink Wireless Radio system installation instructions, PN 180704.
4.3
Pole Mount Kit
The
LaserLight2
remote display can be mounted on a pole or steel I-beam using the optional pole mounting kit (PN
PN 177265 - 4" and PN 177266 - 6" and SG model). Use the following steps to install the pole mount option.
1. Using the enclosed 3/8" cap screws, washers and lock nuts from the parts kit, attach the two clinching pole
brackets to the pole mounting weldment.
2. Using the enclosed 3/8-16NC bolt, attach the clinching pole brackets together using washers and lock nuts.
Tighten as necessary.
3. Align the back of the
LaserLight2
remote display to the pole mount weldment so the holes line up.
4. Using the enclosed 1/4" cap screws, washers and nuts, attach the remote display to the mounting
weldment.
4.4
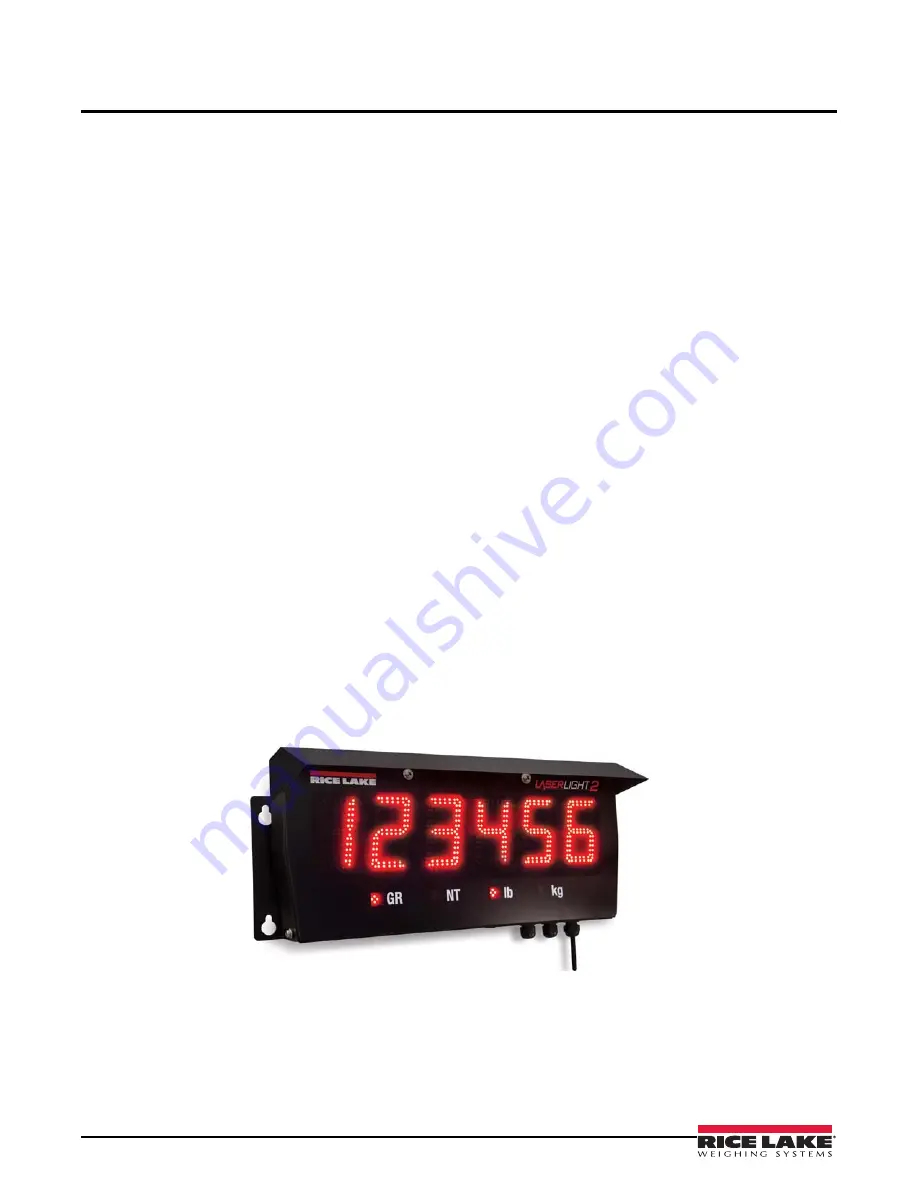
Visor Installation Kit
An optional visor can be installed on the
LaserLight2
. Figure 4-1 shows the remote display with the optional visor
installed.
Figure 4-1. LaserLight Remote Display w/ Optional Visor Installed
Set the visor (PN 181224 - 4" model) or (PN 181801 - 6" model and 4" stop/go) on top of the remote display and
attach the visor using screws and plastic washers provided.
Summary of Contents for LaserLight 2 Series
Page 36: ......


