Section 5 - Using MicroSD Card
MLGPS-P
User's Guide
73
The files stored on the microSD card are created and stored every 5 minutes. The card should be removed as
close to a 5-minute interval as possible to minimize any loss of data.
To avoid gaps in data, make sure a second microSD card is available to insert as soon as the current one is
removed. It is important that the replacement card is labeled and properly formatted, FAT32. See
Labeling
MicroSD Card
for details on labeling the card.
1. Open the MLGPS enclosure.
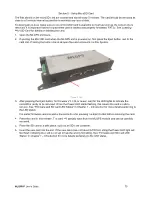
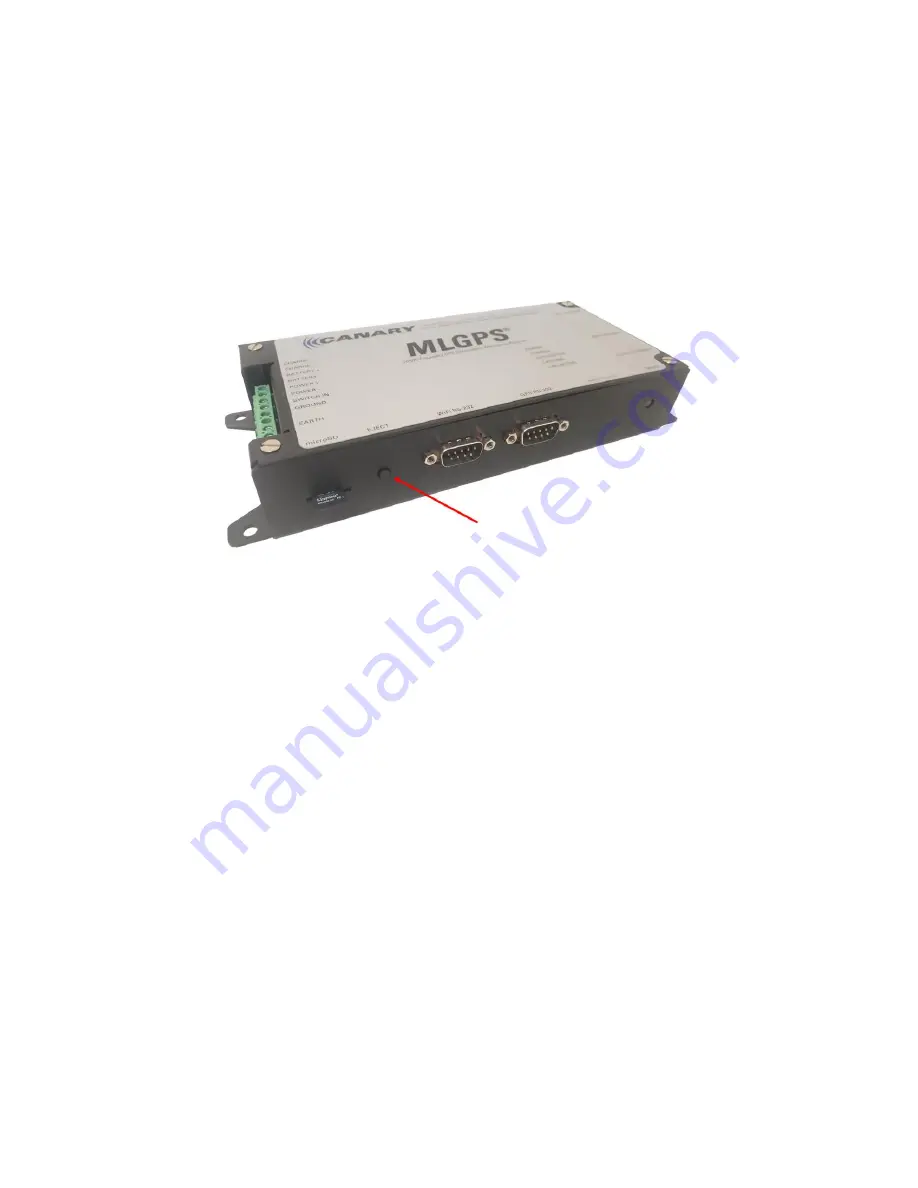
2. If ejecting the MicroSD card when the MLGPS unit is powered on, first press the Eject button next to the
card slot. Pressing the button closes all open files and unmounts the File System.
(Figure 5.1 B)
3. After pressing the Eject button, for firmware V3.0.34 or newer, wait for the LED lights to indicate the
microSD is ready to be removed. When the Power LED starts flashing, this means the card is safe to
remove. See “Firmware and SD card LED Status” in
Chapter 1
– Introduction
for more details pertaining to
the LED status.
For earlier firmware versions wait a few seconds after pressing the Eject button before removing the card
.
4. Press the card in and release. The card will partially eject from the MLGPS module and can be carefully
removed.
5. Place the SD card in a safe place, such as an SD card container.
6. Insert the new card into the slot. If the new card does not have FAT32 formatting the Power LED light will
fast flash indicating the card is corrupt or has the
wrong formatting. See “Firmware and SD card LED
Status” in
Chapter 1
– Introduction
for more details pertaining to the LED status.

