Cambridge Air Solutions
80
S-Series Technical Manual
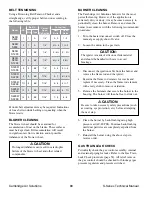
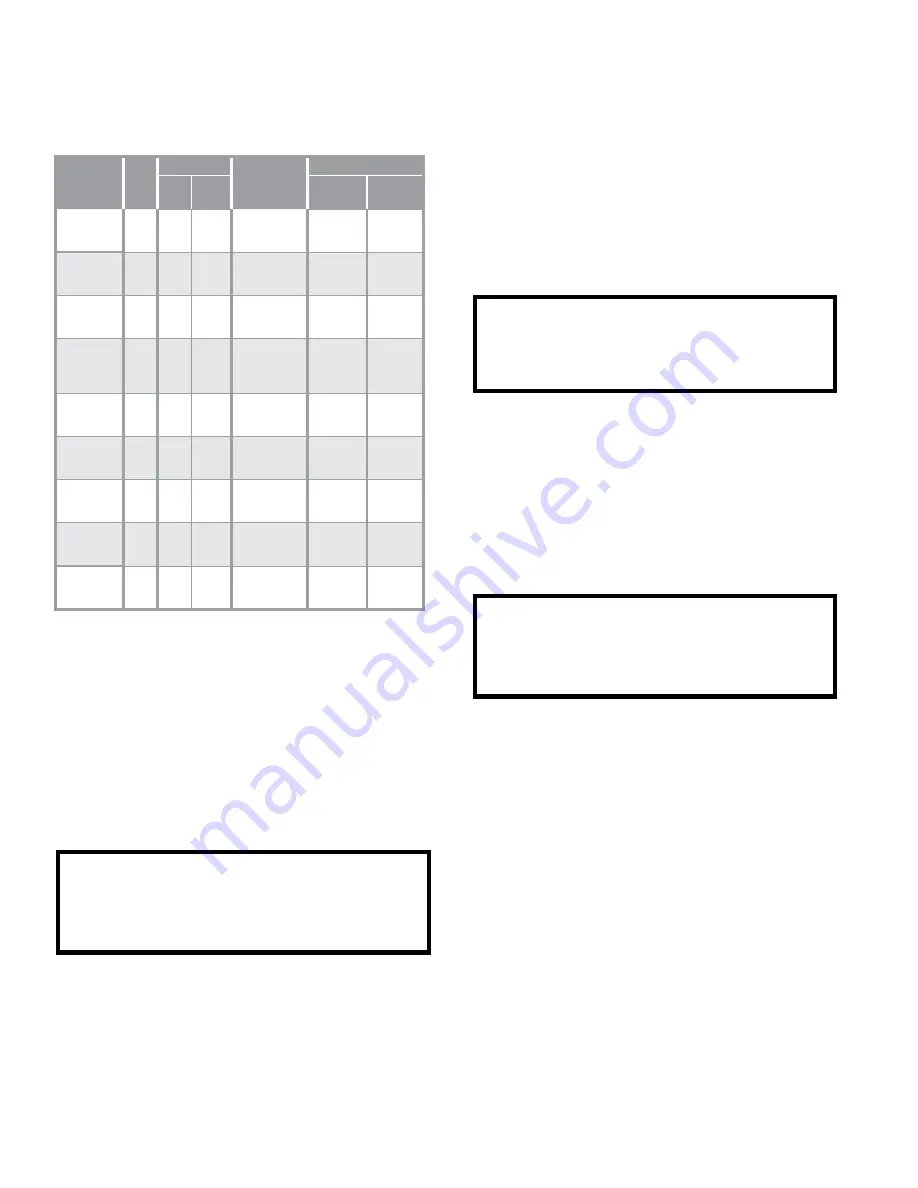
BELT TENSIONING
Using a Browning Belt Tension Checker and a
straight edge, verify proper belt tension according to
the following table:
Model
HP
Belt(s)
Center
Span
Deflection
Force (lbs)
Qty Type
New
Belts
Used
Belts
S400/
S800
1
1
A
1/4”
2 - 3
1 - 2
S400/
S800
2
1
A
1/4”
2½ - 4
1½ - 3
S950/
S1200
2
1
BX
1/4”
3 - 4½
2 - 3½
S800/
S950/
S1200
3
2
BX
1/4”
4½ - 6
4 -5½
S1200/
S1600
5
2
BX
1/4”
3 - 5
2½ - 4
S1850/
S2200
5
2
BX
7/16”
5 - 7
4½ - 6½
S1850/
S2200
7½
2
BX
7/16”
6 - 8
5½ - 7
S2200/
S3200
10
2
BX
7/16”
6½ - 8½ 6 - 7½
S2200/
S3200
15
2
BX
7/16”
7 - 9
6 - 8
Periodic belt adjustments may be required. Indications
of loose belts include barking or squealing when the
blower starts.
BLOWER CLEANING
The blower wheel should be examined for
accumulation of dust on the blades. These surfaces
must be kept clean. Dirt accumulation will result
in significant air flow reduction and/or possible
imbalance of the blower wheel.
m
CAUTION:
Prolonged imbalance can result in catastrophic
failure of the blower wheel and other related
components.
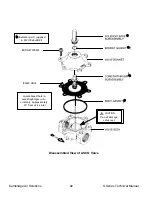
BURNER CLEANING
The Cambridge Air Solutions burner is for the most
part self-cleaning. However, if the application is
extremely dirty or dusty, it may become necessary to
periodically clean the burner. Remove and clean the
burner in accordance with the following recommended
procedures:
1. Turn the heater disconnect switch off. Close the
manual gas supply shut-off valve.
2. Loosen the union in the gas train.
CAUTION:
The igniter is made of silicon carbide material
and should be handled with care to avoid
breakage.
3. Disconnect the ignition cable from the burner and
remove the flame rod and the igniter.
4. Examine the flame rod ceramic for cracks and
replace if necessary. Clean the flame rod element
with emery cloth to remove oxidation.
5. Remove the fasteners that secure the burner to the
housing. The burner will then be free to slide out.
m
CAUTION:
Be sure to take necessary safety precautions (such
as wearing eye protection, etc.) before attempting
the next step.
6. Clean the burner by back-flushing using high
pressure air (40-80 PSI). Continue back-flushing
until dust particles are completely expelled from
the burner.
7. Reinstall the burner using the above steps in
reverse order.
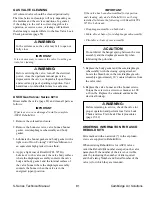
GAS TRAIN LEAK CHECK
Periodically check the gas control assembly, internal
and external piping for leaks. Refer to the Gas Train
Leak Check procedure (page 58). All relief vents on
the gas controls should be checked for blockage (gas
pressure regulators and pressure switches).

