Cambridge Air Solutions
40
S-Series Technical Manual
INSTALLATION INSTRUCTIONS
S-SERIES DOWNTURN WITH LUGS
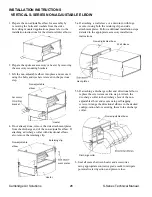
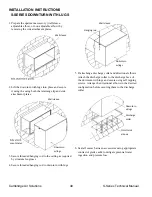
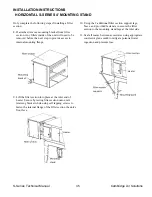
1. Prepare the upstream accessory (wall sleeve,
adjustable elbow, or non adjustable elbow) by
removing the side attachment plates.
2. Lift the downturn with lugs into place and secure
it using the using both the retaining clip and side
attachment plates.
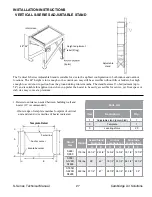
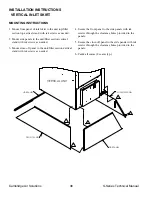
3. Secure threaded hanging rod to the ceiling as required
by structural engineer.
4. Secure threaded hanging rod to downturn with lugs
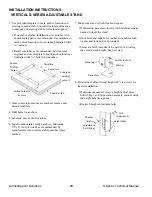
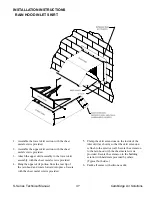
5. If attaching a discharge collar and directional elbows:
Attach the discharge collar to the discharge face of
the downturn with lugs and secure using self tapping
screws. Arrange the directional elbows in the desired
configuration before securing them to the discharge
collar.
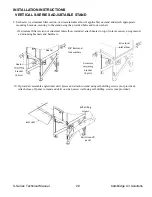
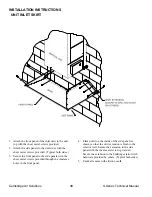
6. Seal all seams between accessories using appropriate
contractor grade caulk to mitigate potential water
ingestion and pressure loss.
Wall sleeve
Wall sleeve
ment plates
Downturn
w/lugs
Wall sleeve
Hanging rod
Downturn
w/lugs
Downturn
w/lugs
Discharge
collar
elbows
Wall sleeve
Wall sleeve
ment plates
Downturn
w/lugs
Wall sleeve
Hanging rod
Downturn
w/lugs
Downturn
w/lugs
Discharge
collar
elbows
Wall sleeve
Wall sleeve
ment plates
Downturn
w/lugs
Wall sleeve
Hanging rod
Downturn
w/lugs
Downturn
w/lugs
Discharge
collar
elbows
Wall sleeve
Wall sleeve
ment plates
Downturn
w/lugs
Wall sleeve
Hanging rod
Downturn
w/lugs
Downturn
w/lugs
Discharge
collar
elbows

