


62
Proprietary Information: Not for use or disclosure except by written agreement with Calix.
© Calix. All Rights Reserved.
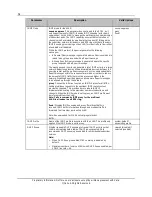
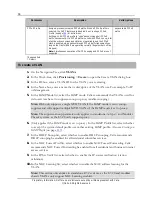
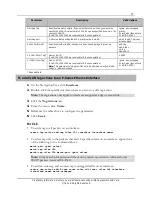
Remote ID list parameters:
ONT FSAN serial number
is the default specified in the "gpon-system-default"
profile.
Subscriber ID
of the port on which the DHCP lease request is received. For
ONT VoIP hosts, the subscriber ID of the ONT is used. In both cases, the first
16 characters of the Subscriber ID text field are inserted.
MAC Address
(for DOCSIS provisioning) of the port so that the ONT MAC is
presented to the DHCP server to validate that the subscriber CPE is connected
to a valid ONT virtual Cable Modem (vCM). See the
Calix Open Link Cable
vCMTS Command-Line Interface (CLI) Reference Guide
and
Calix Open Link Cable
vCMTS SNMP Management Guide
for more information.
none
5.
In the toolbar, click
Apply
.
For CLI:
set access-identifier-profile <eth-system-default|gpon-system-default>
remote-id [subscriber-id|fsan-serial-number|mac-addr|none]
set access-identifier-profile <eth-system-default|gpon-system-default>
circuit-id [calix-format|tr101-format|calix-format-2]
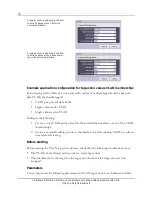
Provisioning VLAN Ranges
Provisioning VLANs in ranges allows you to efficiently create, update, modify, and delete
VLANs. This feature also allows you to quickly create VLAN memberships to multiple
Ethernet port interfaces.
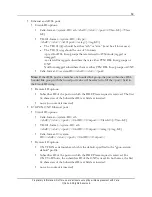
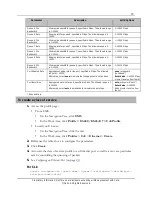
To create a range of VLANs
1.
On the Navigation Tree, select and expand the
E-Series
node, and then click
VLANS
.
2.
In the Toolbar, click the Range Operations icon
, and then select
Range Create
to
open the Create VLAN Range dialog box.
3.
In the From and To boxes, enter the values of the first VLAN ID and last VLAN ID in
the range.
4.
Select the Stop On Failure box to stop the range creation operation if a failure occurs.
For example, if VLANs within the specified range already exist.
5.
Enter the parameters to apply to the VLANs in the range, and then click
Create
. The
Task Progress dialog appears to show the status of each operation.
6.
Click
ok
.


