Any time these instructions ask you to “select a site” or “select a unit,” go to the Site List and click on that site
or unit to highlight it.
New Site
Before you can connect to any units, you must set up your site in Lynx. Clicking the New Site icon opens the
Site Wizard, which will guide you through each step of creating a site.
Edit Site
After you have created a site, you can edit its settings by clicking the Edit Site icon. The Site Wizard will open,
allowing you to use the Next and Back buttons to navigate through each screen and edit the desired settings.
Connect/Disconnect
With your site selected in the Site List, click the green Connect icon (
) to establish a connection to your site
using the primary connection method you specify in the Site Wizard. If you want to connect using your backup
connection, click the yellow Connect to Backup icon (
). To disconnect from the site selected in the Site List,
click the Disconnect icon (
).
When you set up your site, you will be able to configure a backup connection to automatically activate in case
the primary fails.
Unit Configuration
When a site is selected in the Site List, click the Unit Configuration icon to open the Unit Configuration window.
From there, you can set up channel properties, site dialing and other unit settings. The available configuration
options depend on whether a Voice Interface or I/O unit is selected.
CREATING A NEW SITE IN LYNX: THE SITE WIZARD
Before Lynx will recognize any connected units, you need to set up the site containing those units. Click the New
Site icon in the toolbar, and the Site Wizard will open and guide you through each step of configuring your
computer connection and site settings. Refer to the descriptions below for explanations of each step of the site
setup process:
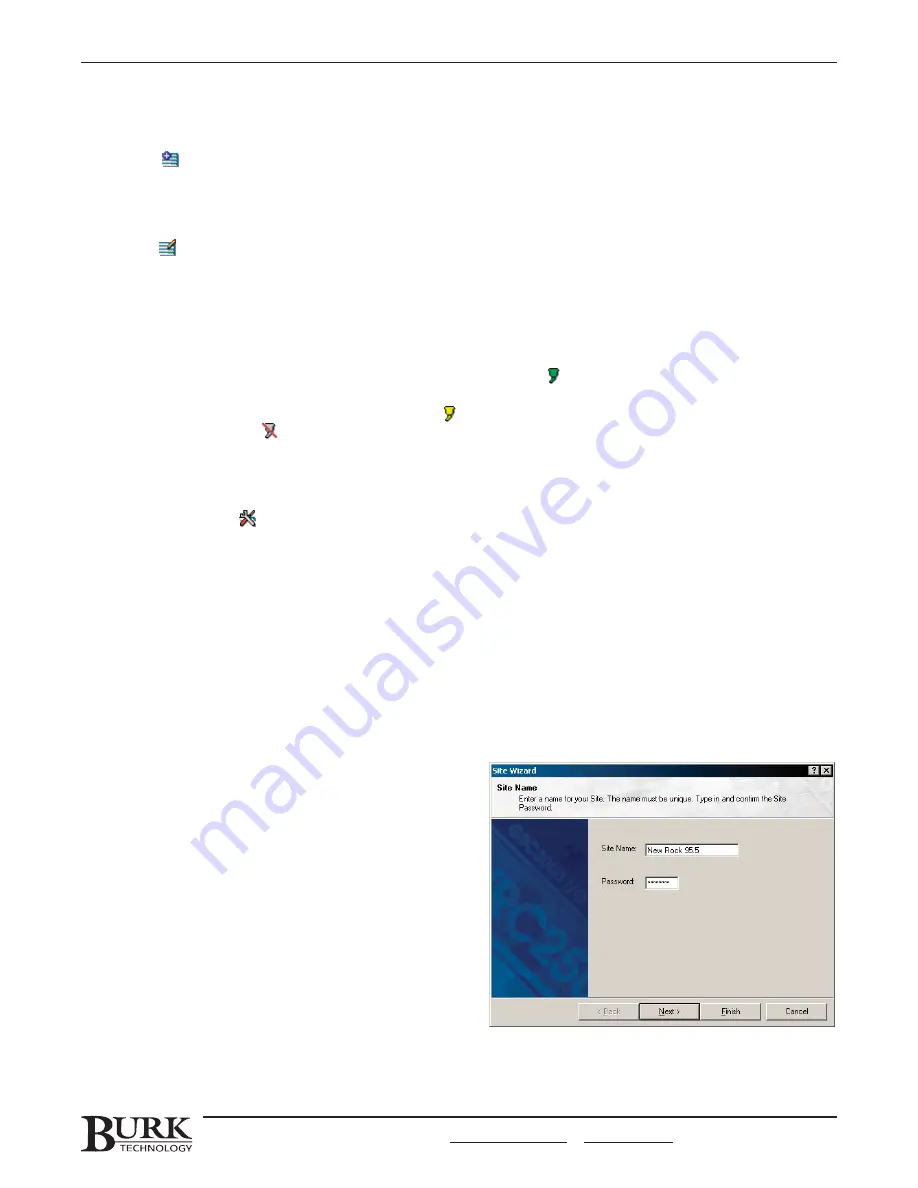
Site Name
1. Enter a name and password for this site. The site
name can include up to 20 characters. If you will
be connecting to a factory-new unit, or if you have
cleared and reloaded firmware, the default
password is P
PA
AS
SS
SW
WO
OR
RD
D. Otherwise, enter the
password previously assigned to the unit.
2. Click Next when you are finished.
CHAPTER 2: SOFTWARE & SITE SETUP
17
CUSTOMER SUPPORT: 978-486-3711 • [email protected] • www.burk.com
Summary of Contents for GSC3000
Page 8: ...GSC3000 VRC2500 INSTALLATION OPERATION MANUAL viii ...
Page 22: ...GSC3000 VRC2500 INSTALLATION OPERATION MANUAL 14 ...
Page 32: ...GSC3000 VRC2500 INSTALLATION OPERATION MANUAL 24 ...
Page 40: ...GSC3000 VRC2500 INSTALLATION OPERATION MANUAL 32 ...
Page 52: ...GSC3000 VRC2500 INSTALLATION OPERATION MANUAL 44 ...
Page 68: ...GSC3000 VRC2500 INSTALLATION OPERATION MANUAL 60 ...
Page 120: ...GSC3000 VRC2500 INSTALLATION OPERATION MANUAL 112 ...
Page 128: ...GSC3000 VRC2500 INSTALLATION OPERATION MANUAL 120 ...
Page 132: ...GSC3000 VRC2500 INSTALLATION OPERATION MANUAL 124 ...
Page 140: ...GSC3000 VRC2500 INSTALLATION OPERATION MANUAL 132 ...
Page 144: ...GSC3000 VRC2500 INSTALLATION OPERATION MANUAL 136 ...


