5. Click Finish. The Site List will refresh to display the new site you added.
6. If you have multiple sites, you can add the others now by once again clicking the New Site icon in the
toolbar. Alternatively, you can go on to set up unit numbers and configuration options for this site and
add any other sites later.
EDITING SITE SETTINGS
Once you create the site in the Site Wizard, you can later go back to edit your site settings by highlighting that
site in the S
Siitte
e LLiisstt and clicking the Edit Site icon in the toolbar. The Site Wizard will appear and allow you to
modify the site’s settings. Navigate through the setup screens using the N
Ne
exxtt and B
Ba
acckk buttons, and click the
FFiin
niissh
h button when you are done.
Note: If you are currently connected to the site when you go to edit site settings, a dialog box appears to inform you
that some fields cannot be edited. To make changes to the Site Name or Password, disconnect from the site before
opening the Site Wizard.
CONNECTION SETTINGS
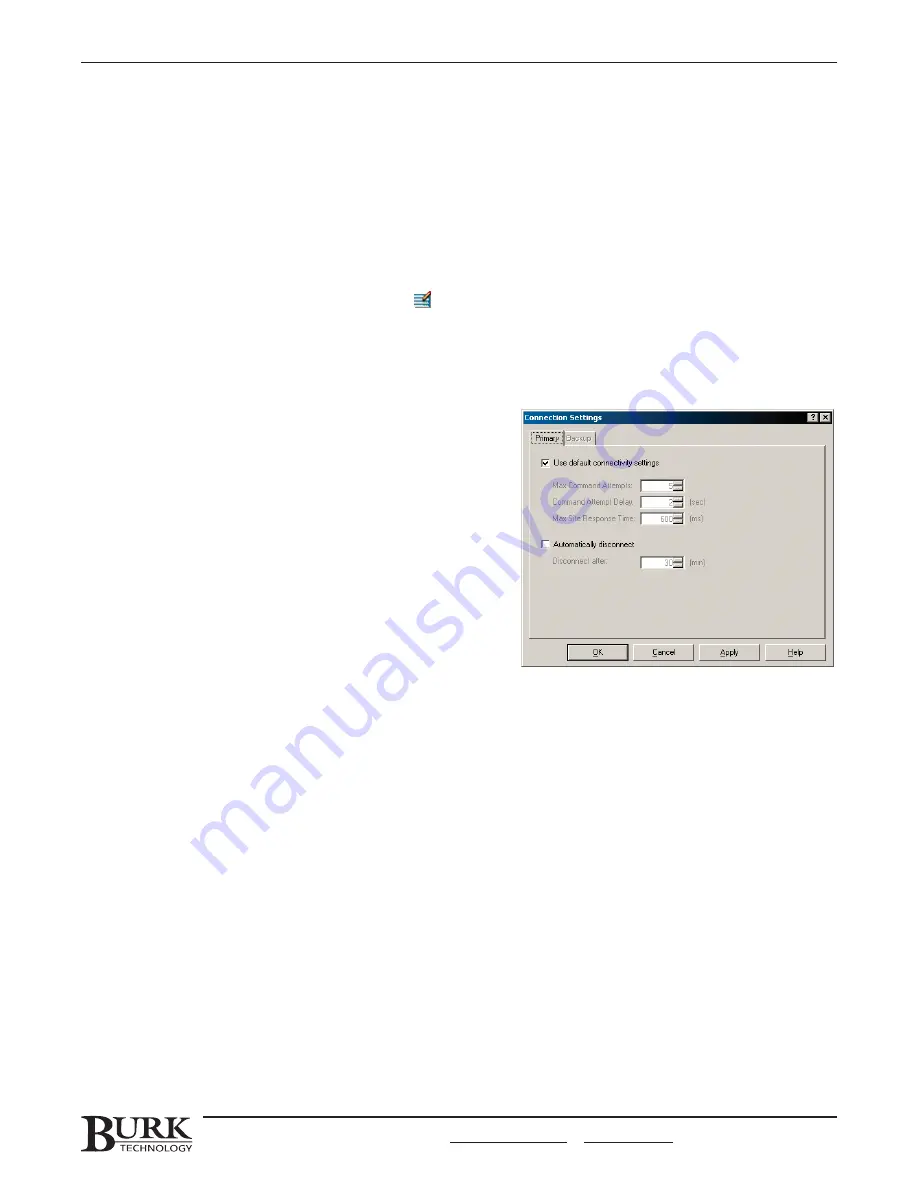
Connection Settings determine how many times Lynx will
attempt to issue the same command to the remote site, how
long it will wait to receive a response from the unit to respond,
and how long it will wait before retrying the command. In the
Options Menu (see page 86), you can set the default settings
that will affect every site set up on the computer. To specify
unique connection settings that will affect one site only, select
site in the Site List, select Connection Settings from the Site
menu and uncheck Use Default Connectivity Settings box.
Then specify the unique connection settings for this site’s
primary and backup connection.
SETTING I/O UNIT NUMBERS
(GSC3000 ONLY)
After you have created the site in Lynx, you are ready to set the unit number for each of your I/O units. Because
you may connect up to sixteen I/O units plus a Voice Interface, each unit must have a unique identification
number. If you have only one I/O, leave the unit number at the factory default of 0 and skip this section.
The unit number is stored directly on the I/O and set using a direct PC connection. Be sure to complete this
process before installing at your remote site, because you will be physically connecting to each individual unit.
Note: A Voice Interface is always identified as unit 16, and this unit number cannot be changed.
To set the unit number for each I/O unit:
1. Use the supplied null modem cable to connect your PC serial port directly to COM1 on the I/O unit.
2. From the Tools menu, select Assign Unit Number…
CHAPTER 2: SOFTWARE & SITE SETUP
21
CUSTOMER SUPPORT: 978-486-3711 • [email protected] • www.burk.com
To set unique connection settings for each site, use the
connection settings window from the site menu.
Summary of Contents for GSC3000
Page 8: ...GSC3000 VRC2500 INSTALLATION OPERATION MANUAL viii ...
Page 22: ...GSC3000 VRC2500 INSTALLATION OPERATION MANUAL 14 ...
Page 32: ...GSC3000 VRC2500 INSTALLATION OPERATION MANUAL 24 ...
Page 40: ...GSC3000 VRC2500 INSTALLATION OPERATION MANUAL 32 ...
Page 52: ...GSC3000 VRC2500 INSTALLATION OPERATION MANUAL 44 ...
Page 68: ...GSC3000 VRC2500 INSTALLATION OPERATION MANUAL 60 ...
Page 120: ...GSC3000 VRC2500 INSTALLATION OPERATION MANUAL 112 ...
Page 128: ...GSC3000 VRC2500 INSTALLATION OPERATION MANUAL 120 ...
Page 132: ...GSC3000 VRC2500 INSTALLATION OPERATION MANUAL 124 ...
Page 140: ...GSC3000 VRC2500 INSTALLATION OPERATION MANUAL 132 ...
Page 144: ...GSC3000 VRC2500 INSTALLATION OPERATION MANUAL 136 ...


