6
Select “System” from the “Log Type” list.
7
Enter “Microsoft-Windows-WindowsUpdateClient” into the “Source” box.
8
An event ID can be blank. All events triggered by Windows Update will be notified. If you prefer only being
notified of specific events, enter those event IDs.
9
Click
OK
three times.
10
Enter the password of the user you’re logged in as and click
OK
.
Acquiring Windows Event Logs
To acquire event logs of the TeraStation, follow the procedure below.
1
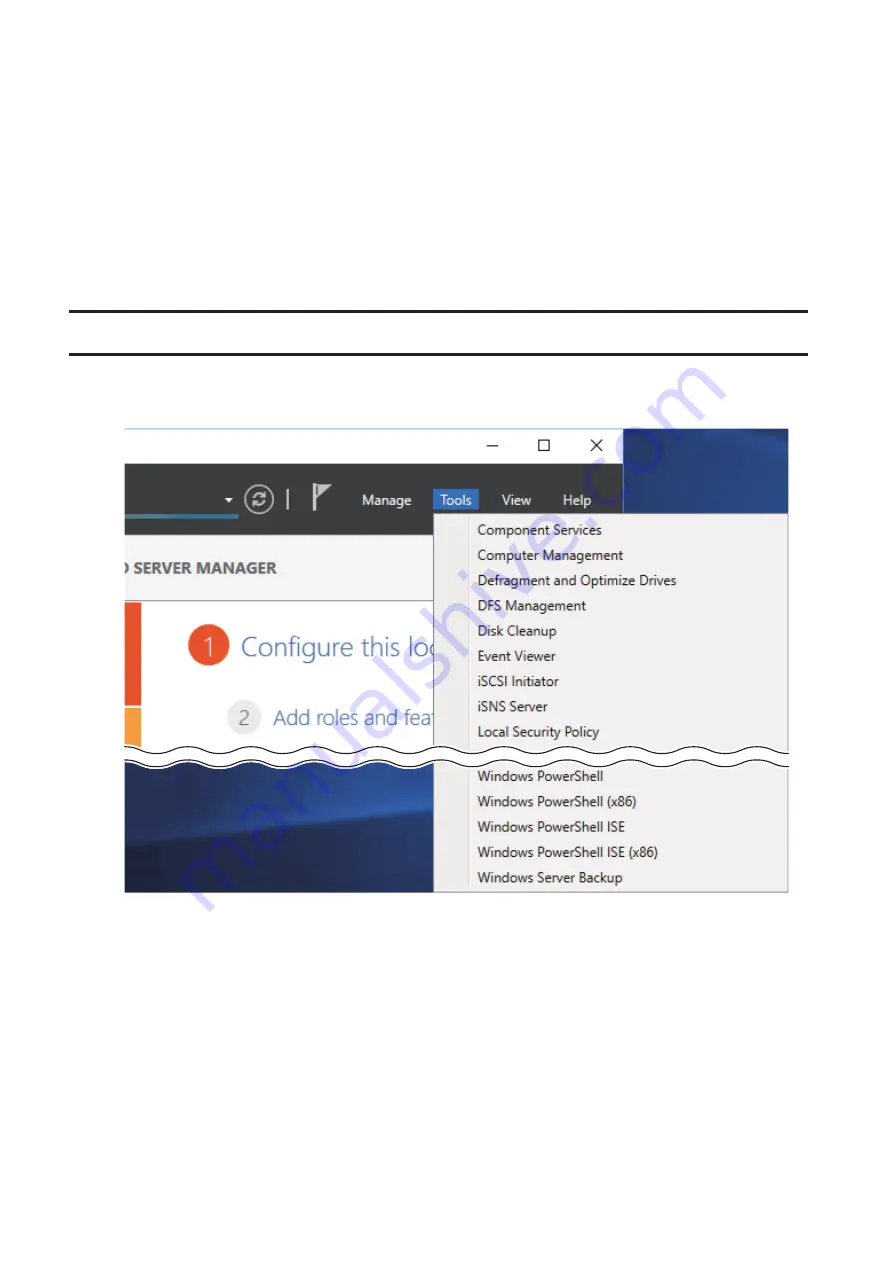
From Server Manager, click
Tools
>
Event Viewer
.
2
Double-click
Windows Logs
.
3
Right-click on either “Application”, “Security”, “Setup”, or “System” in the left-side menu to determine the logs to
be saved.
4
Click
Save All Events As
.
5
Specify the desired location and enter a filename, then click
Save
. Do not change the file type.
6
When the “Display Information” screen appears, click
OK
.
The operation to acquire event logs is complete. Open the log file stored in the specified location to check the
contents of the event logs.
77
Summary of Contents for TeraStation WSS WSH5010N6
Page 25: ...5 Select Custom and click Next 6 Click Add Items 24...
Page 26: ...7 Select the backup source folders or drives and click OK 8 Click Next 25...
Page 27: ...9 Specify the schedule to run the backup and click Next 26...
Page 31: ...5 Select the date when a data backup occurred and click Next 30...
Page 38: ...3 From the Computer Name tab click Change 4 Select Domain enter a domain name and click OK 37...
Page 43: ...3 Enter a hostname for the namespace server and click Next 42...
Page 44: ...4 Enter a name for the namespace and click Next 43...
Page 49: ...4 Enter a name for the replication group and click Next 48...
Page 51: ...7 Click Next 50...
Page 52: ...8 Select Full mesh and click Next 51...
Page 54: ...10Select the device as the primary member and click Next 53...
Page 55: ...11Click Add 12Select the folder as the replication source and click OK 54...
Page 56: ...13Click Next 55...
Page 57: ...14Click Edit 56...
Page 58: ...15Select Enabled and select the folder as the replication destination then click OK 57...
Page 59: ...16Click Next 58...
Page 60: ...17Click Create 59...
Page 69: ...3 Double click Remote Desktop Users 4 Click Add 5 Click Advanced 6 Click Find Now 68...
Page 70: ...7 Select the user to be added as a group member and click OK 8 Click OK then click OK again 69...
Page 72: ...4 Enter a group name and click Add 5 Click Advanced 6 Click Find Now 71...


