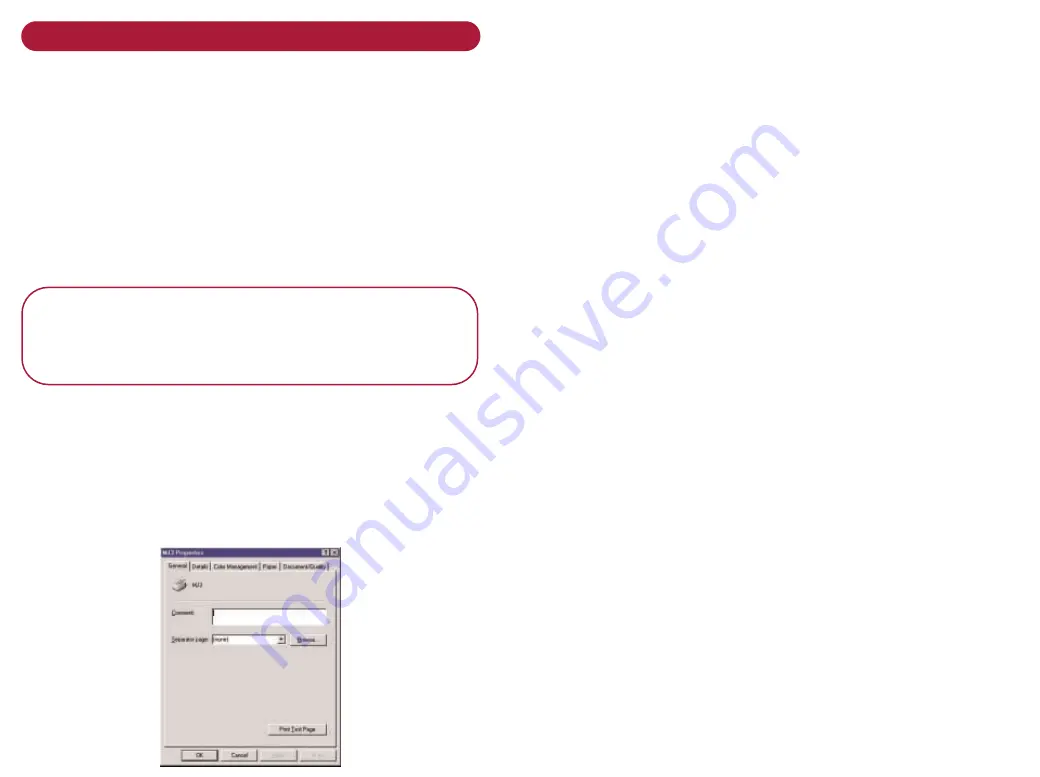
Changing the printer properties
Most Windows software applications allow you to make
changes to determine how a print job looks - page size,
paper orientation, and margins. The changes can be
temporary – for the document you are printing or
permanent, by saving the settings as default.
To ch a n g e t h e d e fa u l t p r i n t e r p r o p e r t i e s
This will set the default style you want, for all documents
you print from your PC.
N o t e :
You will still be able to change the style on
a per document basis, if required, by selecting
P r o p e r t i e s :
from the print dialogue box when you
request a print.
•
Click on
S t a r t
menu button
•
Select
S e t t i n g s
. The Settings options are shown
•
Select
P r i n t e r s
and a new screen will open
•
Right click on the MJ3 Printer icon and click
on
P r o p e r t i e s
Click on the appropriate tabs to make changes to the
Paper or Document/Quality
1. General
Allows you to add a separator page.
Lets you print a test page.
2. Details
We recommend you keep the default settings.
3. Color Management
We recommend you keep the default settings.
4. Paper
Paper size – choose the size of paper in the input tray.
Copies: option to Collate and print in
Reverse Page Order.
Orientation: Portrait or Landscape.
5. Document/Quality
6. Document Type
Automatic allows the software to print using the best
settings for the document. Must be used for colour
printing. Black Only will print in shades of grey.
7. Paper Type
select between Plain Paper; Coated Paper; Glossy/Photo
Paper; Transparency; Iron-on Transfer or Greetings
Card stock.
8. Print Quality
select between 600dpi (Quick Print or Normal) and
1200dpi High quality.
9. Web Smoothing
provides clarity when printing from the web.
10. Defaults
restores default settings.
11. About
software version.


