M
y D
es
ign
C
ent
er
6
STITCH SETTINGS SCREEN
163
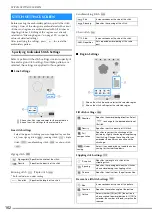
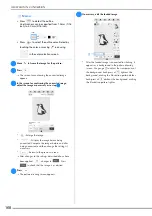
a
Use
to select the line or region to be changed.
Each press of
moves the highlighting of the
selected pattern in order.
b
Select the setting to be changed, and then change the
setting in the screen that appears. (In this example, the
embroidering direction will be changed.)
The setting screen appears.
c
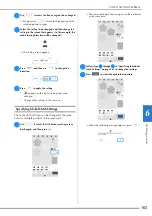
Press
, and then use
to change the
direction.
d
Press
to apply the setting.
*
appears on the tab for settings that were
changed.
*
Change other settings in the same way.
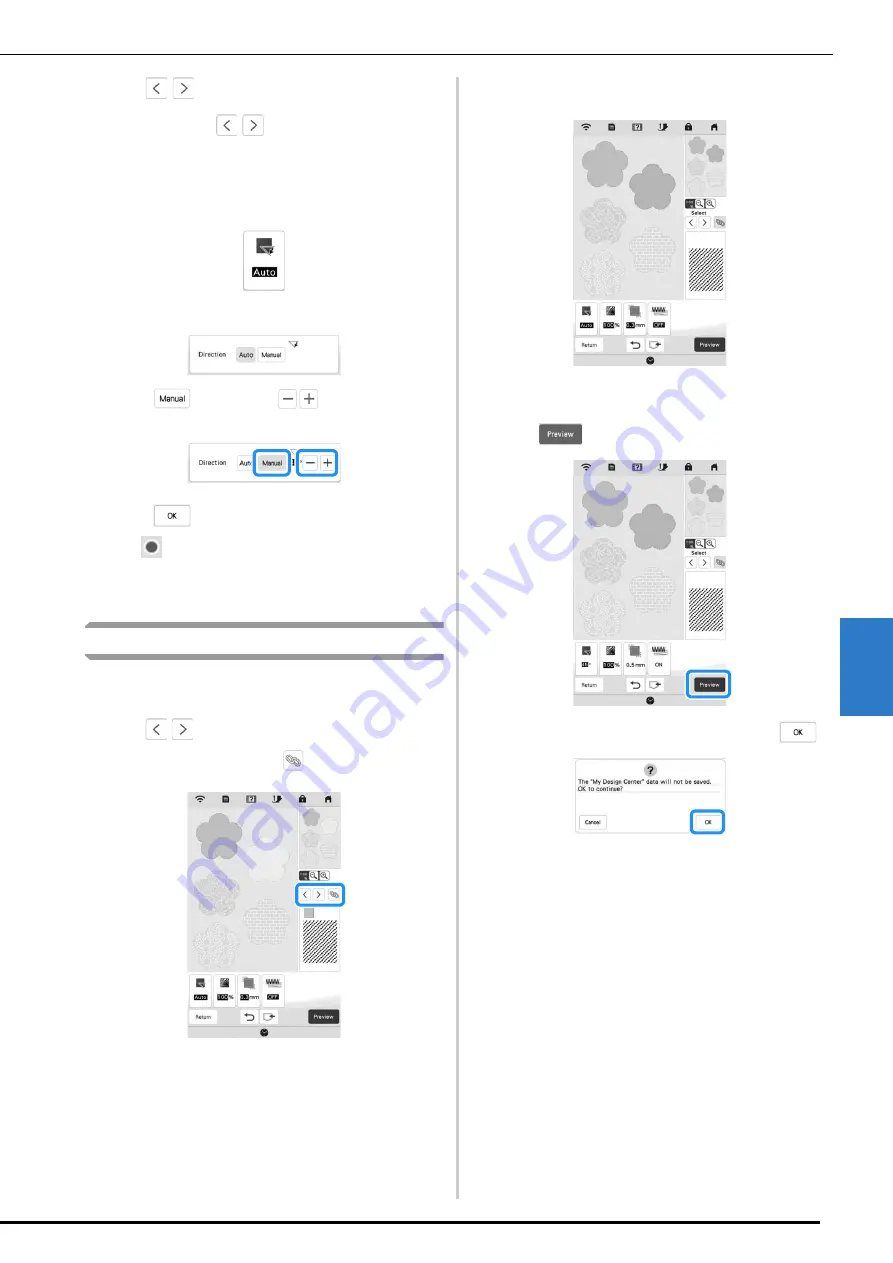
Specifying Global Stitch Settings
The same stitch settings can be changed at the same
time for multiple patterns of the same type.
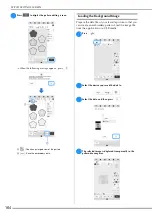
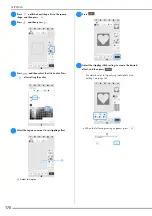
a
Use
to select the stitch whose settings are to
be changed, and then press
.
The same stitch type lines or regions will be selected
at the same time.
b
Follow steps
b
through
d
in “Specifying Individual
Stitch Settings” on page 162 to change the settings.
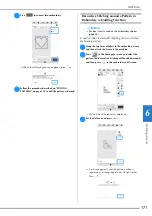
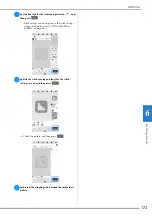
c
Press
to create the embroidery pattern.
When the following message appears, press
.
Summary of Contents for 882-W70
Page 2: ......
Page 12: ...CONTENTS 10 ...
Page 56: ...CHANGING THE PRESSER FOOT 54 ...
Page 57: ...Chapter 2 Sewing Basics ...
Page 73: ...Chapter 3 Various Stitches ...
Page 106: ...MY CUSTOM STITCH 104 ...
Page 107: ...Chapter 4 Basic Embroidery ...
Page 141: ...Chapter 5 Advanced Embroidery ...
Page 156: ...EMBROIDERY APPLICATIONS 154 ...
Page 157: ...Chapter 6 My Design Center ...
Page 176: ...STIPPLING 174 ...
Page 177: ...Chapter 7 Appendix ...
Page 193: ...ERROR MESSAGES 191 Appendix 7 ...
Page 205: ......
Page 206: ......
Page 207: ......
Page 208: ......
Page 209: ......
Page 210: ......
Page 211: ......


