


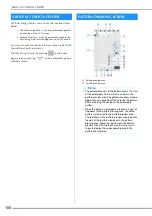


PATTERN DRAWING SCREEN
158
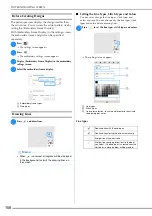
Before Creating Designs
The pattern preview displays the design smaller than
the actual size. You can view the actual pattern size by
setting the [Embroidery Frame Display].
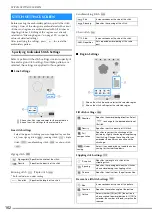
With [Embroidery Frame Display] in the settings screen,
the embroidery frame and grid can be specified
separately.
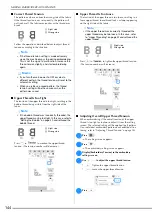
a
Press .
The settings screen appears.
b
Press .
The embroidery settings screen appears.
c
Display [Embroidery Frame Display] in the embroidery
settings screen.
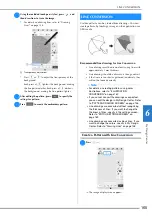
d
Select the embroidery frame display.
1
Embroidery frame types
2
Grid types
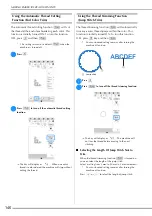
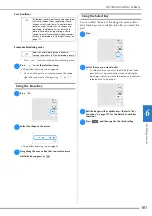
Drawing Lines
a
Press
and draw lines.
■
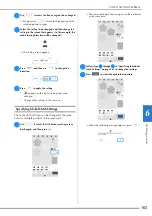
Setting the Line Types, Stitch Types and Colors
You can set or change the line types, stitch types and
colors anytime. You can also specify the line types, stitch
types and colors before drawing lines.
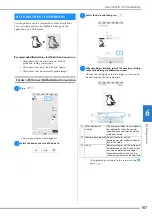
a
Press
to set the line types, stitch types and colors.
The settings screen appears.
1
Line types
2
Stitch types
3
Line color selection: touch the color palette to activate
the drawing pen color.
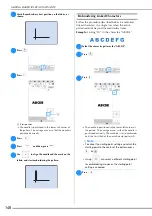
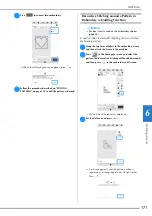
Line types
Memo
• When
is pressed, all regions will be displayed
in the background to clarify the drawing lines on
the screen.
1
2
Freehand line with the end open.
Freehand line closing the end automatically.
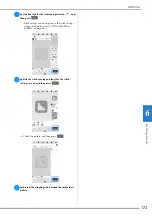
Straight line with one stroke
Straight line changing directions to the point
you select. If the end point is created near the
start point, a closed object will be created.
1
3
2
Summary of Contents for 882-W70
Page 2: ......
Page 12: ...CONTENTS 10 ...
Page 56: ...CHANGING THE PRESSER FOOT 54 ...
Page 57: ...Chapter 2 Sewing Basics ...
Page 73: ...Chapter 3 Various Stitches ...
Page 106: ...MY CUSTOM STITCH 104 ...
Page 107: ...Chapter 4 Basic Embroidery ...
Page 141: ...Chapter 5 Advanced Embroidery ...
Page 156: ...EMBROIDERY APPLICATIONS 154 ...
Page 157: ...Chapter 6 My Design Center ...
Page 176: ...STIPPLING 174 ...
Page 177: ...Chapter 7 Appendix ...
Page 193: ...ERROR MESSAGES 191 Appendix 7 ...
Page 205: ......
Page 206: ......
Page 207: ......
Page 208: ......
Page 209: ......
Page 210: ......
Page 211: ......