PREPARING FOR BOBBIN WORK
A-8
p
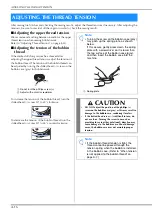
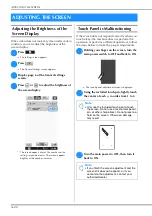
Install the needle plate cover and bobbin
cover with tabs.
For details on installing the needle plate cover, refer to
“Cleaning the Race” on page A-19.
a
Bobbin cover
b
Bobbin cover with tabs
q
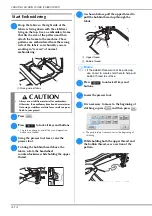
Install the flat bed attachment or
embroidery unit.
→
This completes the upper and lower threading.
CAUTION
• When creating bobbin work, use the bobbin
cover with tabs, otherwise the thread may
become tangled or the needle may break.
Note
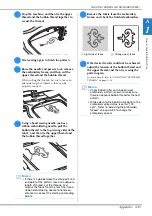
• When installing the needle plate cover, do
not allow it to pinch the thread.
Note
• When installing the flat bed attachment or
embroidery unit, do not allow it to pinch the
thread.
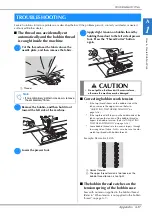
• When the bobbin thread is replaced with a
new one, be sure to repeat the procedure
from
a
, otherwise the lower threading will
not be done correctly.
Note
• If utility stitches are to be used, refer to
“CREATING BOBBIN WORK (SEWING)” on
page A-9. If embroidery patterns are to be
used, refer to “CREATING BOBBIN WORK
(EMBROIDERY)” on page A-12.
Summary of Contents for 882-C50
Page 89: ...USEFUL FUNCTIONS Sewing Basics Sewing S 19 S 1 ...
Page 145: ...STITCH SETTING CHART Utility Stitches Sewing S 75 S 2 ...
Page 182: ...USING STORED CUSTOM STITCHES S 112 ...
Page 200: ...ATTACHING THE EMBROIDERY FRAME E 18 b Pull the embroidery frame toward you ...
Page 237: ...EMBROIDERY APPLICATIONS Embroidery Embroidering E 55 E 1 ...
Page 268: ...USING THE MEMORY FUNCTION E 86 ...
Page 311: ......


