18
OmniView IP 5000 HQ
sections
table of contents
1
3
5
7
9
11
13
15
17
19
2
4
6
8
10
12
14
16
18
20
21
11
CreaTInG Users
6 .4 saving a user
Click . The user’s details are now in the system.
Repeat this process to add more users. When finished, click
.
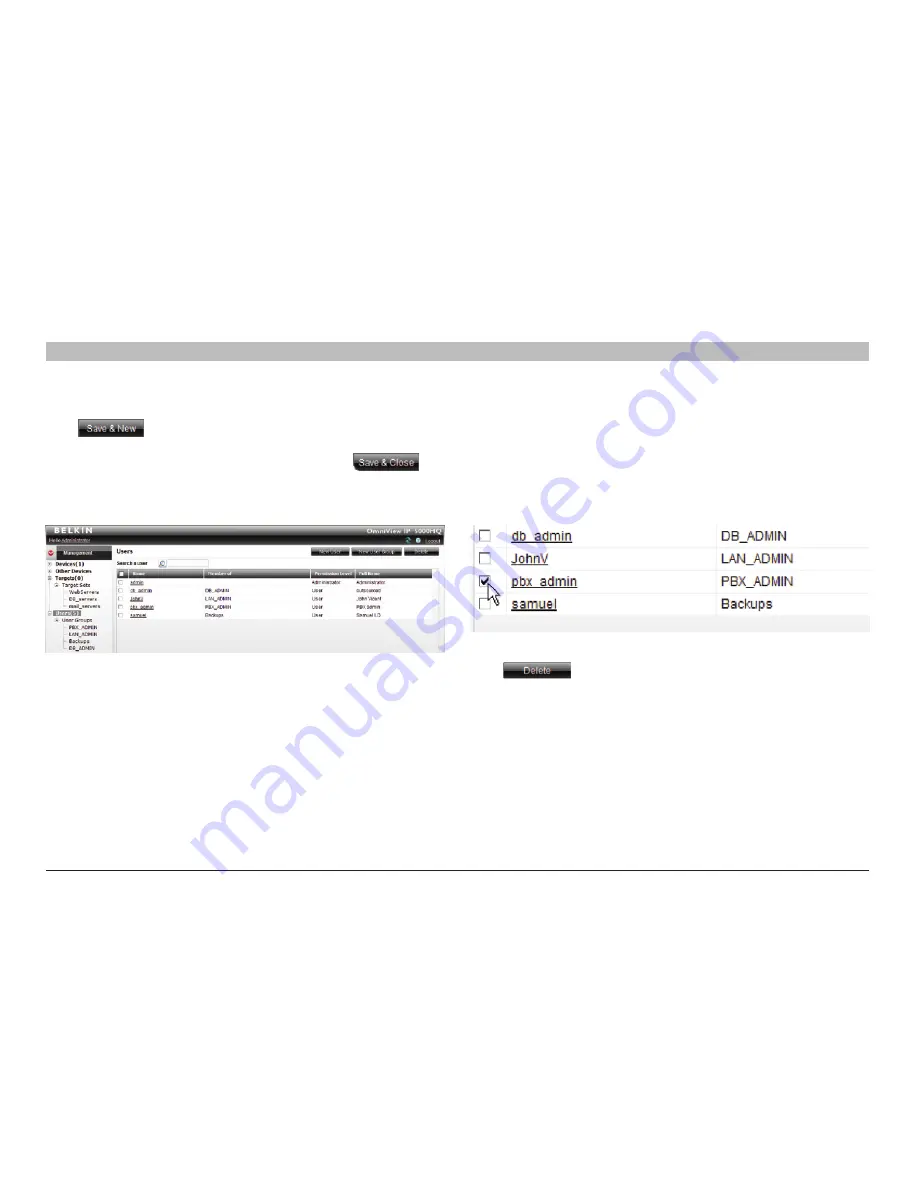
All users appear on the “Users” page. The number of users appears in
brackets after “Users” in the menu; see Figure 18. User groups appear
as a sub-folder in the menu. Creating user groups is explained below.
By clicking a user name, an administrator can access the “General”,
“User Group”, and “Access Permissions” tabs of this user and change
any of the parameters.
Figure 18 List of users in the system
6 .4 .1 Deleting a user
Deleting a user instantly removes the user’s authorization from the
OmniView IP 5000HQ system and all IP devices.
To delete a user:
1. On the “Users” page select the check boxes of the users to be deleted.
2. Select or deselect all check boxes with one click.
Click . The user’s details are now in the system.
Figure 19 Deleting a user


