29
OmniView IP 5000 HQ
sections
table of contents
1
3
5
7
9
11
13
15
17
19
2
4
6
8
10
12
14
16
18
20
21
13
COnfIGUrInG TarGeTs
7 .5 saving the target
Click
. The target details are now in the system.
Repeat this process to input all connected servers. When finished,
click
. All targets appear on the “Targets” page; see Figure 25.
7 .6 Deleting targets
You can remove targets from the system as follows:
From the “Targets” page, select the check boxes of the targets to be deleted.
Press
.
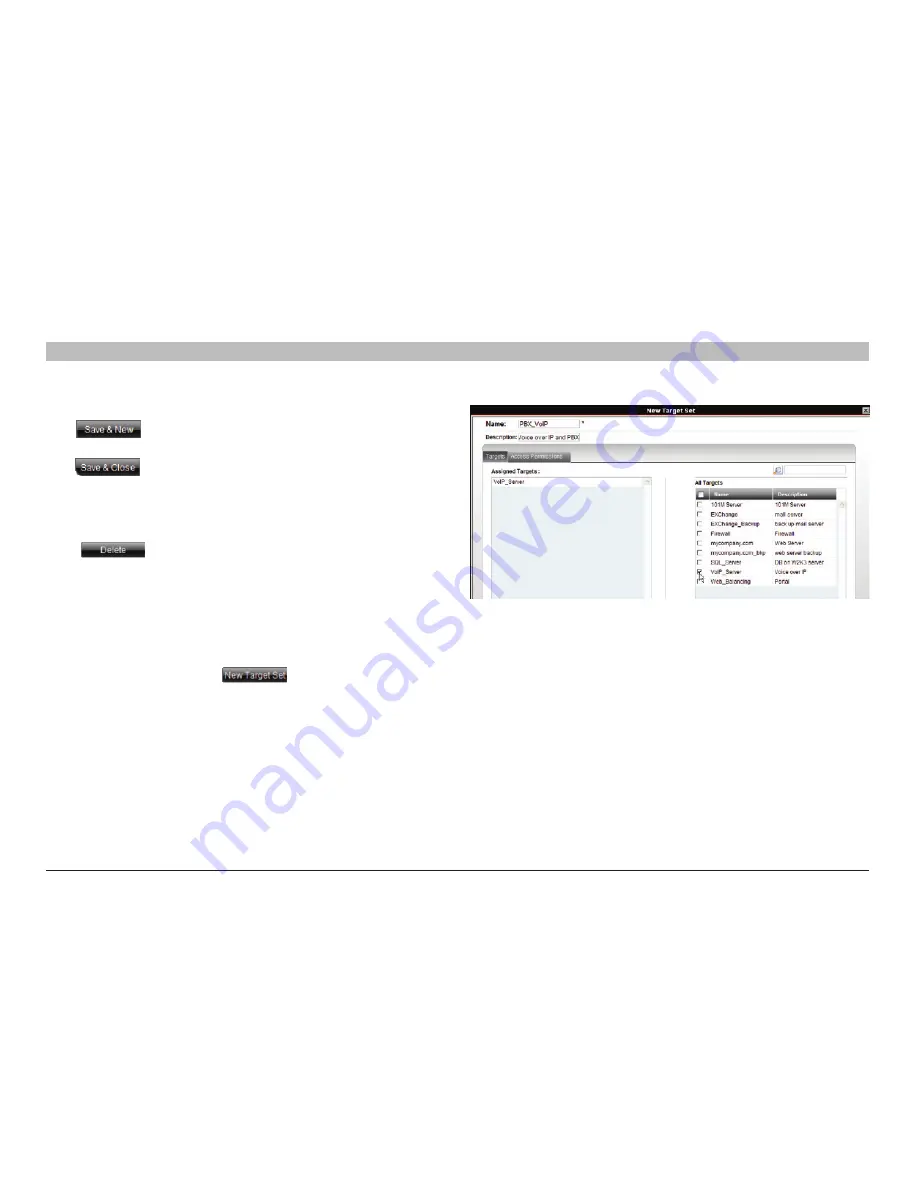
7 .7 Creating a target set
You can group targets into sets, e.g., make a set of all financial servers in
the system. You can then give users access rights per the target set rather
than per individual targets. Target sets appear as a Favorites folder for
users on the “Access” page.
To create a new target set:
1. From the “Targets” page, click
. The following appears.
Figure 37 Creating New Target Set – Targets tab
2.
name
– Type a unique name for the target set.
3.
Description
– Type a description.
4. From the “All Targets” list, select the check boxes of the targets
you want to add to the target set. The targets appear in the
“Assigned Targets” list.


