86
OmniView IP 5000 HQ
MaInTenanCe Of THe sysTeM
sections
table of contents
1
3
5
7
9
11
13
15
17
19
2
4
6
8
10
12
14
16
18
20
21
16 .1 .1 The backup elements
Credentials for backup share
– Enter the user credentials (name,
password, and domain) of the network share path to which the backup
file will be saved. (The designated backup share must require both user
and password login.)
Destination path
– Enter the remote computer name and shared folder
or its IP address and shared folder using the following path syntax:
//computer name/share - e.g., //gx270n-comp163/backup
or
//computer IP address/share - e.g., //192.168.2.71/backup
note:
Netware shares are not supported.
For computer name resolving the DNS server, IP address must be set in
the “Unit Maintenance/Network” tab.
To validate the destination path, click
.
backup schedule
– Select the check box to activate the
backup schedule.
select time
– Select the time (hour and minute) that the backup
should initiate.
select days
– Select which days the backup should be performed.
Click to save the settings.
The scheduled times work according to the internal clock of the
OmniView IP 5000HQ Manager appliance.
To perform a manual backup at any time, click
.
The backup file is stored in the destination path.
16 .1 .2 restoring database backup
To restore the OmniView IP 5000HQ database from a previously created
backup file:
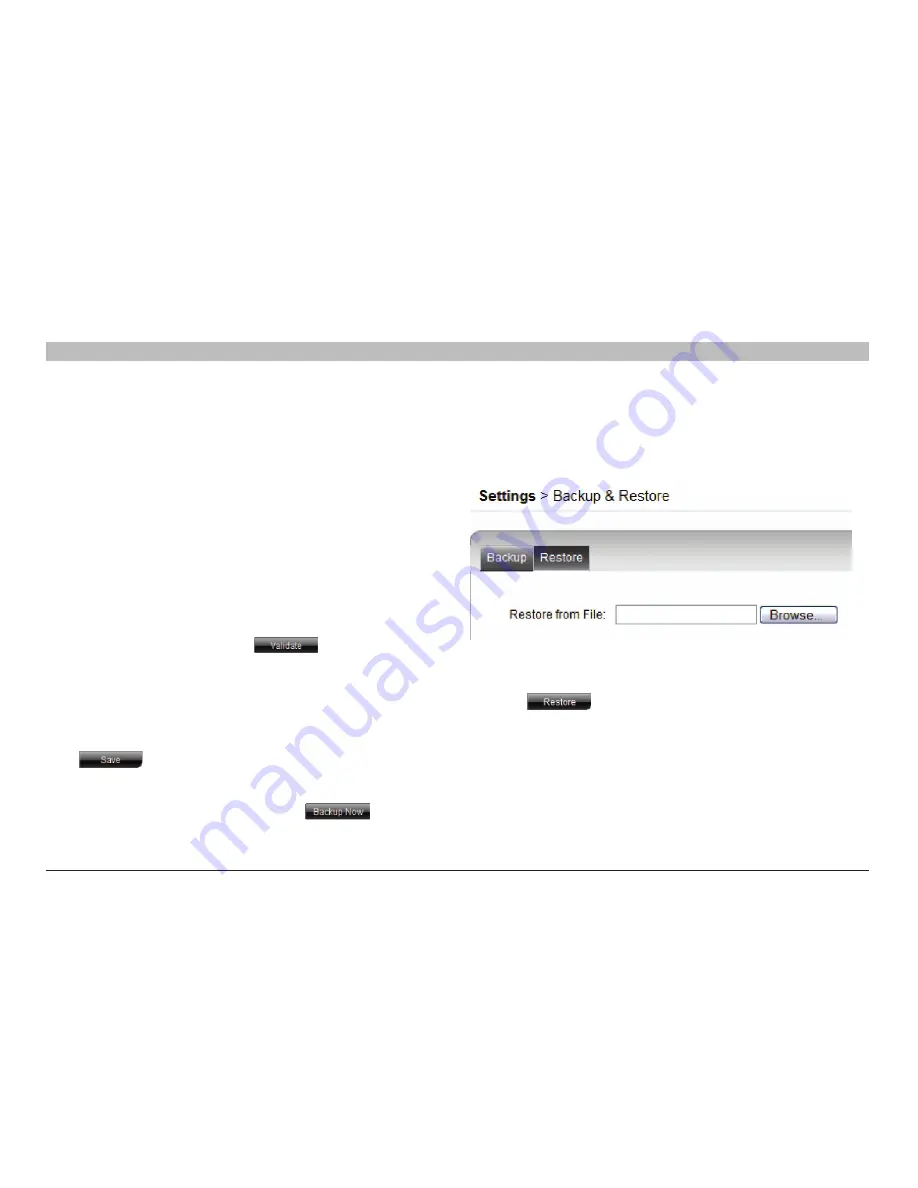
1. Click the “Restore” tab and the following appears.
Figure 97
2. Browse to locate the backup file.
3. Load the backup file.
4. Click
. After the process finishes, you are logged out
from the OmniView IP 5000HQ web interface; log in again.
OmniView IP 5000HQ system is ready to use.


