14. Projector Control
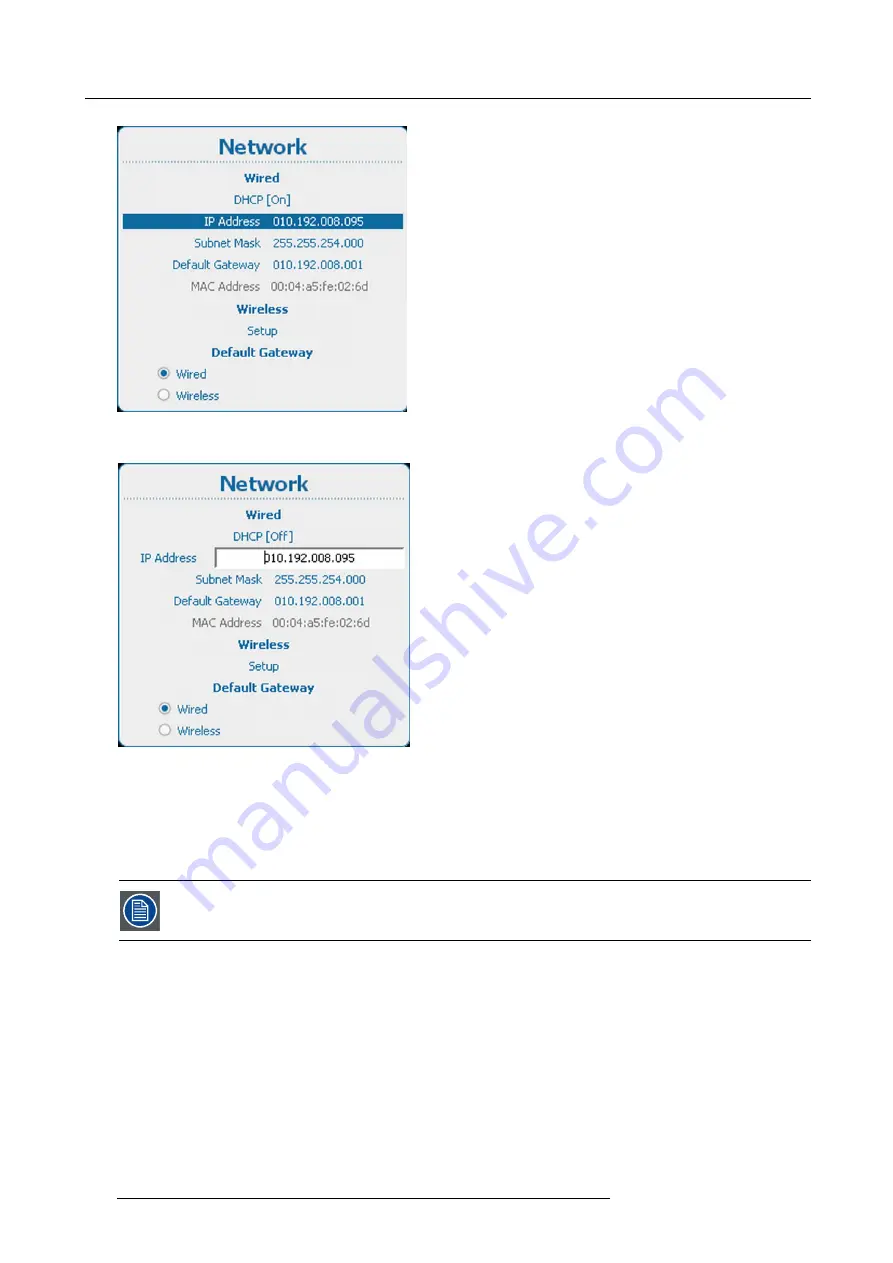
Image 14-20
2. Use the
▲
or
▼
key to select
IP Address
under
Wired
and press
ENTER
to activate the input box.
Image 14-21
3. Use the
▲
or
▼
key to change the selected character.
Use the
◄
or
►
key to select another character.
Note:
Digits can be entered with the digit keys on the remote control or the local keypad. When a digit is entered in that way,
the next character will be selected automatically.
14.5.4 Wired subnet mask set up
Subnet for Wired and Wi
fi
must be different !
How to set up
1. Press
Menu
to activate the menus and select
Projector Control
→
Network.
236
R5905303 HDQ 2K40 02/03/2015
Summary of Contents for HDQ--2K40
Page 1: ...HDQ 2K40 User and Installation manual R5905303 09 02 03 2015 ...
Page 4: ......
Page 10: ...Table of contents 6 R5905303 HDQ 2K40 02 03 2015 ...
Page 18: ...1 Safety 14 R5905303 HDQ 2K40 02 03 2015 ...
Page 54: ...4 Input Communication 50 R5905303 HDQ 2K40 02 03 2015 ...
Page 78: ...6 Getting started 74 R5905303 HDQ 2K40 02 03 2015 ...
Page 118: ...9 Input 114 R5905303 HDQ 2K40 02 03 2015 ...
Page 148: ...10 Image 144 R5905303 HDQ 2K40 02 03 2015 ...
Page 166: ...11 Layout 162 R5905303 HDQ 2K40 02 03 2015 ...
Page 176: ...12 Lamp 172 R5905303 HDQ 2K40 02 03 2015 ...
Page 302: ...15 Service 298 R5905303 HDQ 2K40 02 03 2015 ...
Page 318: ...17 Removal and installation of the projector covers 314 R5905303 HDQ 2K40 02 03 2015 ...
Page 322: ...A Specifications 318 R5905303 HDQ 2K40 02 03 2015 ...
Page 326: ...B Standard source files 322 R5905303 HDQ 2K40 02 03 2015 ...
Page 330: ...C DMX chart 326 R5905303 HDQ 2K40 02 03 2015 ...
Page 334: ...D Environmental information 330 R5905303 HDQ 2K40 02 03 2015 ...


