6. Random Access
How to adjust the Corners ?
1. Push the cursor key
↑
or
↓
to select
pixel x = 0
in the
Geometry Distortion
menu. (menu 6-58)
2. Push the cursor key
←
or
→
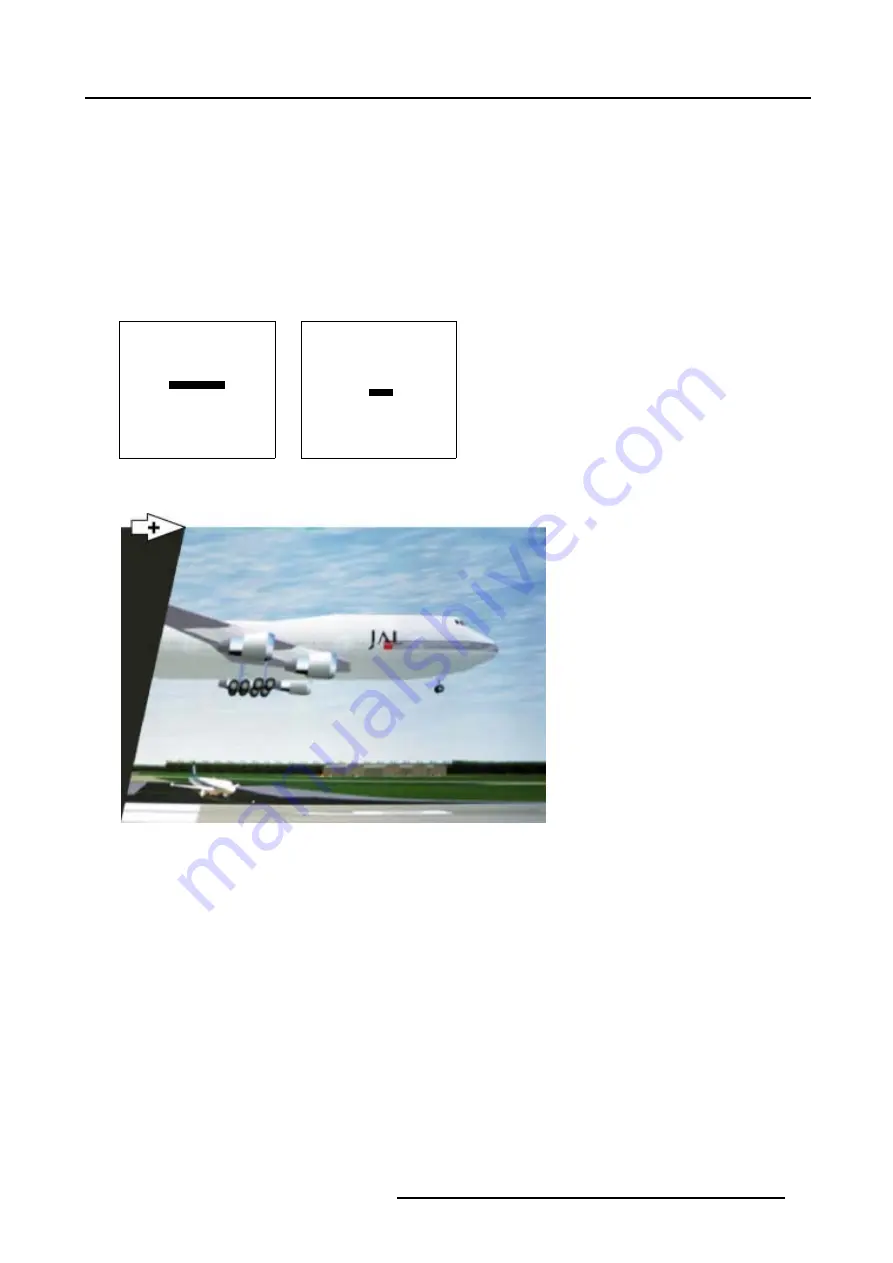
to coarse shift the selected Corner in a horizontal way. (image 6-18)
3. Push the cursor key
↑
or
↓
to
select pixel y = 0
in the
Geometry Distortion
menu. (menu 6-59)
4. Push the cursor key
←
or
→
to coarse shift the selected Corner in a vertical way (Follow this procedure in a similar way to adjust
any desired corner position). (image 6-19)
Note:
Apply this procedure to perform a keystone correction: this is used to align the image if the projector is mounted at a non
standard projector angle. (image 6-20)
5. Use the subpixel adjustments to fine shift the selected corners.
6. Continue with the Coarse Side Bow adjustment or press
EXIT
to return to the
Guided Geometry Map
menu.
GEOMETRY DISTORTION
corner left top
col = 0
row = 0
pixels x = 0
y = 0
subpixels x = 0
y = 0
Menu 6-58
GEOMETRY DISTORTION
corner left top
col = 0
row = 0
pixels x = 0
y = 0
subpixels x = 0
y = 0
Menu 6-59
Image 6-18
Corner pixel x adjustment
R5976755 BARCO GALAXY WARP™ 7 HC 05/04/2004
73
Summary of Contents for Galaxy WARP 7 HC
Page 1: ...Barco Galaxy WARP 7 HC Owner s Manual R9040325 R5976755 00 05 04 2004...
Page 4: ......
Page 8: ...Table of contents 4 R5976755 BARCO GALAXY WARP 7 HC 05 04 2004...
Page 36: ...4 Connections 32 R5976755 BARCO GALAXY WARP 7 HC 05 04 2004...
Page 43: ...5 Getting Started Image 5 6 RCU to IR Sensors R5976755 BARCO GALAXY WARP 7 HC 05 04 2004 39...
Page 122: ...6 Random Access 118 R5976755 BARCO GALAXY WARP 7 HC 05 04 2004...
Page 150: ...9 Standard Source Files 146 R5976755 BARCO GALAXY WARP 7 HC 05 04 2004...


