


32
5. Setup the date and time in order to have correct recording time and date. Following the below steps to setup
date and time:
a.
Click
Setup
and enter the password
b.
In
Time
section, click
Setting
button of
System Time
.
c.
Select the date and adjust the time, and then, click
OK
.
6. Following the below steps to connect the IP and analog camera.
To connect analog camera(For EH series only)
a. Plug the analog camera video cable into DVR video port.
b. Click
Setup
→
Camera
c. Select camera channel and type of camera
– Analog Camera
d. And then, enable the camera
e. Give a name of camera and enter short description.
f. Adjust the bright, contrast, hue, and saturation of camera
g. Click
OK
To connect IP camera
a. Click
Setup
→
Camera
b. Select camera channel and type of camera
– IP Camera
c. And then, enable the camera
d. Click
IP
Setting
e. Enable
Protocol
, and then, select
protocol
,
mode
,
video format
, and
channel
of IP camera.
f. Enter
IP address
or
URL
of IP camera.
g. Enter
ID
and
password
if IP camera
’s access authority is required.
h. Click
OK
.
i. To connect another IP camera, follow the above steps.
DVR unit doesn
’t supply the power to connected external devices.
2.1.2
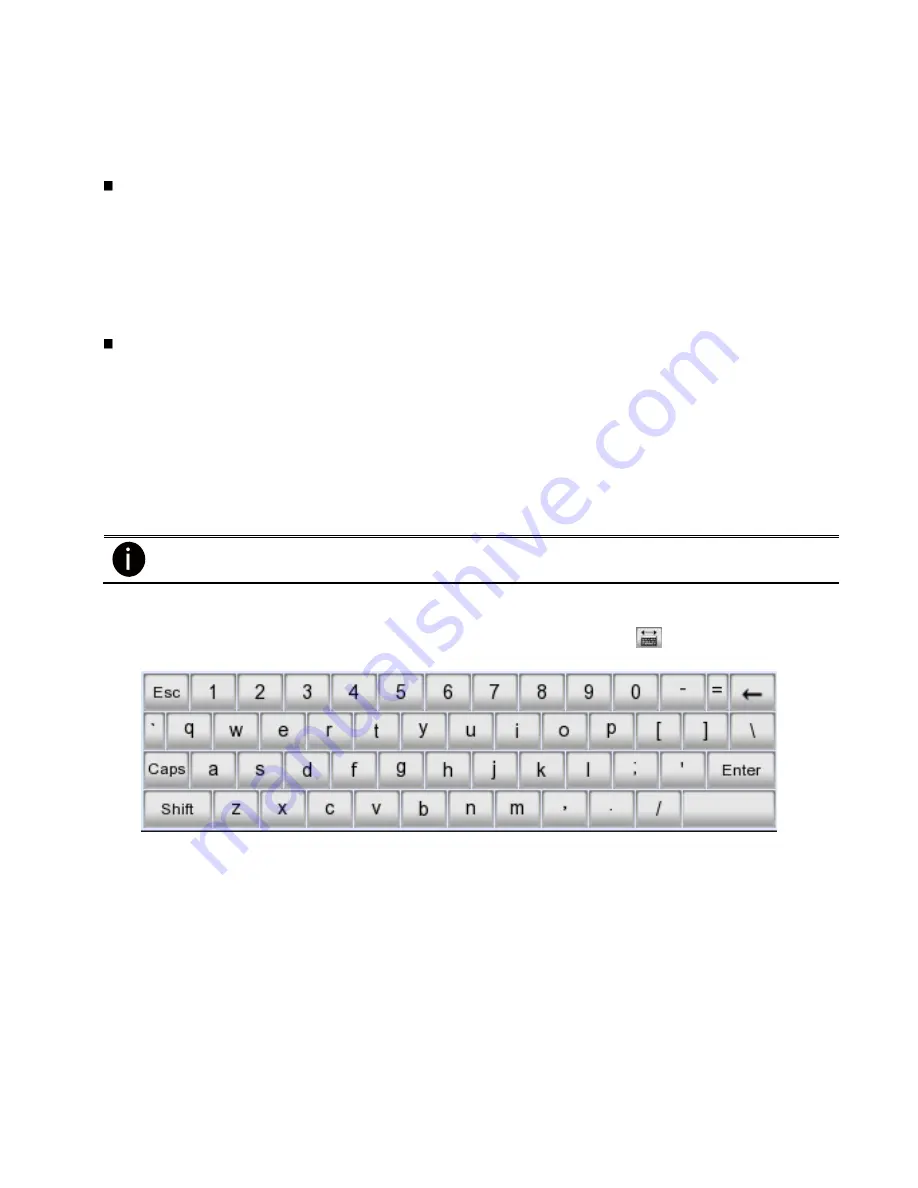
Using the Virtual Keyboard
User can use the Virtual Keyboard when the keyboard is not available. Just click
or right-click screen to
call out the virtual keyboard. For uppercase, click
Caps
button. To exit, click
Esc
.
Summary of Contents for AVerDiGi EH5108
Page 1: ...Jan 2011...
Page 8: ......
Page 66: ...58...
Page 179: ...171 8 For manually backup click file select button and select the DVR to backup...


