


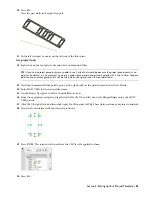


58
In the Properties Palette, change Base height to 12’6 (Floor to Floor Height). This standard curtain wall is already
in the drawing with assignments of doors for an infill panel.
TIP:
To make any object available in a drawing, you can use a tool to create the object and the style is saved within the
drawing. The placed object can be deleted but the style definition still resides in the drawing. This is one technique to
introduce material styles. If you place a door with an ash material then the material style is introduced with the door.
59
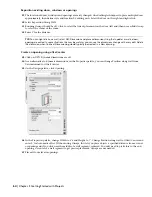
Repeat steps 56-58 to convert the other green polyline to a curtain wall.
60
On the Design palette, right-click the Wall tool and select Apply Tool Properties to
➤
Linework.
61
Select the remaining yellow linework, and press ENTER.
62
Enter
y
to erase the linework.
63
In the Properties palette, change the style of the walls to Brick-exterior and the Base height to 12’6.
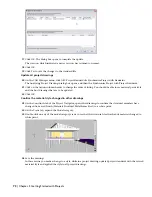
64
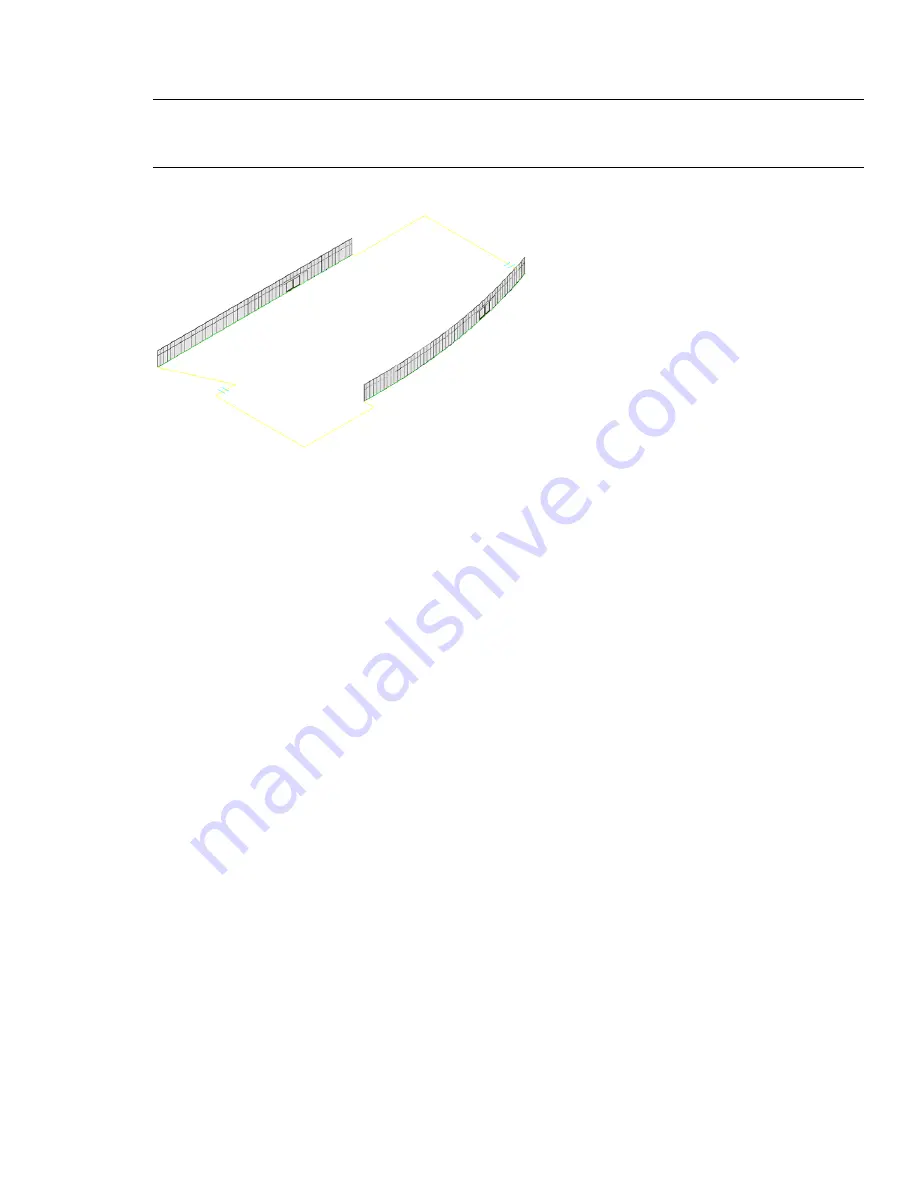
Zoom in closely to the curved curtain wall and click on the underlying curved polyline.
65
Click to select the middle location grip and move it outwards.
The curtain wall updates to reference the new base curve.
66
Enter
u
until the curtain wall returns to its original position.
67
Close and save the drawing.
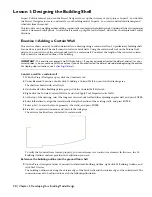
Reference the element to the construct
68
In the Project Navigator, click the Constructs tab.
69
Drag the element icon X-Sketch Typical Core_I onto the X-Sketch_01 Floor Shell_I.
70
Double-click the construct X-Sketch_01 Floor Shell_I to open the drawing and confirm you have a service core
element (reusable on other floors) within the building shell for floor 01.
66 | Chapter 2 Getting Started with Projects


