


You finish the lesson by publishing two of your project drawings to 3D DWF
™
files. DWF files, or Design Web Format
files, are the Autodesk method of publishing 2D or 3D design data to the Internet or to an intranet. You can generate
DWF files of your three-dimensional models with nearly the same visual fidelity as your original DWG files.
Updating and Modifying Project Tools
In the final lesson, you learn how to update and modify project-specific tools. You update the styles and definitions
of the project tools, and create new tools. You learn how to make necessary modifications to the new structural member
tools that you create.
Opening and Exploring the Project
After you extract the tutorial dataset, follow these steps to open the project:
1
On the File menu, click Project Browser.
NOTE:
You must have a drawing open to access the Project Browser. If you do not have a drawing open, click
on
the Standard toolbar to create a new drawing.
2
In the Project Browser, click
if necessary to display the project folder. Double-click the lesson folder.
NOTE:
If you have been working with non-tutorial projects, you may need to browse to my documents\autodesk\my
projects.
3
Double-click the project name, Steel-Framed Residence_I.
4
If you are prompted to re-path the project, click Yes.
5
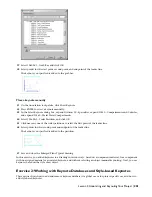
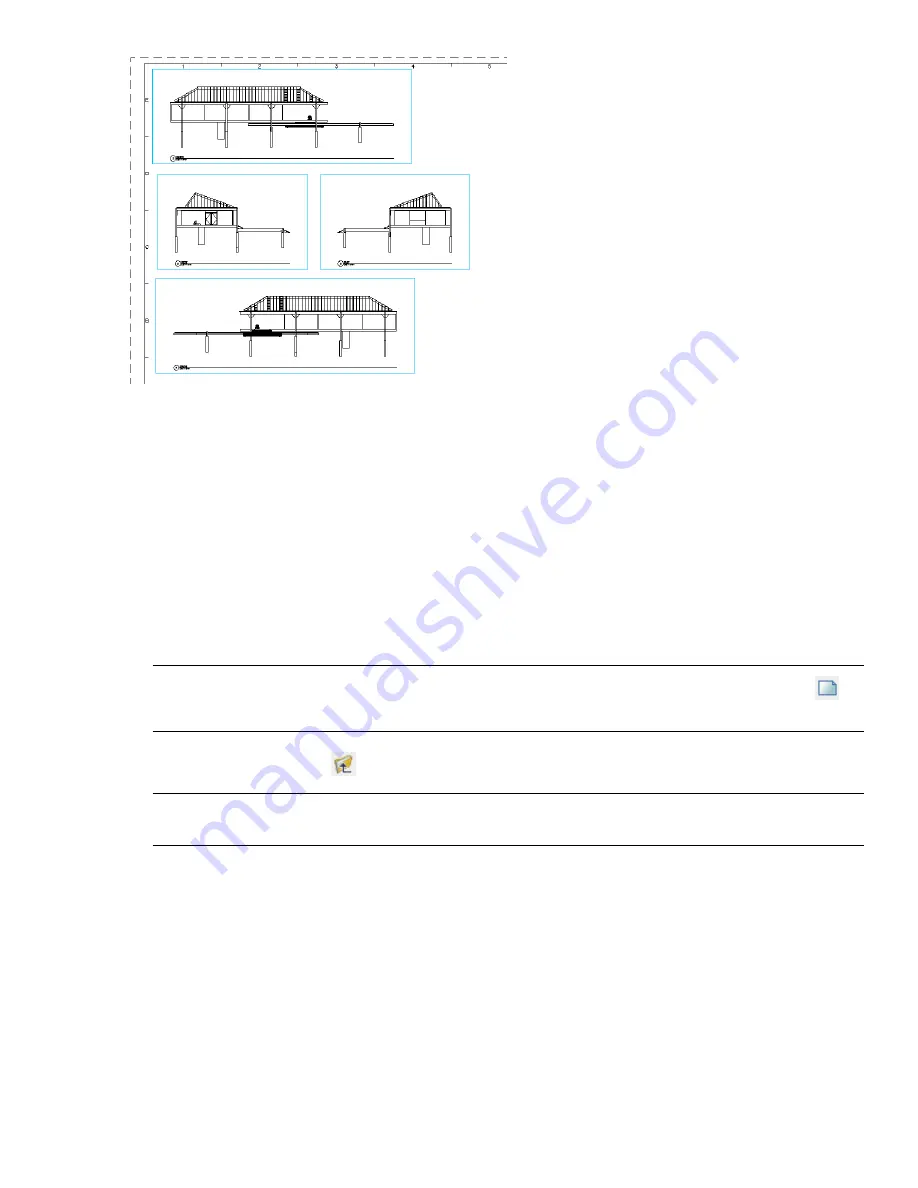
In the right pane of the Project Browser, under Show me, locate the DWF and AVI files that describe the project.
6
Click one or more of the files to view them.
7
When you are finished viewing the DWF and AVI files, click Close to close the Project Browser.
The Project Navigator is automatically displayed, usually on the right side of the screen.
8
On the Project Navigator, click the Project tab.
9
Under Current Project, verify that Name displays the correct project - Steel-Framed Residence_I.
10
Keep the Project Navigator open to begin the first lesson.
210 | Chapter 5 Creating a Steel-Framed Residence


