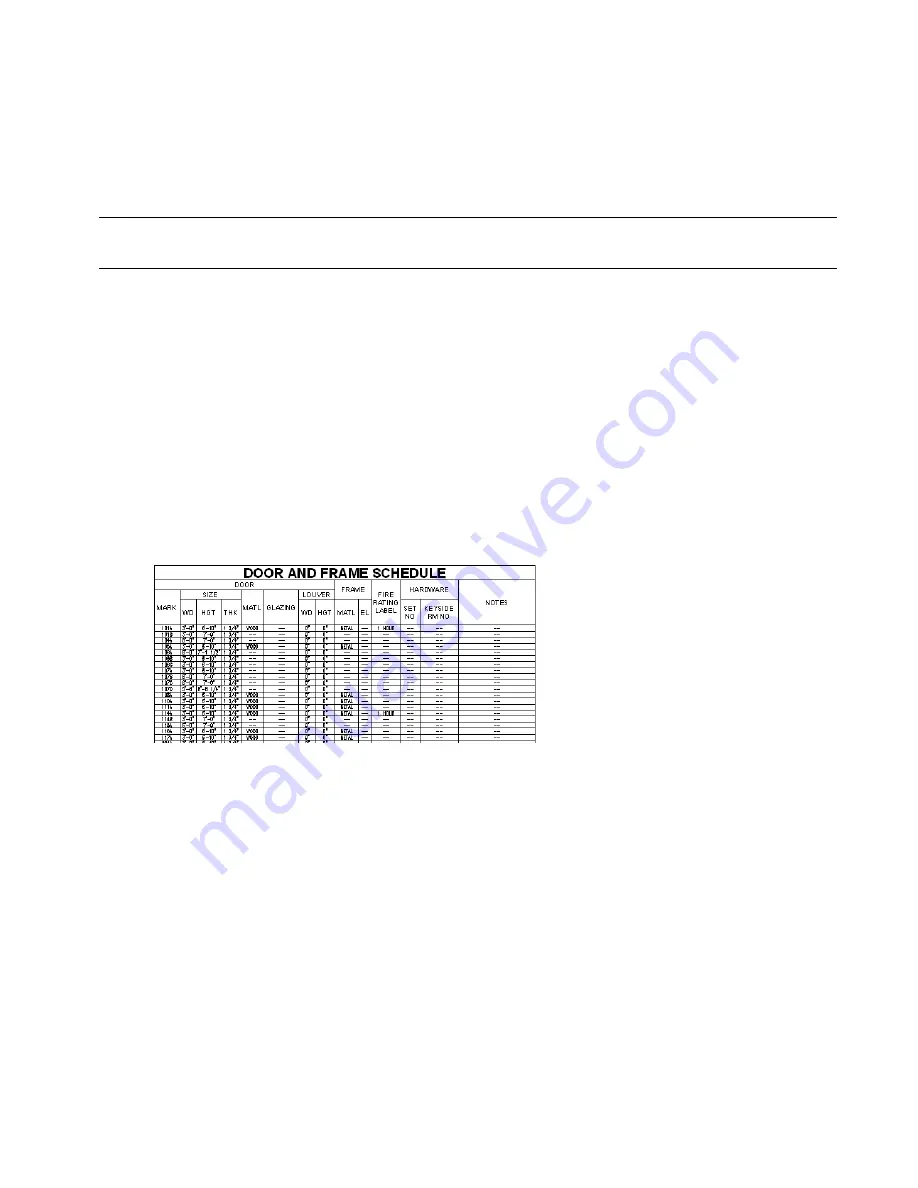
Exercise 4: Changing the Appearance of a Schedule
You can modify the appearance of a schedule table by changing the overall format of the table and the format of
individual components, such as columns, text, and lines. Two sets of parameters control the appearance of a schedule
table: schedule table properties and schedule table style. The schedule table properties control the overall format of the
schedule table, such as its shape and size. The schedule table style controls the format of individual components, such
as columns, text, lines, and color. In this exercise, you modify the schedule table properties to split the table into
sections. You modify the schedule table style to add and delete columns, modify the style and color of the text in the
body of the schedule, and change the color of lines.
IMPORTANT:
This exercise is dependent on the results of the previous exercises. If you did not complete the previous
exercises in this lesson, you must do so before beginning exercise 4.
Modify the column layout
1
On the Window menu, click X-A603 Door Schedule.dwg.
If you closed the drawing at the end of the previous exercise, click the Sheets tab of the Project Navigator. Under
Architectural\Schedules and Diagrams, double-click X-A603 Door Schedule to open it in the drawing area.
2
Select a table, right-click, and click Edit Schedule Table Style.
3
In the Schedule Table Style Properties dialog box, click the Columns tab.
4
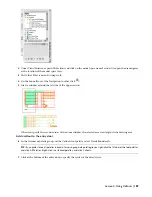
Delete the frame detail columns:
■
Scroll to the right until the Frame header is visible.
■
Hold down SHIFT, and select Detail, Head, Jamb, and Sill.
■
Click Delete.
■
Click OK to remove the three columns and the Detail header.
■
Click OK to close the Schedule Table Style Properties dialog box.
The Detail header and the three nested columns are deleted.
5
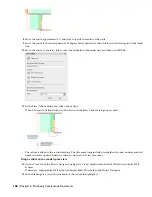
Add columns for door head detail and jamb detail:
■
Select the table, right-click, and click Edit Schedule Table Style.
■
In the Schedule Table Style Properties dialog box, verify that the Columns tab is displayed.
■
Click Add Column.
■
Under DoorObjects, select HeadDetail.
■
Under Column Position, select Insert Before.
■
Select DoorObjects:Remarks for Column.
Lesson 3: Scheduling Your Building Model | 183


