43
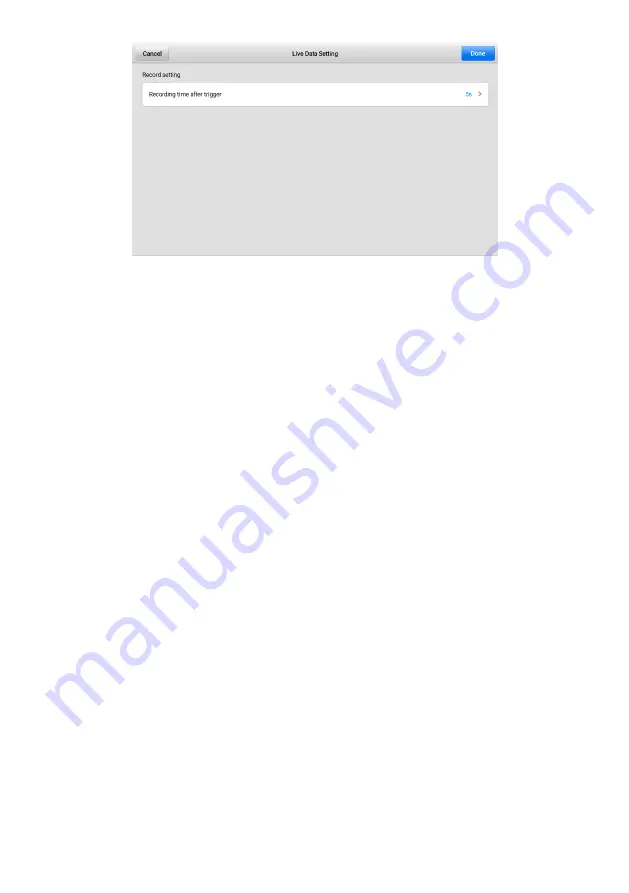
Figure 4-15 Setting Mode in Live Data
To set live data record duration
1. Tap
Setting
button at the bottom of the Live Data screen.
2. Tap the > button to the right of
Recording time after trigger
bar and select a
time length.
3. Tap
OK
to save the setting and return to the Live Data Setting screen; or tap
the X button at the upper right corner to exit without saving.
4. Tap
Done
at the upper-right corner of the Live Data Setting screen to confirm
and save the setting, and return to the Live Data screen; or tap
Cancel
to exit
without saving.
Clear Data
—
clears all previously retrieved parameter values at a cutting point
whenever you choose.
Freeze
—
displays the retrieved data in freeze mode.
Resume
—
exits the freeze data mode and return to normal data display.
Previous Frame
—
moves to the previous frame in the freeze data.
Play/Pause
—
plays/pauses the frozen data.
Next Frame
—
moves to the next frame in the freeze data.
Record
—
starts recording the live data of the selected data. Tap the
Record
button at the bottom of the Live Data screen. A message will display prompting user
to select parameters to record. Tap the
Got It
button to confirm. Scroll down and
select data to record. Tap the
Record
button to start recording. Tap the
Resume
button to stop recording. The recorded live data can be viewed in the Review
section at the bottom of the Live Data screen. The recorded data can also be
reviewed in the Data Manager application.


