ASUS PIKE 1078
2-35
• Select
CC
to run a consistency check on this virtual disk.
In the right panel of the Virtual Disk screen you can change the virtual disk
configuration by adding or removing a physical drive or by changing the RAID
level.
Before you change a virtual disk configuration, back up any data on the virtual
disk that you want to save.
For more information about changing RAID level, please refer to
Migrating the
RAID Level of a Virtual Disk
in section
2.2.6 Managing Configurations
.
To remove a physical drive from a virtual disk, select the drive in the small panel
beneath the Remove physical drive option. Then select
Remove physical drive
and click
Go
at the bottom of the panel.
Viewing Physical Drive Properties
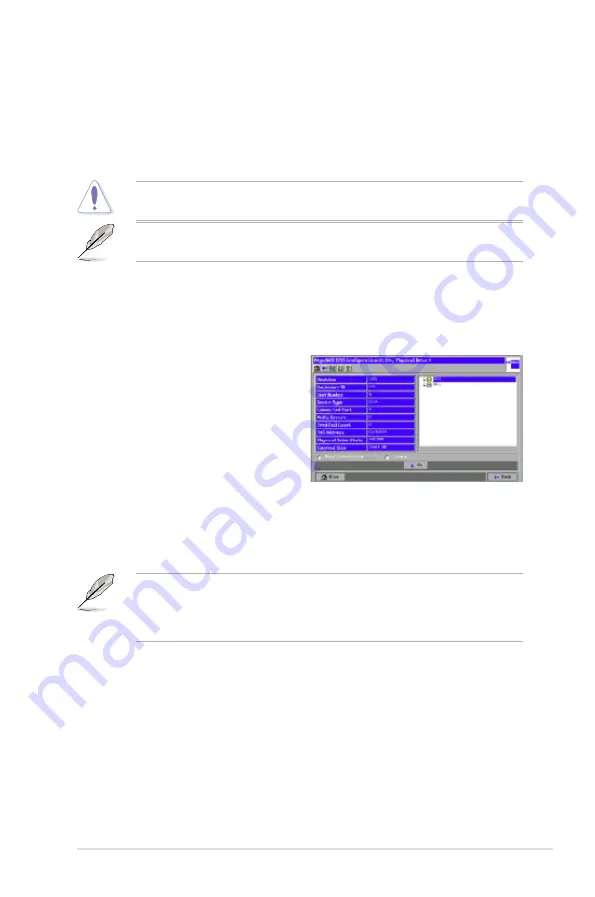
The Physical Drive screen displays
the properties of a selected physical
drive and also enables you to perform
operations on the physical drive. The right
figure shows the Physical Drive window.
The physical drive properties are view-
only and are self-explanatory. Note
that the properties include the state of
the disk’s physical drive. The operations listed at the bottom of the screen vary
depending on the state of the drive. After you select an operation, click
Go
to start
the operation.
• Select
MakeDriveOffline
if you want to force the physical drive offline.
If you force offline a good physical drive that is part of a redundant array with
a hot spare, the drive will rebuild to the hot spare drive. The drive you forced
offline will go into the Unconfigured and Bad state. Access the BIOS utility to set
the drive to the Unconfigured and Good state.
• Select
Locate
to make the LED flash on the physical drive. This works only if
the drive is installed in a disk enclosure.
•
If the selected physical drive is not already part of a disk group, you have the
option of making it a Global hot spare or a Dedicated hot spare.
WebBIOS displays the global hot spare as
Global
and the dedicated hot
spare as
Ded
.
•
A
Prepare for removal
option may also appear.


