


To view the pictures from Solo Movie 5.1 you need
to connect one of its video outputs to your display
device (TV, monitor, projector, etc.).
Solo Movie 5.1 has three of the four video output
options described below. All versions of Solo Movie
5.1 have HDMI and Composite outputs. In addition,
and depending on the shipping region, your unit
will have either SCART or Component video
connectors, to match the connections typically used
in your region. You need only use one type of video
connection from those available; choose a type that
your display device supports. If your display device
does not support
any
of the above connection types,
you may need to update your display to use it with
Solo Movie 5.1; in this case, please contact your dealer
for further assistance.
Video inputs
You can use other video equipment (satellite/cable
receivers, games consoles, etc.) with Solo Movie
5.1. Connect these to the audio and video inputs of
Solo Movie 5.1. You can use any of the video inputs
provided, but the same type of connector should also
be used to connect Solo Movie 5.1 to the display
device.
Solo Movie 5.1 does not convert video formats, so
if a video source is connected (for example) via the
COMPOSITe VIDeO SAT
input, it is only available at the
COMPOSITe VIDeO OUT
socket.
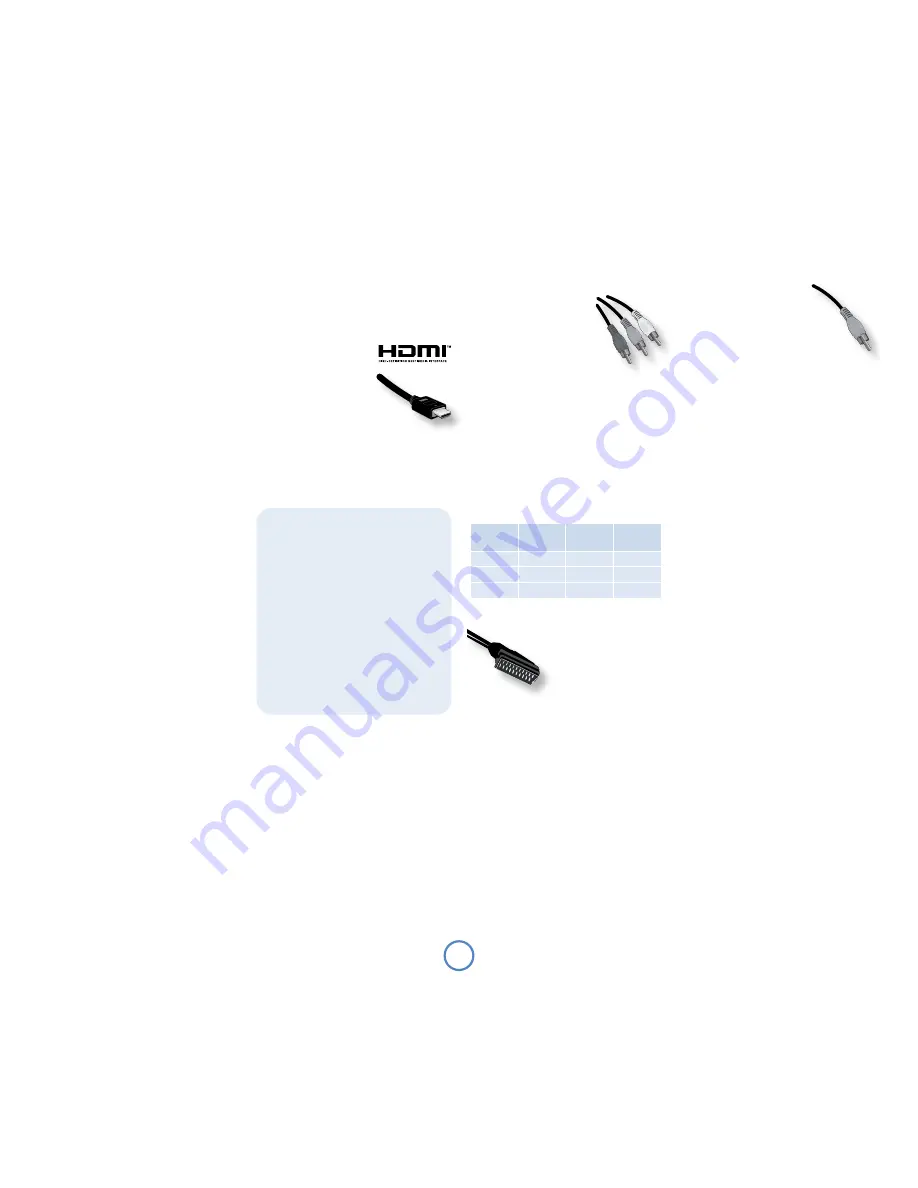
HDMI digital video
The HDMI connector offers uncompressed digital
video and audio transmission between Solo Movie
5.1 and the display device, and provides the highest
quality output. Generally, it is also the easiest
connection type to configure.
To use this video connection,
you’ll need a HDMI or HDMI/
DVI cable between Solo Movie
5.1 and your display device or
receiver. Arcam recommends
that you use high quality HDMI
cables for the best results.
In the Video set-up menu (see page 17), ‘Video
Resolution’ should be set to ‘Auto’. The unit will
configure its video output automatically to match the
capabilities of the attached HDMI device.
Component video
Use three 75
Ω
phono cables to
connect the Component Y, Pb,
Pr outputs of Solo Movie 5.1 to
the Y, Pb, Pr inputs of the display
device. Ensure that the cables are
suitable for video use and that
they are approximately the same
length.
If your television is capable of accepting a
progressively scanned (de-interlaced) video signal, you
may wish to use the progressive video output from
Solo Movie 5.1. If you are unsure whether your display
device can accept progressive video, please refer to its
instruction manual or consult your dealer.
Some component video interfaces are labelled
differently to the back panel of Solo Movie 5.1; check
the table if the component inputs of your display
device are not labelled ‘Y, Pb, Pr’.
SCART output
The SCART connector is
common on European A/V
equipment and provides a
convenient connection
method between Solo Movie
5.1 and display device, carrying
both video and stereo audio.
If you are using a SCART connection and you do not
wish to listen to the audio through your TV, then it is
best to mute your TV’s speakers; muting the TV will
prevent this audio being heard.
Note that the SCART output has a control signal
that switches your TV to its SCART input when Solo
Movie 5.1 is turned on. It will also signal to wide-
screen TVs the correct aspect ratio (16:9 or 4:3),
provided this feature is supported by the TV.
video connections
Solo
Movie 5.1
alternative
alternative
alternative
Y
Y
Y
Y
Pb
Cb
(B–Y)
U
Pr
Cr
(R–Y)
V
Composite video
If your display device offers only a
composite input (sometimes labelled
CVBS or just ‘video’), connect this to
the
COMPOSITe VIDeO OUT
socket
of Solo Movie 5.1 using a 75
Ω
phono cable suitable for video use.
Note that a composite video connection gives the
lowest-quality output; if your display device supports
other video connection types, we advise you use
them instead.
Using two video connections
simultaneously
In some circumstances, it is possible to use two video
connections simultaneously (routing one connection
to a second room or display, for example). If you wish
to do this, please read these notes:
<
The Composite video and SCART outputs
are only active if HDMI is not connected (or
if ‘HDMI Resolution’ is set to ‘SD Progressive’
– see page 17). These two output types carry
interlaced output at all times.
<
The Component video output is only active if
HDMI is not connected (or if ‘HDMI Resolution’
is set to ‘SD Progressive’ – see page 17). It can
be set to carry either interlaced or progressive-
scan output.
<
The HDMI output is active only if a compatible
display is detected by the Solo Movie 5.1. It can
be set to carry either interlaced, progressive-
scan or high-definition output.
About HDMI
HDMI (High Definition Multimedia Interface)
supports both video and audio on a single digital
connection for use with DVD players, digital TV,
set-top boxes, and other AV devices. HDMI was
developed to combine the technologies of High-
bandwidth Digital Content Protection (HDCP)
and the Digital Visual Interface (DVI) in one
specification, with the addition of transmission of
digital audio information; HDCP is used to protect
digital content transmitted to DVI-compliant
displays.
HDMI has the capability to support standard
or high-definition video and stereo audio. HDMI
features include uncompressed digital video,
one connector (instead of several cables and
connectors), and communication between the AV
source and AV receivers.


