


Part number 550-100-305/0916
36
AquaBalance
TM
W
ALL
M
OUNT
GAS
-
FIRED
WATER
BOILER
— C
OMBI
Boiler Manual
Figure 45
-AXIMUMANDMINIMUMmOWRATES
THROUGHBOILERHEATEXCHANGER
MAX
Flow Rate
20° F
temperature
rise
'0-
MIN
Flow Rate
50° F
temperature
rise
'0-
Flow Rate
Delta T1
protection
67° F
temperature
rise
'0-
15.2
6.1
4.5
17
Primary/Secondary System Piping
System water piping methods
.EARBOILERPIPING
1. Connect boiler to system only as shown in Fig-
ure 47, page 37. The primary/secondary piping shown
ensures the boiler loop will have sufficient flow.
2. Install a system circulator or zone circulators as shown
in the piping diagrams in the Primary/Secondary
System Piping section in this manual. These
circulators must be supplied by the installer.
3YSTEMORZONECIRCULATORSmOWRATES
1. Size circulators based on the flow rate required to
achieve the temperature drop required. You can closely
estimate temperature rise (or drop) through a circuit
by using the following formula, where TD is tempera-
ture rise (or drop), FLOW is flow rate (in gpm), and
BTUH is the heat load for the circuit:
&,/7
=
"45(
—–—–—–—–
TD x 500
%XAMPLES
:
1. Consider a system loop for a system with total heating
load equal to 143,000 Btuh. The desired temperature
drop through the system piping is 20°F. Then the
required flow rate is:
&,/7
=
—–—–—–—–
20 x 500
=
GPM
3)-0,)&)%$
&ORTEMPERATUREDROP&,/7-"(
3YSTEMORZONECIRCULATORHEAD
requirement
1. The circulator must be capable of delivering the
required flow against the head loss that will occur in
the piping.
2. Determine the pipe size needed and the resultant
head loss using accepted engineering methods.
Expansion Tank Location
Figure 47, page 37 show typical installation of the system expansion tank.
It is highly recommended that you locate the air separator and expan-
sion tank as shown in the suggested piping drawings on pages 36 - 37.
Ensure that the expansion tank size will handle boiler and system
water volume and temperature. See tank manufacturer’s instructions
and ratings for details. Additional tanks may be added to the system
if needed to handle the expansion. These tanks may be installed by
connecting to tees in the system piping.
Undersized expansion tanks
cause system water to be
lost from the relief valve and makeup water to be added
through the fill valve. Eventual boiler failure can result
due to excessive make-up water addition. Always locate
the
cold-water fill connection
at the expansion tank.
Never locate this elsewhere.
Diaphragm- or bladder-type tank:
Refer to Figure 47, page 37 for suggested piping when using a dia-
phragm- or bladder-type expansion tank.
Diaphragm- or bladder-type expansion tank—Always
check pressure and charge tank with tank removed from
system to be sure reading is accurate. Boiler relief valve
is set for 30 PSIG.
Operating pressure of system, after
temperature expansion above cold fill pressure, should
not exceed 24 PSIG to avoid weeping of relief valve.
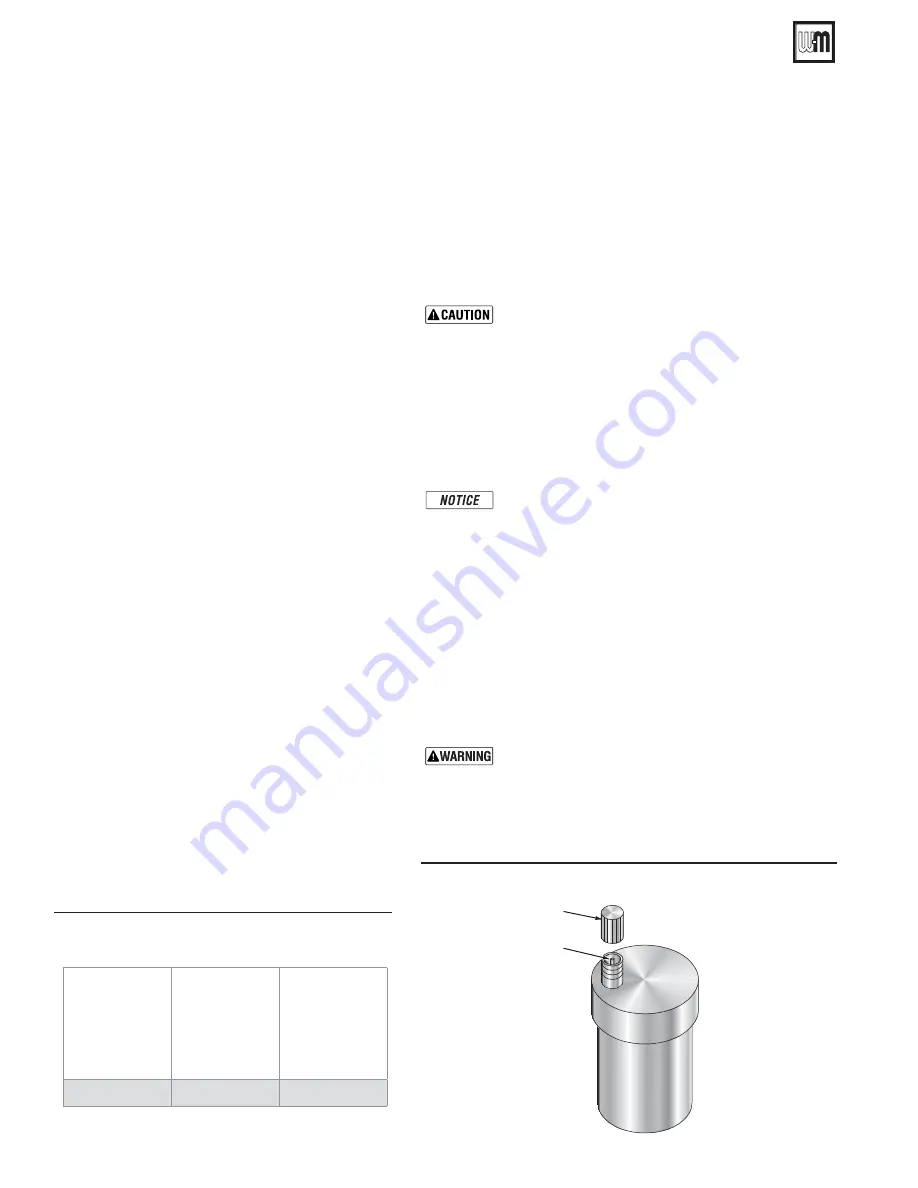
Install an automatic air vent on top of the air separator, per separator
manufacturer’s instructions.
Automatic air vents
(if used — automatic air vents
MUSTBEUSEDWITHDIAGHRAGMTYPEEXPANSIONTANKSONLY
1. See Figure 46.
2. Remove the cap from any automatic air vent in the system and
check operation by depressing valve “B” slightly with the tip of a
screwdriver.
3CALDHAZARD
— Water from air vent may be very hot.
Avoid contact to prevent possible severe personal injury.
3. If the air vent valve appears to be working freely and not leaking,
replace cap “A”, twisting all the way on.
4. Loosen cap “A” one turn to allow vent to operate.
5. Have vent replaced if it does not operate correctly.
Figure 46
!UTOMATICAIRVENT
85036
A
B


