79
www.analogway.com
USER MANUAL
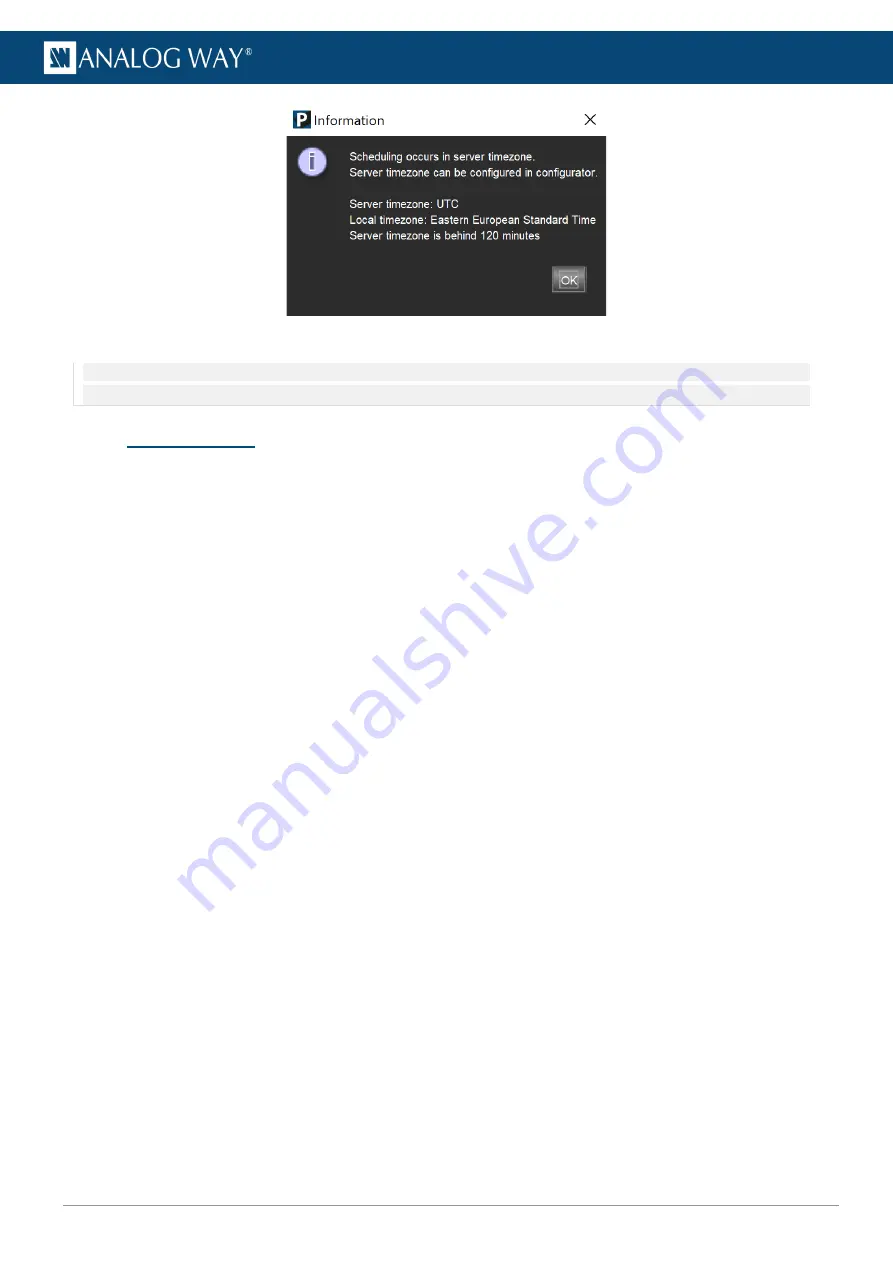
Fig. 61 -
Scheduling a cue: Time zone warning
Note: When scheduling cues to run on different days, the playback view lists cues based on their timecode. Next on the cue list might no
longer be the next cue to run if it is scheduled for another day.
9.8
Show example
Let us create a simple show in which one media layer is playing in the background and another layer is on top
of it with a logo (still image) on it. Using cues, the logo will move from the left side of the projection area to
the right side.
To achieve this, do the following:
1.
Open the
Cues
panel and make sure
Recording…
is enabled.
2.
Click the
Clr
button to clear the Programmer
3.
Go to
Layers
, select a background media and play it on Layer 1 (a green border appears around these
controls).
4.
In
Cues
, click
Save new
to create a cue with the recorded media state. A new cue appears in the Cue
list.
5.
In
Layers
, select the logo image in the Media selection panel of Layer 2, play it and use the position
controls to place it on the left side of the composition.
6.
Make sure that media selection, play mode and position control adjustments are recorded on the
Programmer.
7.
In
Cues
, click
Save new
to create a new cue.
8.
In
Layer 2
, use the position controls to move the logo to the right side of the composition.
9.
In
Cues
, click
Save new
to save the position change to a new cue.
Three cues are created in the Cue List: a background media without logo, the background media with the
logo on the left and the background media with the logo on the right.
10.
Click
S-add
to create a new cue stack in the Cue stack list. Select the cues and drag them into this
stack.
11.
Drag the stack into Playback 1.
12.
Select the first cue in the Playback list and click
Go
.
o
Enter timings for each cue (
Wait
,
Fade
and
Hold
).
o
Right-click a cue to change its trigger type (
Manual
or
Automatic
).
o
In
Manual
mode, keep clicking
Go
to go through the three cues of the Playback.


