3.
Launch a cluster in your VPC.
You can use the procedure described in the Getting Started to launch the cluster in your VPC. For
more information, see
Step 2: Launch a Cluster
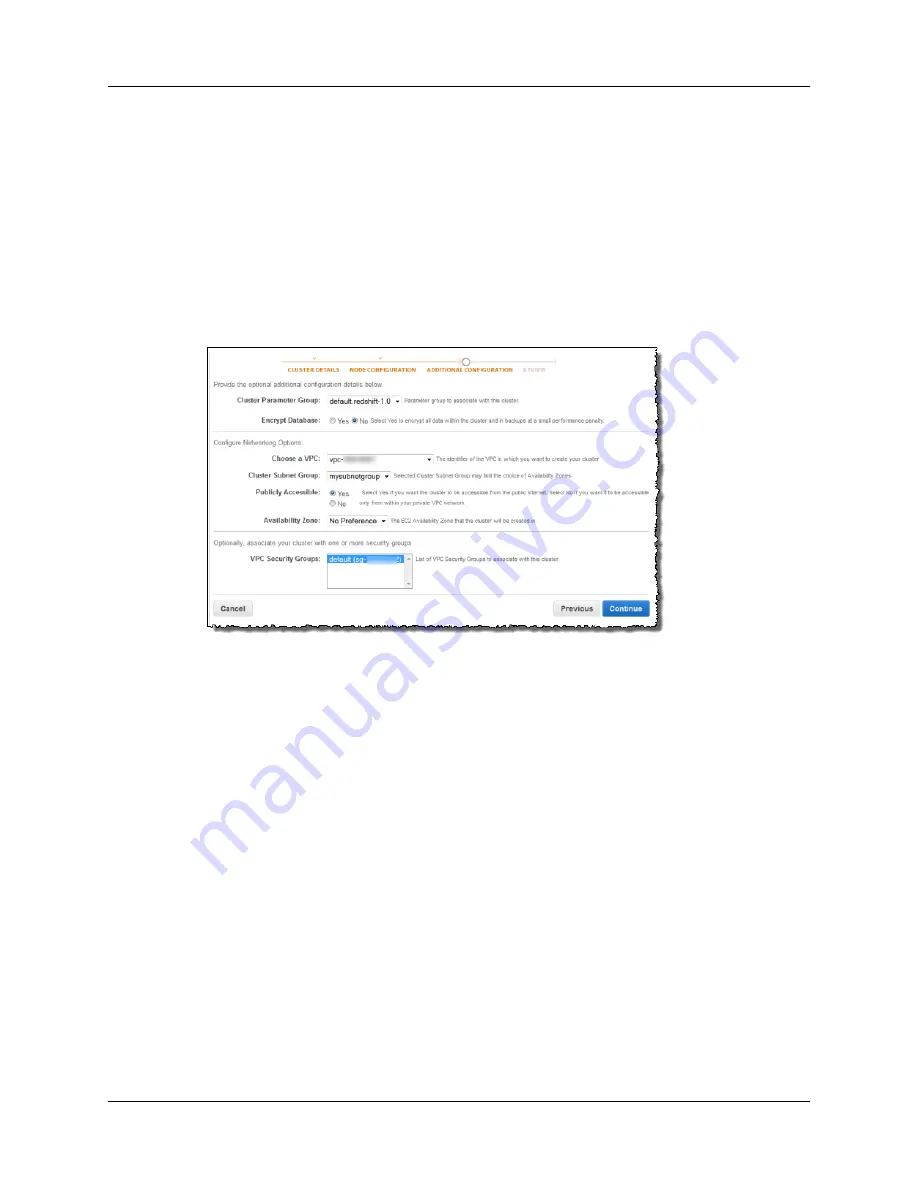
. As you follow the wizard, on the ADDITIONAL
CONFIGURATION page you select the VPC where you want to deploy the cluster and provide the
following relevant information:
• Select the cluster subnet group you created in the preceding step.
• Select the Yes Publicly Accessible option is selected.
• Select the VPC security group you want to associate with the cluster.
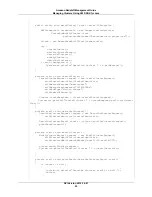
The following is an example screen shot of the ADDITIONAL CONFIGURATION page.
4.
Authorize access for inbound connections in the VPC security group you associated with the cluster.
To grant inbound access to enable a client outside the VPC (on the public Internet) to connect to the
cluster, you must modify the VPC security group. Specifically, you should allow the port that you
used when you launched the cluster. For examples of security group rules, go to
Security Group
Rules
in the Amazon Virtual Private Cloud User Guide.
Now you are ready to use the cluster. You can follow the Getting Started steps to test the cluster by
uploading sample data and trying example queries.
Amazon Redshift Cluster Subnet Groups
Topics
•
Overview (p. 25)
•
Managing Cluster Subnet Groups Using the Console (p. 26)
•
Managing Cluster Subnet Groups Using AWS SDK for Java (p. 29)
•
Manage Cluster Subnet Groups Using Amazon Redshift CLI and API (p. 31)
Overview
You create a cluster subnet group if you are provisioning your cluster your virtual private cloud (VPC).
For more information about VPC, go to
Amazon Virtual Private Cloud (Amazon VPC)
product detail page.
API Version 2012-12-01
25
Amazon Redshift Management Guide
Cluster Subnet Groups


