ENGLISH
1-16
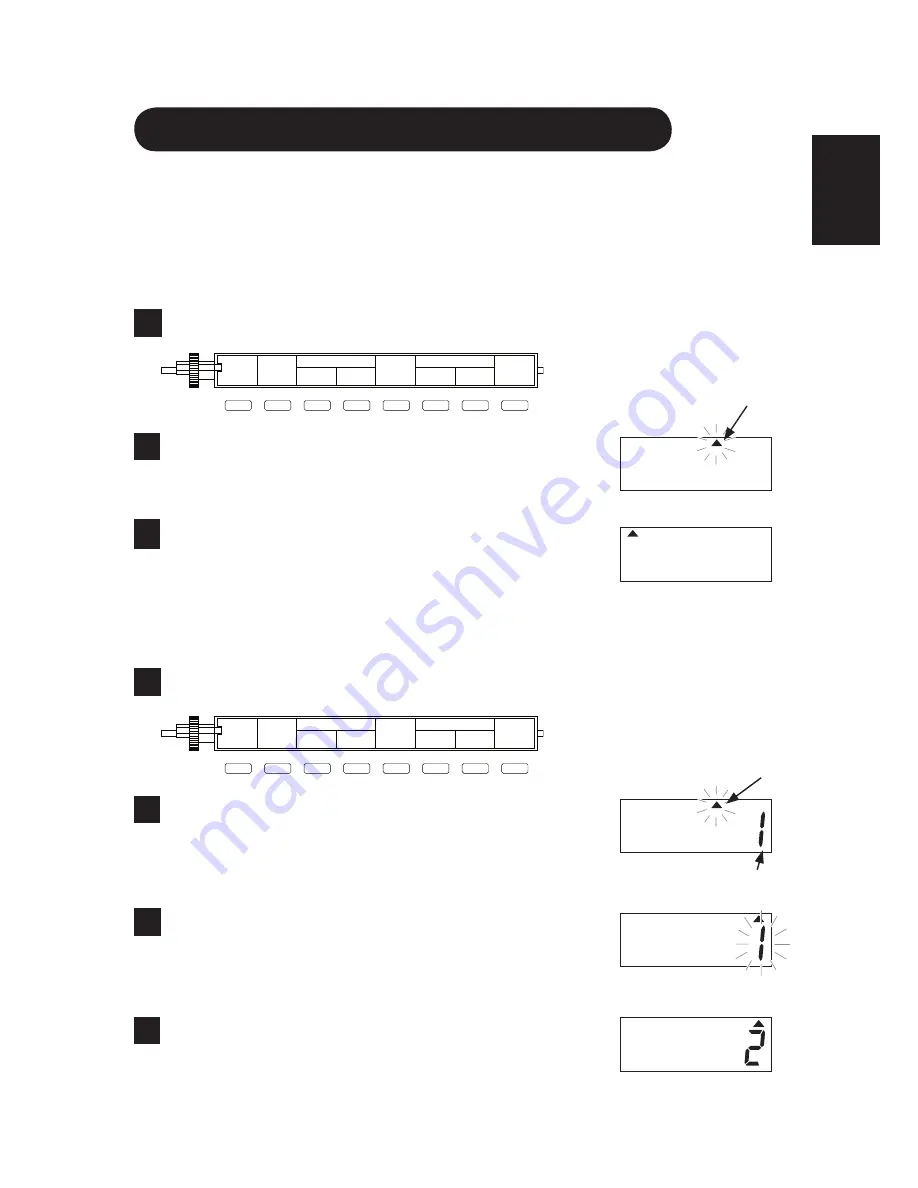
Changing Pay Period Ending Date
Pay period ending date can be set three ways : weekly pay, bi-weekly pay and
monthly pay. Select the desired one. Make the selection when setting imprint.
(See pages 1-13~1-15.)
<Weekly pay>
Example : Set the pay period ending day to Monday.
Open the lid and turn the setting index.
1
Press the PAY END button, and the initial value will
appear. (The
▲
mark blinks at “FR”.)
2
Press the “
+
” or “
–
” button and bring the
▲
mark
to “MO”. Press the “E” button, and the blinking
▲
mark stops blinking. The setting has been
3
<Bi-weekly pay>
Example : Set the pay period ending day to Sunday and the current week to
the second week.
Open the lid and turn the setting index.
1
Press the PAY END button, and the initial value
will appear. (The
▲
mark blinks at “FR”, and the
current week is the first week.)
2
Press the “
+
” or “
–
” button and bring the
▲
mark to
“SU”. Press the “E” button, and the blinking
▲
mark
stops blinking. The setting has been registered.
3
Press the “
+
” or “
–
” button to change the number to
“2”. Press the “E” button, and the blinking number
stops blinking. The setting has been registered.
4
PAY END
BLANK
CURRENT W.
DAY
CHANGE
CLOCK SETTING
ADJUST
IMPRINT
E
+
.
MIN
−
.
MIN
+
−
PAY END
BLANK
CURRENT W.
DAY
CHANGE
CLOCK SETTING
ADJUST
IMPRINT
E
+
.
MIN
−
.
MIN
+
−
Pay period
ending day
Pay period
ending day
Current week
MO TU WE TH FR SA SU
MO TU WE TH FR SA SU
MO TU WE TH FR SA SU
MO TU WE TH FR SA SU
MO TU WE TH FR SA SU


