81
2900H EN 20071108
Advanced operation (Key-operator mode)
D
RYSTAR
5500/5503 R
EFERENCE
MANUAL
Changing the Printer IP-address
1
Perform steps 1 to 2 of the
‘Accessing the Change settings menu’
page
2
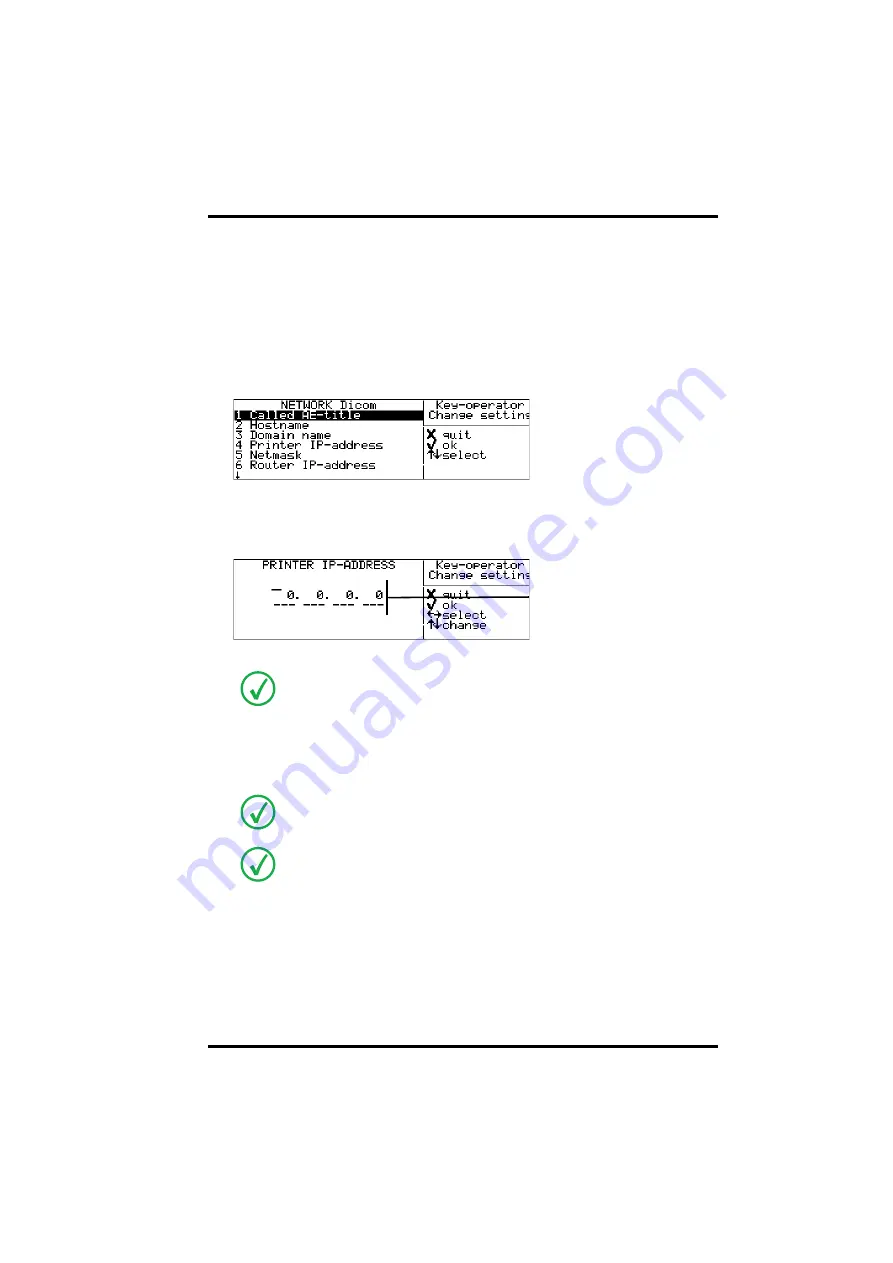
On the ‘Change setting’ screen, press the Down key three times, followed by the
Confirm key to select ‘Network Dicom’.
The ‘Network Dicom’ screen is displayed:
3
On the ‘Network-Dicom’ screen, press the Down key three times, followed by
the Confirm key to select ‘Printer IP-address’.
The ‘Printer IP-address’ screen is displayed:
If the IP-address has already been assigned, it will be shown on the display.
4
Press the Up/Down arrow keys to increment/decrement the numbers. Press the
Left/Right arrow keys to move through the fields. Press the Confirm key to store
the data.
When no DHCP server is available and when the IP address of the printer has never
been set, the printer IP address will be set to the address 169.254.10.10.
Refer to
on page
.
Note that blank spaces will not be filled in (see examples on the next page).
e.g. 10.233. 93. 46
Summary of Contents for Drystar 5500
Page 1: ...Drystar 5500 5503 Reference manual 2900H EN 20071108 ...
Page 6: ...6 2900H EN 20071108 DRYSTAR 5500 5503 REFERENCE MANUAL ...
Page 226: ...226 2900H EN 20071108 Troubleshooting DRYSTAR 5500 5503 REFERENCE MANUAL ...
Page 227: ...Equipment information sheet Appendix A ...
Page 237: ...Drystar media density response data Appendix B ...
Page 241: ...Quality Control Charts Appendix C ...
Page 252: ...252 2900H EN 20071108 Quality Control Charts DRYSTAR 5500 5503 REFERENCE MANUAL ...
Page 253: ...Remarks for HF emission and immunity Appendix D ...
Page 259: ...Index Chapter E ...
Page 265: ...265 2900H EN 20071108 Index DRYSTAR 5500 5503 REFERENCE MANUAL ...


