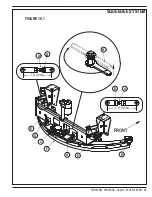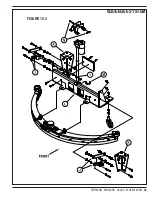
30
- FORM NO. 56043096 - Captor
™
4300B, 4800B
SOLUTION SYSTEM
SOLUTION TANK REMOVAL
1
Drain both the solution and recovery tanks using the tanks’ drain hoses, then lower the scrub deck then disconnect the battery pack.
2
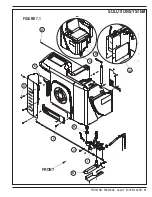
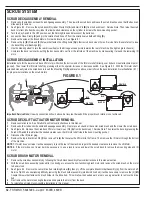
See Figure 7.1. Remove the Fuse Access Panel
(A)
and disconnect the solution float wire harness connector.
3
Remove the Operator’s seat by removing the 6
(B)
Screws and 2
(C)
Nuts from the Seat Mount Plate and disconnect the Seat Switch Wires.
4
Swing open the recovery tank, separate the support strap, and disconnect tank full indicator wiring harness and lift tank off its hinge plate.
5
Remove the 4
(D)
Screws from the rear electrical panel, swing open to access the 2
(E)
hidden Screws for the solution tank.
6
Remove the tail light panel secured by (3) Screws
(F)
.
7
Remove the (2) Hex HD Screws
(G)
that fastens the solution tank to the chassis.
8
Loosen the Hose Clamp
(H)
at the solution tank feed outlet fitting. Note: Remove the solution filter-housing bowl to allow the needed access
for the clamp.
9
Lift the left rear corner of the solution tank and tilt tank towards operator side, then brace properly to support (may use tail light panel).
SOLUTION VALVE CONTROL CABLE REPLACEMENT
1
Drain the recovery tank then unlatch and swing it open to access the broom and solution cable inspection cover.
2
Remove the inspection cover held in place by (4) screws.
3
Remove the right side brush deck skirt assembly and also the squeegee tool.
4
Lower the brush deck, then disconnect the battery pack. This is done to gain service clearance at the solution valve cable attachment arm and
mounting bracket.
5
Remove the cable ball joint end at the operator control handle bracket. Then loosen the cable casing anchor hardware and pull the cable free
from its slotted mounting bracket.
6
See Figure 7.1. Remove the Fuse Access Panel
(A)
(4 screws) located in the driver’s compartment below the solution lever to route the cable
through the machine chassis.
7
From underneath the machine at the solution control valve arm remove its cable ball joint end. Next loosen the cable casing anchor hardware
and pull the cable free from its slotted mounting bracket.
8
Remove the (2) cable P-clamps
(J)
that fasten the cable casing to the machine frame.
9
Attach (wire or tape together) a new solution cable to the end of defective cable at the solution valve. Note: Remove all hex nuts and ball joint
end pieces from both the old and new cable to help reduce the overall diameter of the cable assembly for ease of installation.
10
Remove the cable by pulling on the original cable from the operator’s handle. Guide the old cable out and at the same time fish the new cable
up through the frame and control box opening and attach at the operator’s handle.
11
Reassemble all mounting hardware and adjust the cable’s anchor connector ends to obtain the correct On/Off solution handle movement.
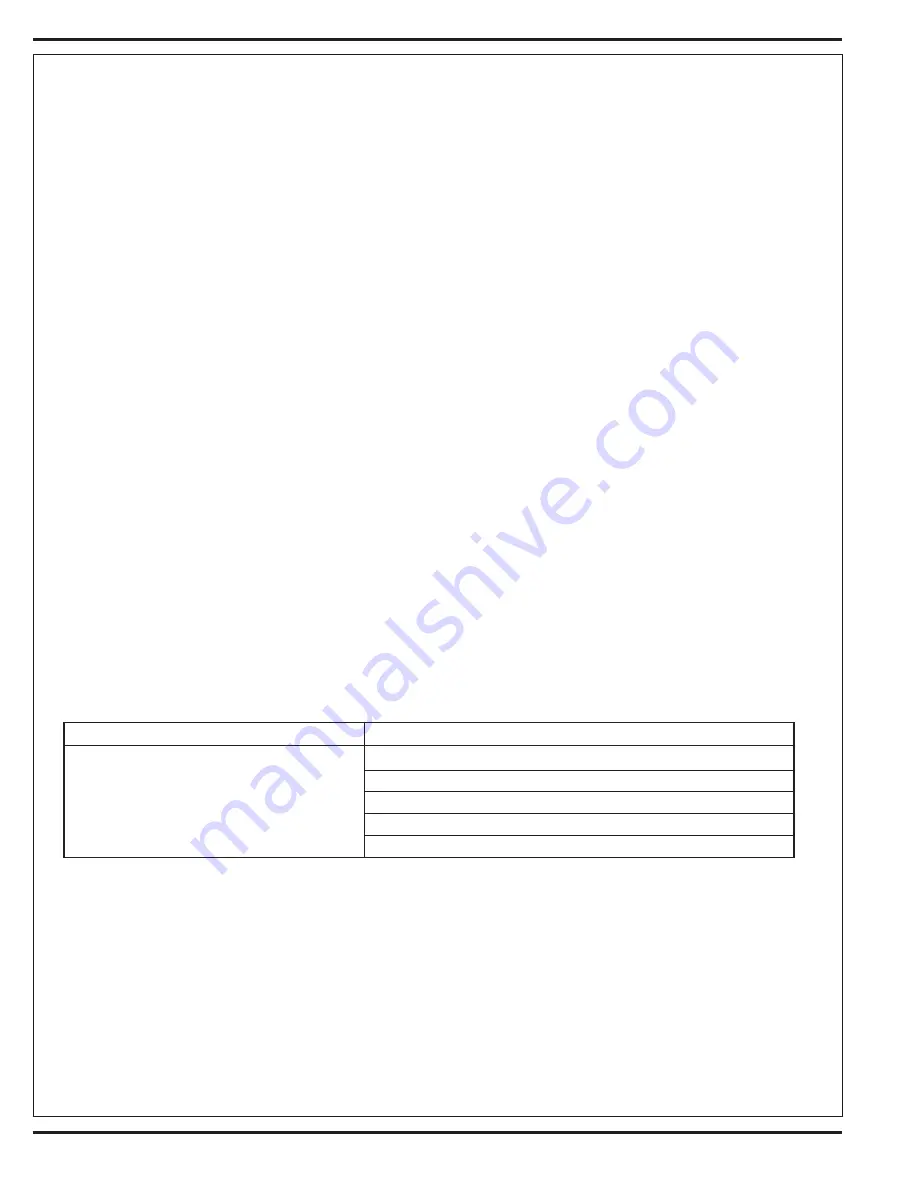
TROUBLESHOOTING GUIDE
Problem
Possible Cause
Inadequate or no solution flow
No solution in the tank
Main solution flow control valve lever is in the off position
Clogged solution filter, valves, hoses
Defective solution solenoid valve (L1)
Solution system fault in the main controller A1*
*
For further information on the solution system: Reference the general machine troubleshooting table in the Quick Start Troubleshooting Service
Manual form #56043095.
SOLUTION SYSTEM MAINTENANCE
• Solution Tank:
See Figure 7.1. Weekly empty the solution tank; remove the solution Drain Hose
(K)
from its storage area (located underneath
the right side brush skirt frame). Direct the hose to a designated “Disposal Site” and flush the tank with clean water.
• Solution Filter:
Important Service Tip
You must first empty the solution tank (use drain hose) to prevent an uncontrollable loss of solution. Then
service (remove and clean) the inline Solution Housing
(I)
. To access the filter housing for removal, work underneath the solution tank (see solution
system maintenance decal attached to chassis). No tools are needed to remove the filter (hand tighten only).
Summary of Contents for 56303000
Page 17: ...FORM NO 56043096 Captor 4300B 4800B 15 FRONT WHEEL SYSTEM FIGURE 3 1...
Page 20: ...18 FORM NO 56043096 Captor 4300B 4800B HYDRAULIC SYSTEM FIGURE 4 3...
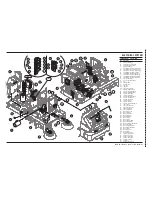
Page 33: ...FORM NO 56043096 Captor 4300B 4800B 31 SOLUTION SYSTEM FIGURE 7 1...
Page 39: ...FORM NO 56043096 Captor 4300B 4800B 37 SQUEEGEE SYSTEM FIGURE 10 1...
Page 41: ...FORM NO 56043096 Captor 4300B 4800B 39 SQUEEGEE SYSTEM FIGURE 10 2...
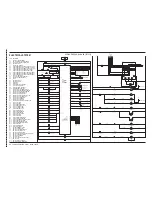
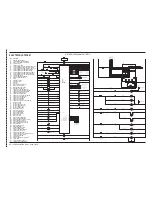
Page 45: ...FORM NO 56043096 Captor 4300B 4800B 43 WIRING SCHEMATIC before SN 1767238 ELECTRICAL SYSTEM...
Page 50: ......

