


Chapter 3
71
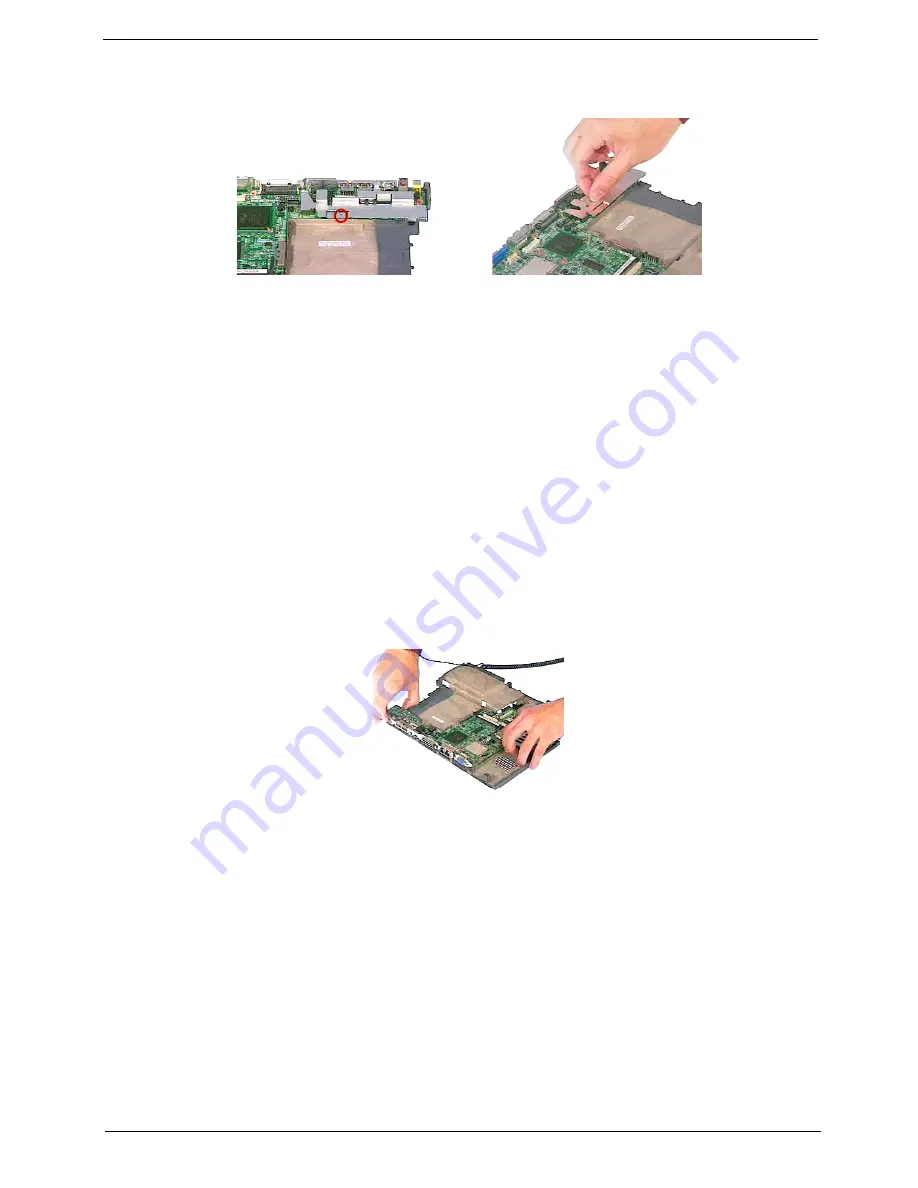
7.
Remove the screw as shown here and then detach the thermal charger bracket from the main board.
Removing the Main board
1.
See “Removing the Battery Pack” on page 51
2.
See “Removing the Middle Cover” on page 57
3.
See “Removing the Keyboard” on page 58
4.
See “Removing the LCD Module” on page 59
5.
See “Removing the LAN Board” on page 64
6.
See “Removing the Upper Case” on page 65
7.
See “Removing the HDD Transfer Board” on page 66
8.
See “Removing the Fan” on page 69
9.
See “Removing the CPU” on page 70
10. See “Removing the Thermal Charger Bracket” on page 70
11. Remove the main board from the lower case gently.
Removing the Antenna Boards
1.
See “Removing the Battery Pack” on page 51
2.
See “Removing the Middle Cover” on page 57
3.
See “Removing the Keyboard” on page 58
4.
See “Removing the LCD Module” on page 59
5.
See “Removing the LAN Board” on page 64
6.
See “Removing the Upper Case” on page 65
Summary of Contents for TravelMate 610 series
Page 6: ...VI ...
Page 10: ...VIII Table of Contents ...
Page 54: ...46 Chapter 2 ...
Page 61: ...Chapter 3 53 4 Disconnect the connector from the hard disk drive module ...
Page 71: ...Chapter 3 63 9 Then remove the two LCD hinges from the LCD panel ...
Page 82: ...74 Chapter 3 ...
Page 96: ...88 ...
Page 102: ...94 Chapter 5 ...
Page 104: ...96 ...
Page 114: ...106 ...
Page 116: ...108 Appendix A ...
Page 126: ...118 Appendix B ...
Page 128: ...120 Appendix C ...
Page 132: ...124 Index ...