


36
Chapter 2
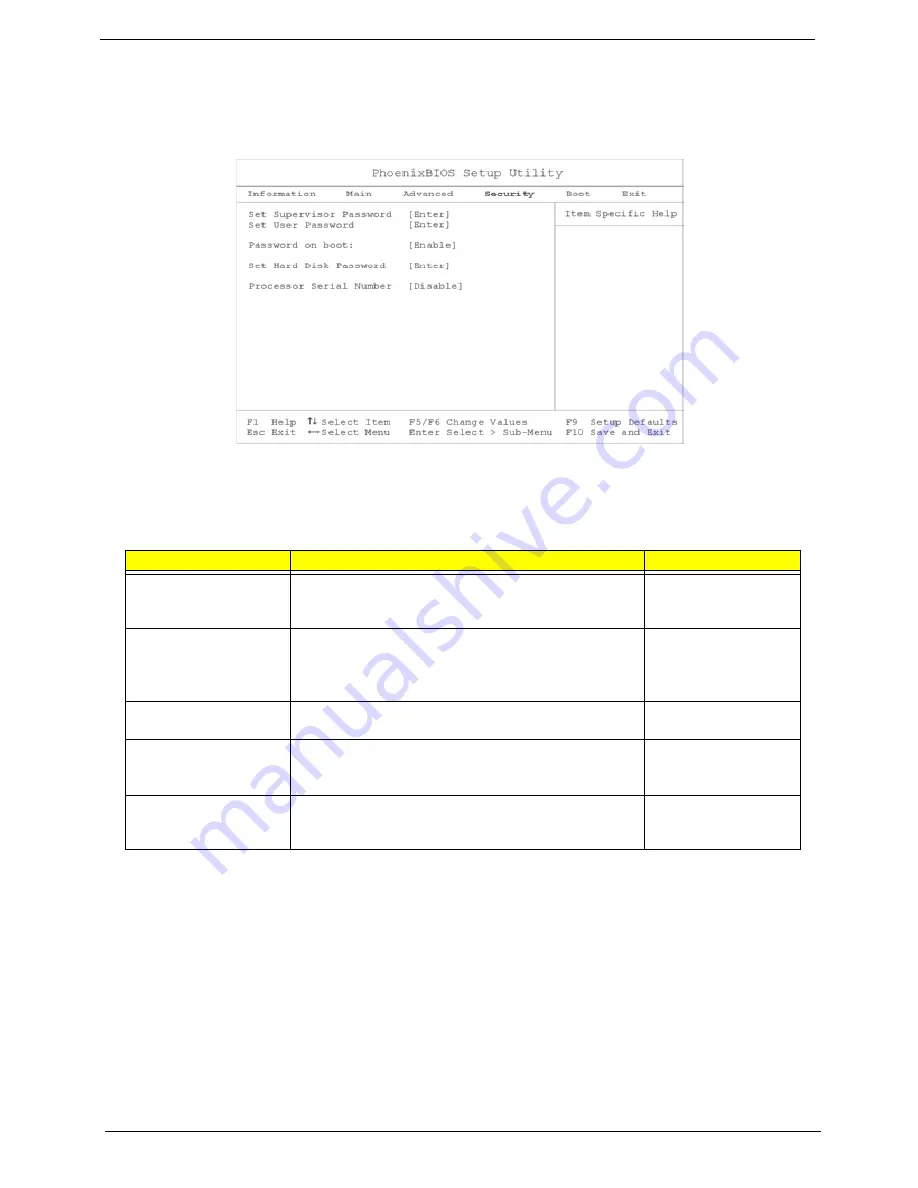
System Security
The System Security screen contains parameters that help safeguard and protect your computer from
unauthorized use.
The following table describes the parameters in this screen. Settings in boldface are the default and
suggested parameter settings
.
Setting a Password
Follow these steps:
1.
Use the cursor up/ down keys to highlight a password parameter (Setup, Power-on or Hard Disk) and
press the Enter key. The password box appears.
2.
Type a password. The password may consist of up to seven characters (A-Z, a-z, 0-9).
3.
Press Enter. Re-type the password to verify your first entry and press Enter.
4.
After setting the password, the computer automatically sets the chosen password parameter to Present.
Removing a Password
Should you want to remove a password, do the following:
Parameter
Description
Options
Set Supervisor Password
When set, this password protects the BIOS Utility and
Notebook Manager from unauthorized use.
Press Enter to set this password.
Set User Password
When set, this password protects the computer from
unauthorized use.
Press Enter to set this password (requires the Supervisor
Password to be set first).
Password on boot
When enabled, a password is requested when the syste
boots up.
Enable or Disable
Set Primary Hard Disk
Password
When set, this password protects your hard disk fro
unauthorized access.
Press Enter to set this password.
Processor Serial Numbe
The Pentium III processor includes a unique serial numbe
which allows individual CPUs to be identified. You can turn off
this feature by setting this parameter to Disabled.
Disable or Enable
Summary of Contents for TravelMate 610 series
Page 6: ...VI ...
Page 10: ...VIII Table of Contents ...
Page 54: ...46 Chapter 2 ...
Page 61: ...Chapter 3 53 4 Disconnect the connector from the hard disk drive module ...
Page 71: ...Chapter 3 63 9 Then remove the two LCD hinges from the LCD panel ...
Page 82: ...74 Chapter 3 ...
Page 96: ...88 ...
Page 102: ...94 Chapter 5 ...
Page 104: ...96 ...
Page 114: ...106 ...
Page 116: ...108 Appendix A ...
Page 126: ...118 Appendix B ...
Page 128: ...120 Appendix C ...
Page 132: ...124 Index ...