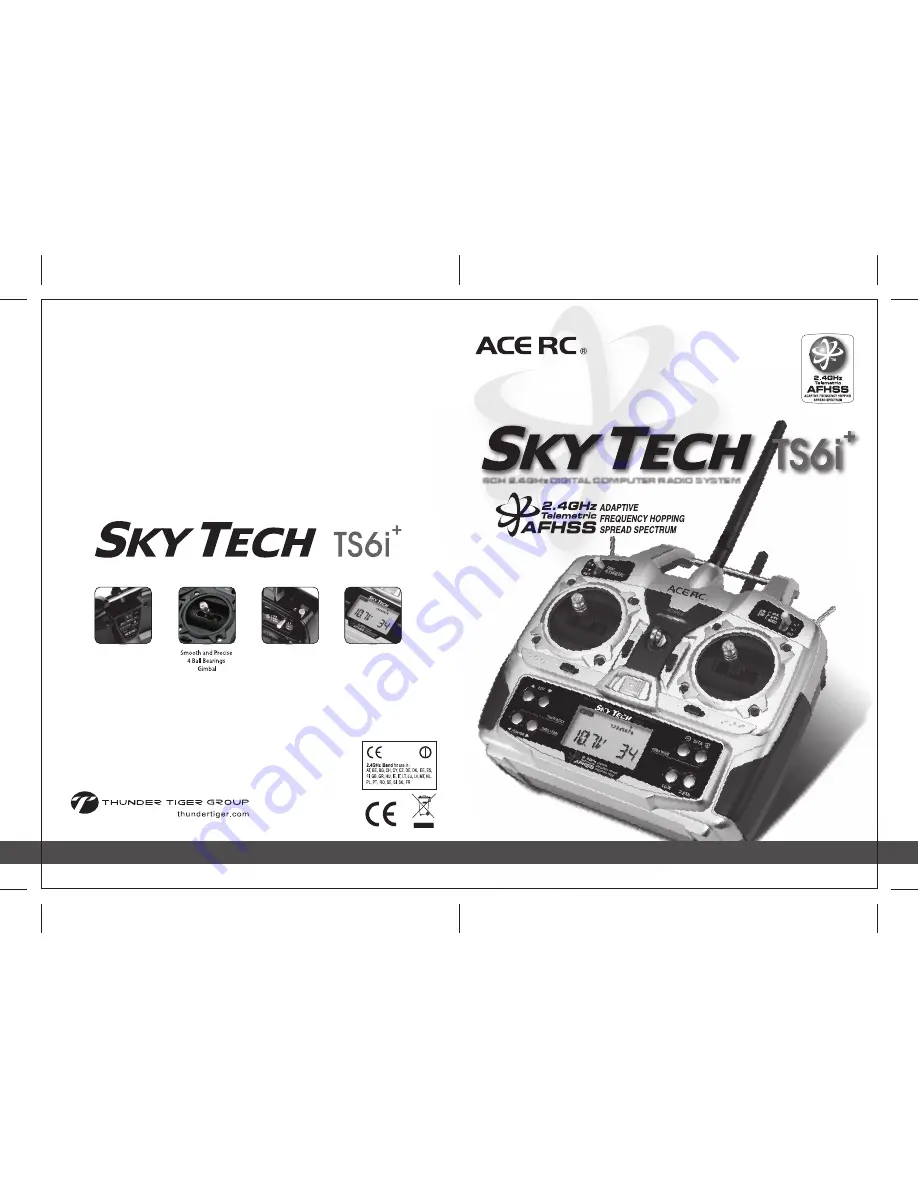
6CH 2.4GHz DIGITAL COMPUTER RADIO SYSTEM
6CH 2.4GHz DIGITAL COMPUTER RADIO SYSTEM
6CH 2.4GHz DIGITAL COMPUTER RADIO SYSTEM
Function Assignable
Switches
Easy to Read
LCD Screen
Built-in ACE RC AFHSS
2.4GHz System
0678
INSTRUCTION MANUAL Ver 1.0
Made in the Philippines
JC6286


