30
3.2.4.
Assembling the boiler
Before connecting the boiler to the pipes of the heating and sanitary system, it is necessary to carry out a
thorough cleaning of the system itself.
- Before putting a NEW system into service, clean it in order to eliminate metal processing and welding
residues, oils and greases that may be present and which, reaching the boiler, could damage it or alter its
operation.
- Before putting into service a system that has been MODERNIZED (adding radiators, replacing the boiler,
etc.), clean it in order to remove any sludge and foreign particles.
For this purpose, use appropriate non-acid products available on the market.
Do not use solvents which could damage the components.
In addition, in each heating system (new or modernized) add to the water, in due concentration, appropriate
corrosion inhibitor products for multi-metal systems that form a protective film on the internal metal
surfaces.
The manufacturer declines all responsibility for damage caused to people, animals or things deriving from
the non-observance of the above.
For all types of systems, an inspectable filter (of the Y type) with a Ø 0.4 mm mesh opening must be fitted
at the boiler inlet, on the return line.
3.2.4.1.
Direct wall installation with bracket supplied (bracket A)
To install the boiler proceed as follows:
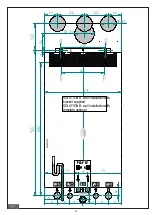
- fix the template (fig. 7) to the wall;
- make the holes in the wall for the fixing plugs chosen for the boiler support bracket (bracket A in fig. 7);
- make holes in the wall, if necessary, for the passage of the air intake / flue gas exhaust pipes;
- fix the hook anchors to the wall;
- position the fittings for connecting the gas supply pipe (G), the cold water supply pipe (F), the hot water outlet (C only model Play), the
secondary flow to the boiler (only Play SV model), the secondary return from the boiler (Play SV model only), the heating delivery (M) and
the heating return (R) at the same points on the template (lower part);
- prepare a connection for the condensate drain and a drain for the 3 bar safety valve;
- hang the boiler on the hooks of the dowels;
- connect the boiler to the supply pipes (refer to paragraph 3.2.9);
- connect the boiler to the condensate drain system (refer to paragraph 3.2.9);
- connect the boiler to the 3 bar safety valve drainage system;
- connect the boiler to the air intake / flue gas exhaust system (refer to paragraph 3.2.6 and related sub-paragraphs);
- connect the power supply, the room thermostat (if provided) and any other accessories (see the following paragraphs).
3.2.4.2.
Wall installation with optional metal bracket (bracket B)
To install the boiler proceed as follows:
- fix the template (fig. 7) to the wall;
- make the holes in the wall for the fixing plugs chosen for the boiler support bracket (bracket B (008445013) in fig. 7);
- make holes in the wall, if necessary, for the passage of the air intake / flue gas exhaust pipes;
- fix bracket B to the wall with the plugs;
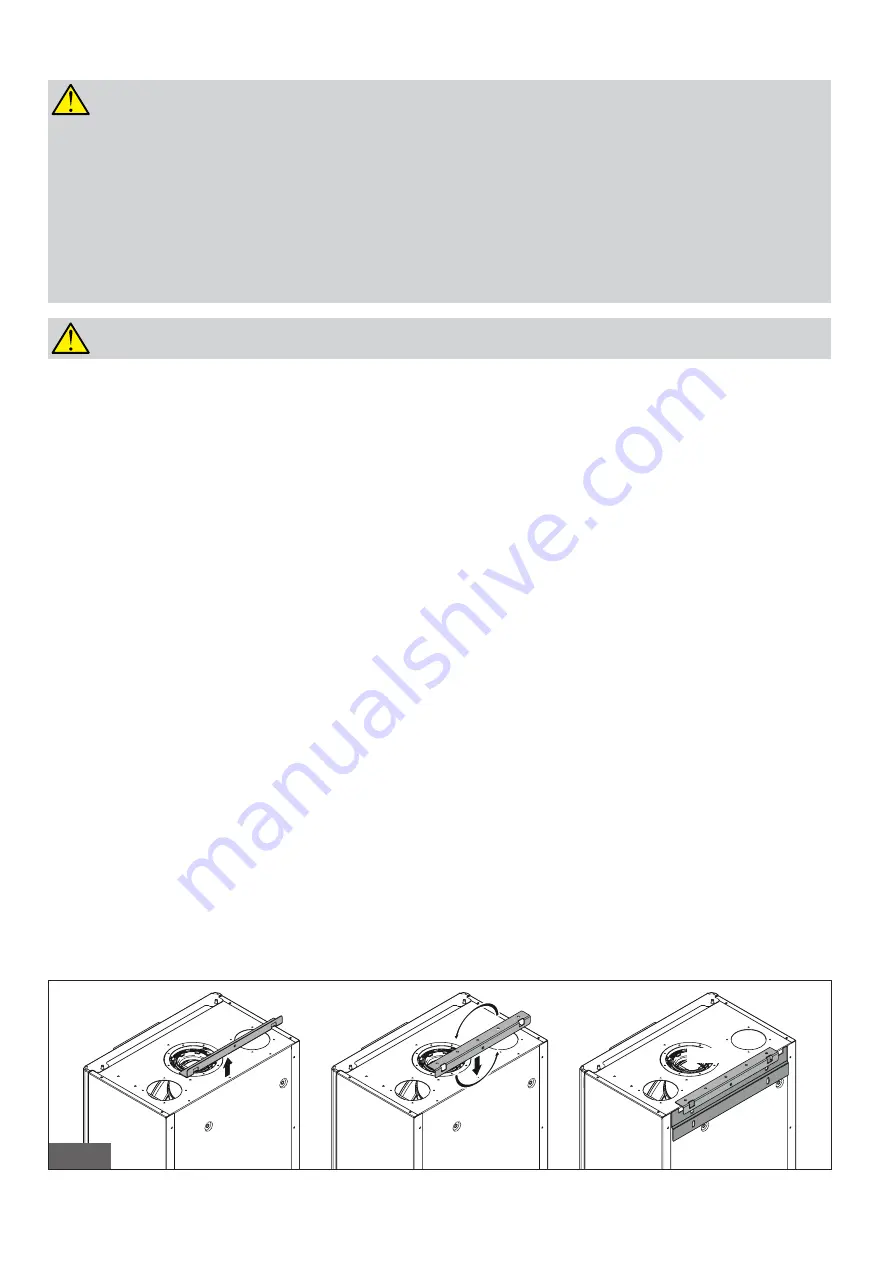
- disassemble and reassemble the standard bracket (A) on the boiler in reverse;
- position the fittings for connecting the gas supply pipe (G), the cold water supply pipe (F), the hot water outlet (C only model Play), the
secondary flow to the boiler (only Play SV model), the secondary return from the boiler (Play SV model only), the heating delivery (M) and
the heating return (R) at the same points on the template (lower part);
- prepare a connection for the condensate drain and a drain for the 3 bar safety valve;
- hang the boiler on the bracket B previously fixed to the wall;
- connect the boiler to the supply pipes (refer to paragraph 3.2.9);
- connect the boiler to the condensate drain system (refer to paragraph 3.2.9);
- connect the boiler to the 3 bar safety valve drainage system;
- connect the boiler to the air intake / flue gas exhaust system (refer to paragraph 3.2.6 and related sub-paragraphs);
- connect the power supply, the room thermostat (if provided) and any other accessories (see the following paragraphs).
Bracket
A
Braccket
B
Bracket
A
fig. 8
Bracket
A

