21
For more cool Wattage products visit our website at http://watt-age.globalhobby.com
❑
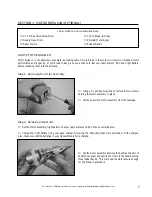
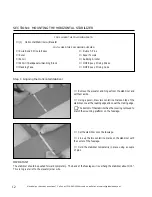
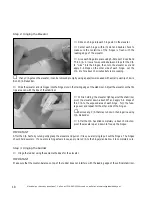
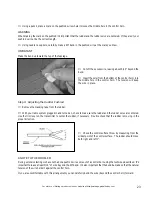
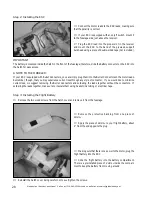
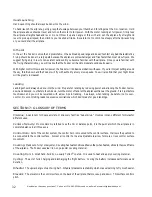
Connect your radio system and plug the elevator servo into the receiver. Double check that the trim lever on your
transmitter is centered.
❑
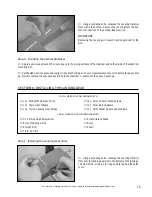
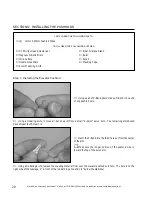
Slide the pushrod into the pushrod housing and install
the servo horn to the servo, making sure it's centered.
☛
The servo horn should point toward the fuselage side, as
shown.
❑
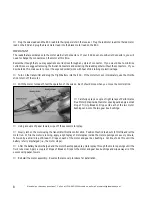
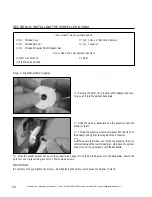
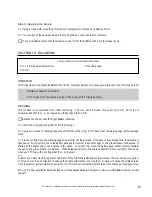
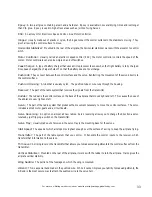
Install the retaining screw to secure the servo horn into
place.
❑
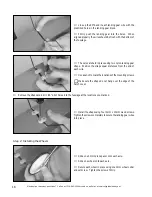
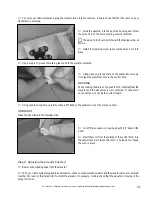
Use a couple of pieces of masking tape to hold the elevator centered.
❑
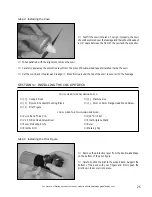
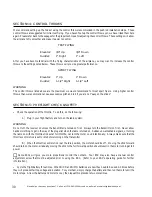
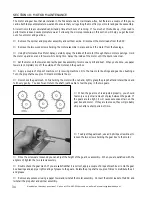
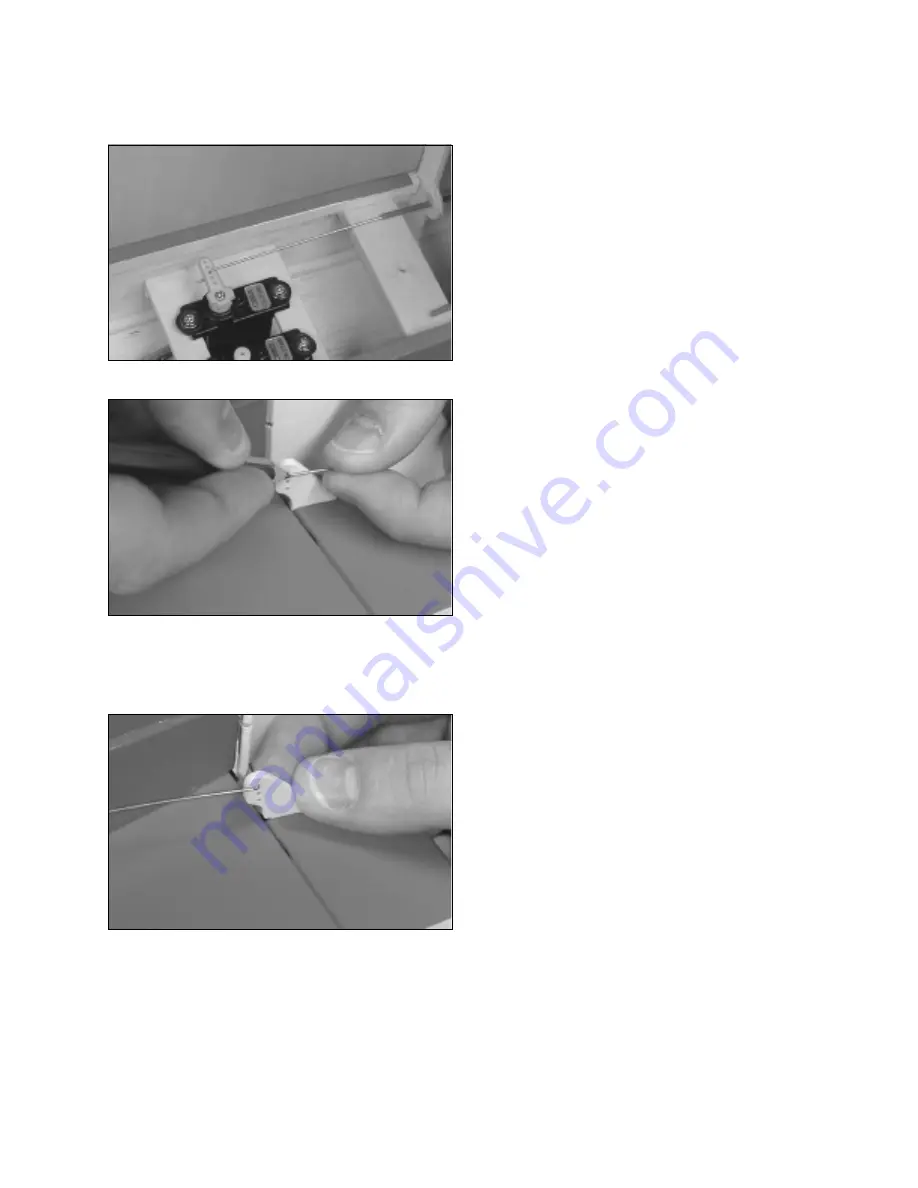
Using a pencil, place a mark on the pushrod wire where
it crosses the outermost hole in the control horn.
WARNING
When making the mark on the pushrod it's important that the
elevator and the elevator servo are centered. If they aren't
your pushrod will not be the correct length.
❑
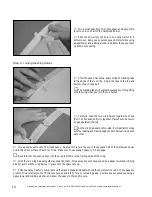
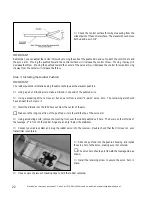
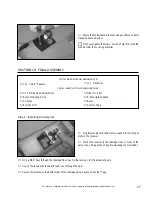
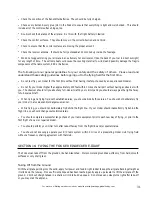
Cut off the excess wire, leaving about 5/16" beyond the
bend.
❑
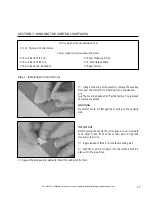
Insert the wire (from the outside of the control horn) into
the outermost hole in the control horn. The tension will keep
the wire in place.
❑
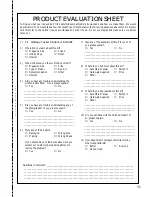
Using needle nose pliers, carefully make a 90º bend in the pushrod wire at the mark you drew.
IMPORTANT
Make the bend toward the fuselage side.
Step 2: Adjusting the Elevator Pushrod
❑
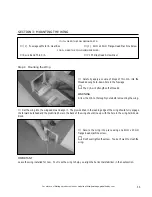
Remove the masking tape from the elevator.
❑
With your radio system plugged in and turned on, check to make sure the elevator and the elevator servo are centered.
Use the trim lever on the transmitter to center the elevator, if necessary. Double check that the elevator is moving in the
proper direction.

