13
For more cool Wattage products visit our website at http://watt-age.globalhobby.com
❑
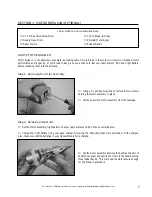
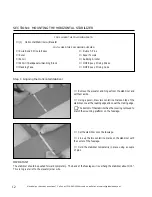
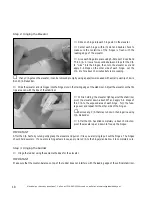
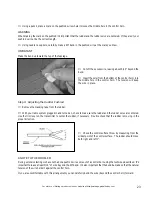
Using a ruler, measure the distance between the tips of
the stabilizer and the tips of the wing.
☛
If the measurements aren't equal, remove the forward
pin (leave the rear pin in place) and pivot the front of the
stabilizer until both measurements are equal.
❑
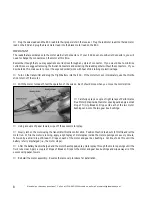
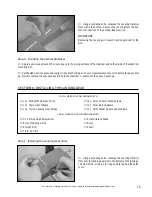
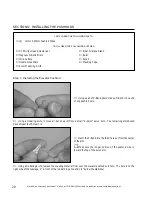
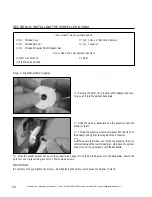
When you are satisfied that the stabilizer is aligned, use a pencil to draw a couple of marks on each side of the
stabilizer where it and the fuselage sides meet, then use a couple of pins to hold the stabilizer firmly in place.
B=B-1
❑
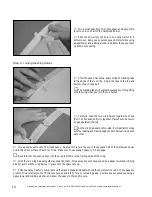
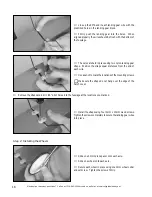
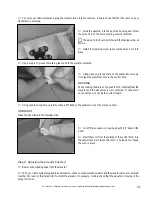
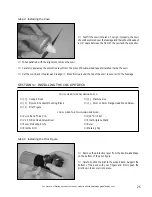
With the stabilizer held firmly in place, look from the
front of the airplane at both the wing and the stabilizer. When
aligned properly, the stabilizer should be parallel with the
wing.
IMPORTANT
If the stabilizer is out of alignment, remove it and use 220 grit sandpaper with a sanding block to sand down the higher side
of the stabilizer mounting platform, then reinstall the stabilizer and check the alignment once more. Repeat this procedure
until you are satisfied with the alignment.
C=C-1
Step 2: Mounting the Horizontal Stabilizer
❑
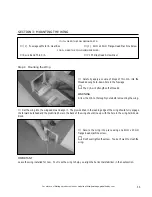
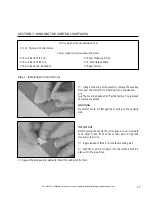
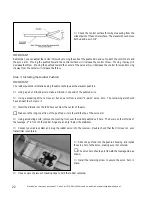
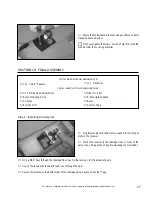
Apply a generous amount of 5 minute epoxy to
only
the top of the stabilizer mounting platform.
❑
Set the stabilizer into place and realign it, double
checking all of your measurements once more before the
epoxy sets up. Remove any excess epoxy before it cures
and hold the stabilizer in place until the epoxy sets up.


