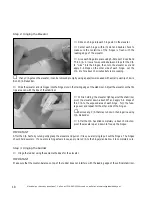
12
Need help or have any questions? Call us at 1-714-963-0329 or send us an Email at [email protected]
❑
Kwik Bond 5 Minute Epoxy
❑
Ruler
❑
Pencil
❑
220 Grit Sandpaper w/Sanding Block
❑
Masking Tape
YOU'LL NEED THE FOLLOWING PARTS:
❑
{1} Horizontal Stabilizer w/Elevator
SECTION 4: MOUNTING THE HORIZONTAL STABILIZER
YOU'LL NEED THE FOLLOWING SUPPLIES:
❑
Dubro T-Pins
❑
Paper Towels
❑
Rubbing Alcohol
❑
NHP Epoxy Mixing Sticks
❑
NHP Epoxy Mixing Cups
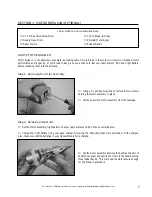
Step 1: Aligning the Horizontal Stabilizer
❑
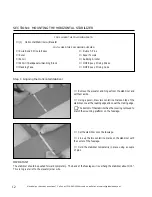
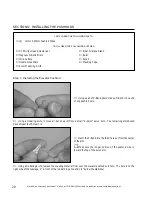
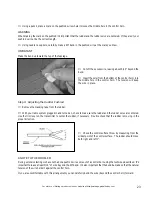
Remove the elevator and hinges from the stabilizer and
set them aside.
❑
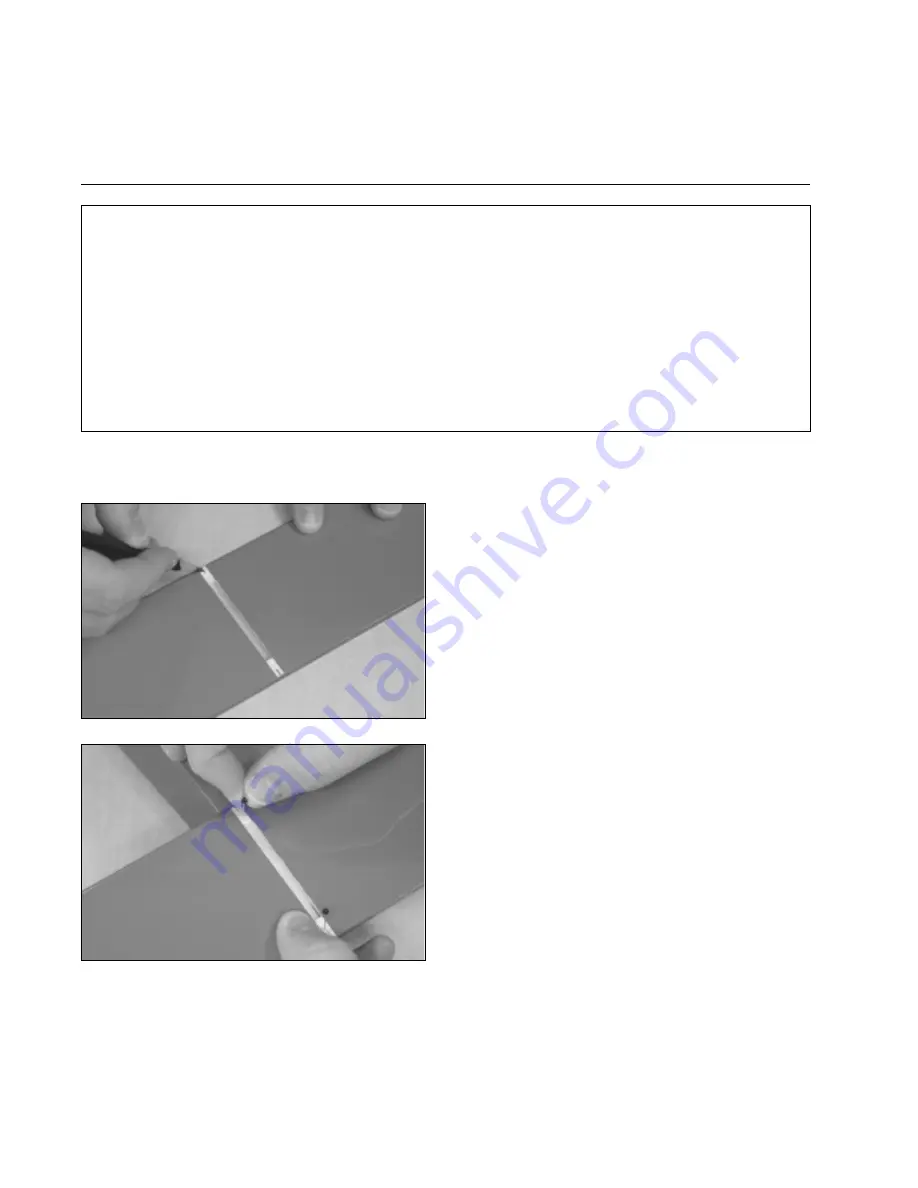
Using a pencil, draw two centerline marks on
top
of the
stabilizer, one at the leading edge and one at the trailing edge.
☛
The
bottom
of the stabilizer has the covering removed to
match the mounting platform on the fuselage.
❑
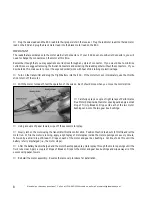
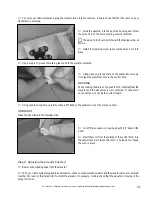
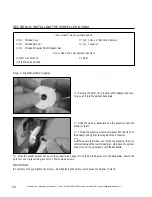
Set the stabilizer onto the fuselage.
❑
Line up the two centerline marks on the stabilizer with
the center of the fuselage.
❑
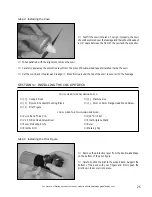
Hold the stabilizer temporarily in place using a couple
of pins.
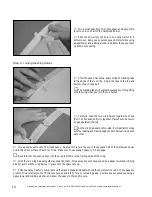
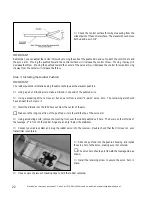
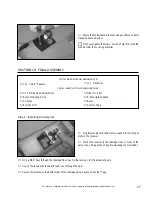
IMPORTANT
The stabilizer should be pushed forward completely. The back of the fuselage will overhang the stabilizer about 1/16".
This is to give relief to the elevator joiner wire.


