18
Need help or have any questions? Call us at 1-714-963-0329 or send us an Email at [email protected]
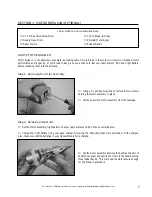
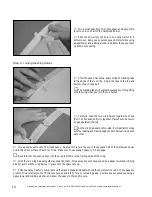
Step 2: Hinging the Elevator
❑
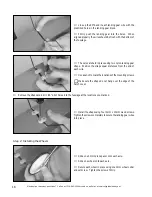
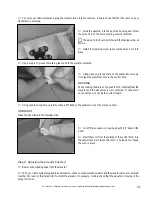
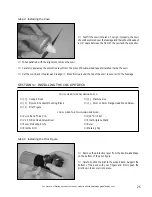
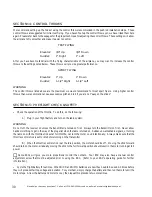
Slide one hinge into each hinge slot in the elevator.
❑
Center each hinge within its slot and double check to
make sure the centerline of the hinges is flush with the
leading edge of the elevator.
❑
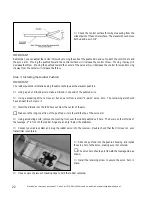
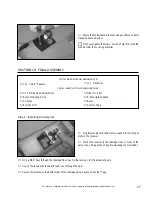
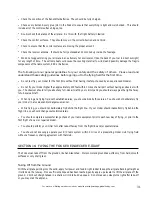
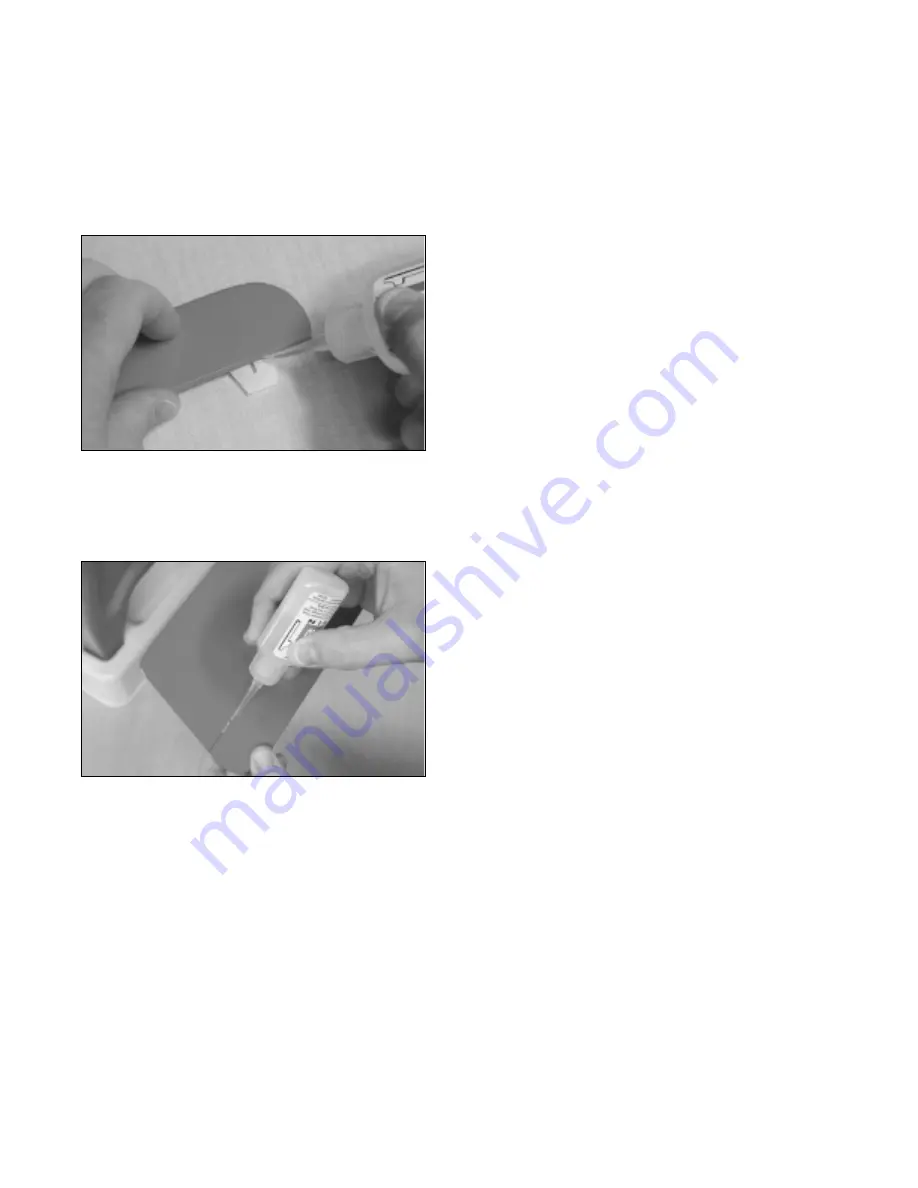
Glue each hinge into place using 5-6 drops of Kwik Bond
Thin C/A. Allow a few seconds between drops for the C/A
to "wick" into the hinges, then turn the elevator over and
apply 5-6 drops on the other side of each hinge. Let the
C/A dry for about 10 minutes before proceeding.
☛
If any C/A gets on the elevator, it can be removed promptly using a paper towel soaked with a small quantity of Kwik
Bond C/A Debonder.
❑
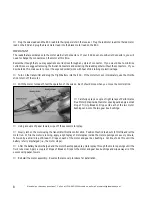
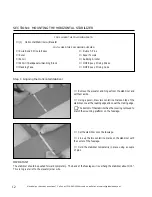
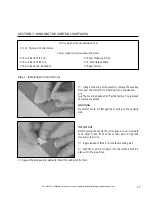
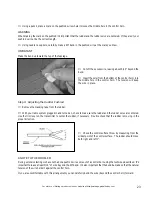
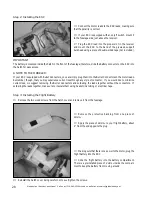
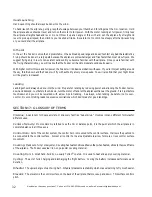
Slide the elevator and its hinges into the hinge slots in the trailing edge of the stabilizer. Adjust the elevator so that its
tips are even with the tips of the stabilizer.
❑
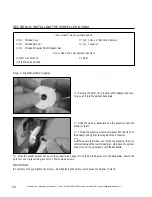
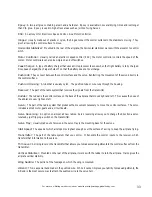
While holding the elevator tight against the stabilizer,
pivot the elevator down about 45º and apply 5-6 drops of
thin C/A to the exposed area of each hinge. Turn the fuse-
lage over and repeat for the other side of the hinges.
☛
Remove any C/A that may run down the hinge line using
C/A Debonder.
❑
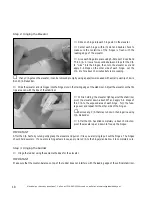
After the C/A has dried completely - about 15 minutes -
pivot the elevator up and down to free up the hinges.
IMPORTANT
After the C/A has fully cured, gently grasp the elevator and pull on it like you are trying to pull out the hinges. The hinges
should hold securely. If one or more hinges feels loose, apply more C/A to the hinge(s) and allow it to completely cure.
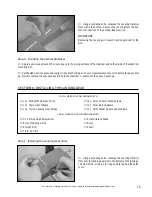
Step 3: Hinging the Rudder
❑
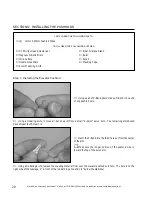
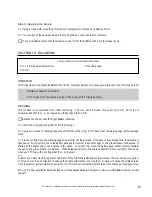
Hinge the rudder using the same methods as for the elevator.
IMPORTANT
Make sure that the counter-balance on top of the rudder does not interfere with the leading edge of the vertical stabilizer.


