Device menu
40
“DST Settings”
tab
Setting
DST
Activated when box is checked
From / To
Date of DST start / end
DST Bias
Daylight Saving Time Bias: Correc-
tion of the DST to the reference time
“More Set-
tings” tab
Setting
Device Name
Unique specification of the device
Device Number Used for unique identification when
using remote control
Monitor Bright-
ness
Scroll bar (left = darker;
right = brighter)
Transparent
1:1, 3:1, 1:3 or Non-transparent –
used for managing the display of the
OSD in front of the background im-
age
Menu Dwell
Time
1 to 30 minutes – regulates how long
the menu is shown
Activate Event
Note
Displays a symbol at the bottom-left
of the live image when an event oc-
curs
Activate Moni-
tor Note
Shows the monitor ID at the bottom-
left
(M = main monitor, A = auxiliary
monitor)
Main/AUX
CVBS Scaling
Video signal scaling on the AUX
monitor
Box checked / not checked
System Settings: Camera
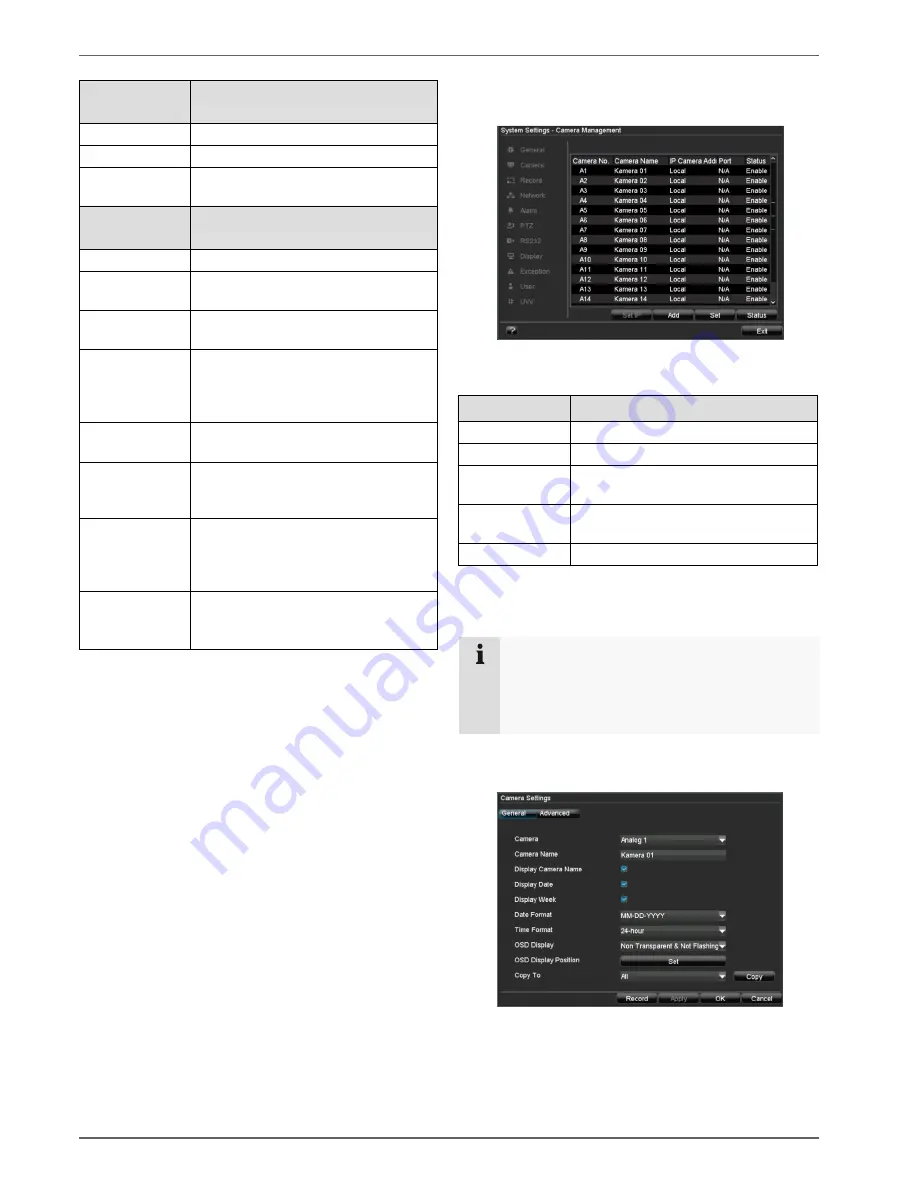
All cameras or signal inputs (see page 3) are displayed in
the “Camera Management” overview.
Name
Meaning
Camera No.
Signal input
Camera Name
Specified camera name
IP Camera Ad-
dress
Local (connected to the device) or IP
address on network cameras
Port
N/A (connected to the device) or port
number on network cameras
Status
Enable / Disable
1. Click on
Status
and activate or deactivate the con-
nected cameras.
2. Confirm with
OK
.
Note
The device must be rebooted in order to activate
the camera.
Pay attention to the network settings (see page
49).
3. Select the camera by clicking the corresponding line.
4. Select
Set
to define a new camera connection.


