Installing the Motherboard
User’s Manual
3-11
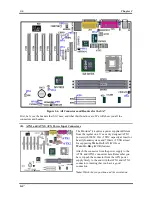
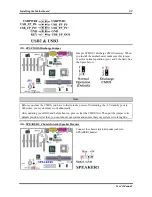
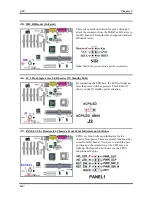
PANEL1 (Pin 1 & 3): HDD LED Header
Attach the cable from the case’s front panel HDD LED to this header. If you install it in the wrong
direction, the LED light will not illuminate correctly.
Note:
Watch the HDD LED pin position and the orientation.
PANEL1 (Pin 5 & 7): Hardware Reset Switch Header
Attach the cable from the case’s front panel Reset switch to this header. Press and hold the reset button
for at least one second to reset the system.
PANEL1 (Pin 2-4): Hardware Suspend Switch (SMI Switch) Header
Attach the cable from the case’s front panel suspend switch (if there is one) to this header. Use this switch
to enable/disable the power management function through hardware.
PANEL1 (Pin 6 & 8): Power On Switch Header
Attach the cable from the case’s front panel power on switch to this header.
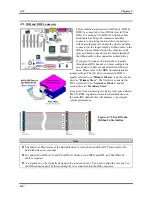
(18). FLOPPY1 Connector
This 34-pin connector is called the “
floppy disk
drive connector
”. You can connect a 360K, 5.25”,
1.2M, 5.25”, 720K, 3.5’’, 1.44M, 3.5” or 2.88M,
3.5” floppy disk drive.
A floppy disk drive ribbon cable has 34 wires and
two connectors to provide the connection of two
floppy disk drives. After connecting the single end
to the FDC1, connect the two connectors on the
other end to the floppy disk drives. In general,
people only install one floppy disk drive on their
computer system.
Note
A red mark on a wire typically designates the location of pin 1. You need to align the wire pin 1 to the
FDC1 connector pin 1, and then insert the wire connector into the FDC1 connector.

